

A compact apartment can feel stylish, comfortable, and personal without being packed with furniture or decorative accessories. These small apartment decorating ideas focus on better flow, practical storage, visual balance, and renter-conscious updates that support real daily routines.
Inside this guide, you will find useful ways to connect rooms through color, strengthen empty walls, improve dining flexibility, add layered lighting, organize exposed storage, and make limited floor space work harder. Each suggestion considers measurements, safety, accessibility, and lease restrictions before appearance alone. In my experience, the best results come from solving one recurring frustration at a time. Whether you rent a studio or a multiroom apartment, these ideas will help you create a home that feels organized, cohesive, and distinctly yours.
Table of Contents
Apartment Function Audit
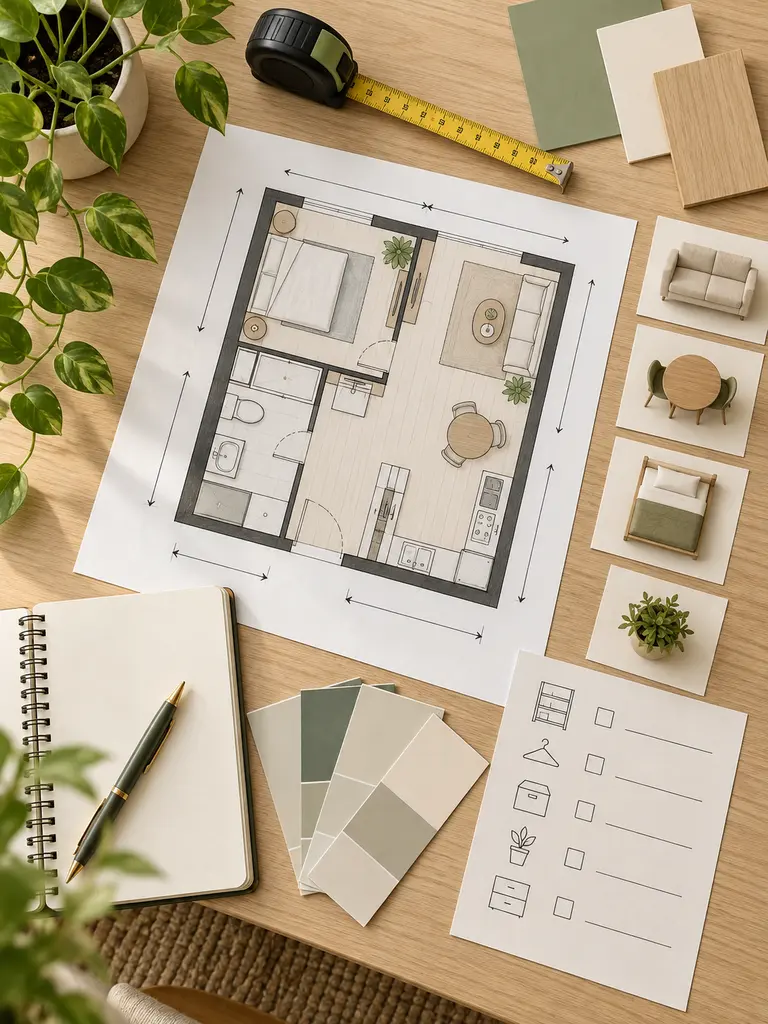
A stylish apartment begins with an honest look at how each room is actually used. Record where bags collect, which surfaces become crowded, when natural light enters, and what furniture supports work, meals, rest, or guests. Measure everything before browsing for decor.
Review the lease before planning holes, paint, adhesive products, or electrical changes. In my experience, small apartment decorating ideas work best when they solve a daily frustration and improve appearance at the same time. Keep a short priority list so attractive purchases do not replace essential storage or circulation.
Bedrooms need their own movement and furniture assessment, so use these layout Ideas For Small Bedrooms to plan bed clearance, wardrobe access, and comfortable nighttime routes.
Whole-Home Color Thread
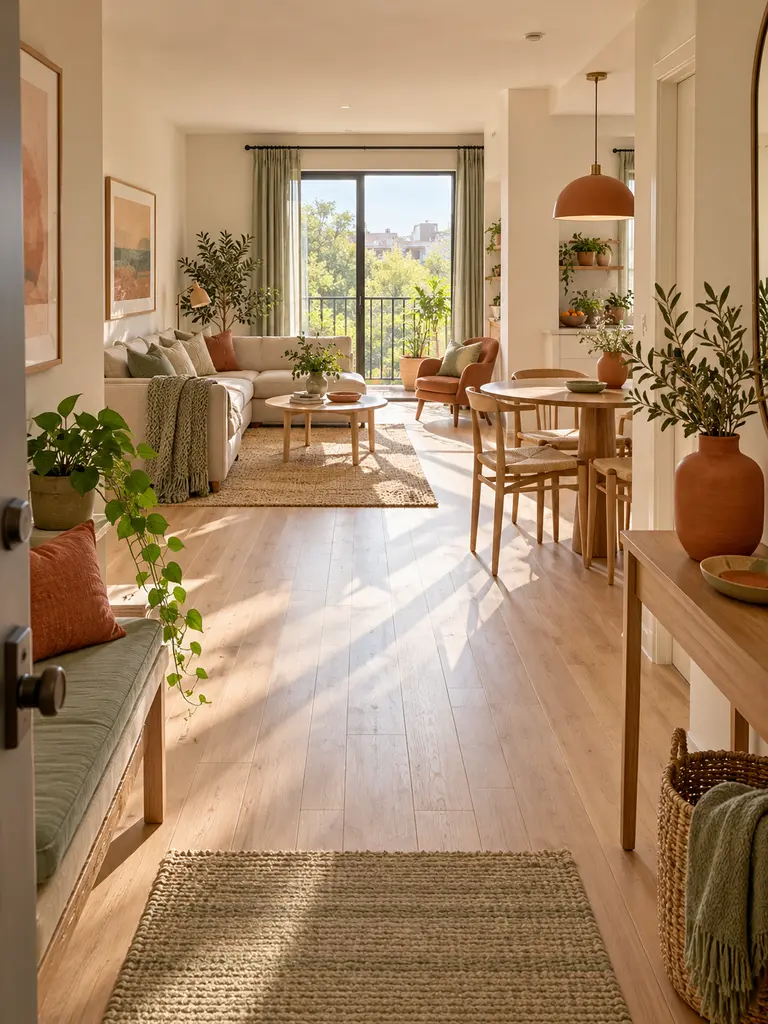
- Choose two calm foundation colors that already suit the flooring, cabinets, and largest furniture pieces.
- Select one accent shade that remains attractive in both daylight and evening light.
- Repeat the accent in small amounts through cushions, artwork, ceramics, or towels.
- Vary textures within the same colors so adjoining rooms do not look copied.
- Photograph connected spaces together before purchasing additional decorative pieces.
A repeated palette helps separate rooms feel related without requiring matching furniture. Keep large surfaces quiet, then carry the accent color through two or three visible points in each area. The result feels deliberate from the entry onward, while individual rooms can still maintain their own purpose and personality.
Use these Apartment Living Room Decorating Ideas to carry your chosen colors through furniture, textiles, artwork, and lighting.
Entry Landing Wall

Quick Tip:
Empty your pockets and set down a bag exactly as you normally would after entering. Use that movement to determine the most practical height and position for hooks, a ledge, and a key tray.
A shallow wall ledge provides a useful landing point without reducing the walkway. Add two sturdy hooks, one compact tray, and a small framed print above it. Keep the floor clear and confirm that the open door cannot strike stored items, especially in a narrow rented entrance.
Oversized Art Anchor

BEFORE:
Several small frames spread across a limited wall can create restless gaps and require numerous fixing points. Individual pieces may also disappear beside larger furniture.
AFTER:
One substantial artwork or removable mural panel creates a confident focal point. Its scale makes the wall feel intentional while reducing the number of objects competing for attention.
Measure the available wall above the sofa, bed, or dining table and leave a visible border around the artwork. Choose imagery with colors already present in the room, then use mounting hardware suitable for its weight and the wall type. Renters should confirm removal requirements before installing adhesive systems.
Low-Back Seating

- Stand at the room entrance and identify the windows, doorways, or adjoining zones worth keeping visible.
- Measure the preferred seat height and back height before comparing sofas or chairs.
- Mark the proposed furniture outline on the floor with removable tape.
- Confirm that seated comfort remains adequate despite the lower visual profile.
Low-backed seating allows the eye to travel farther across a compact apartment, particularly when living and dining areas share one room. Choose firm supportive cushions rather than sacrificing comfort for appearance. Keep taller floor lamps or plants near walls so the central sightline remains open from the main entrance.
For more ways to preserve open views and comfortable movement, explore these Small Living Room Ideas designed to help compact seating areas feel lighter.
Expandable Dining Corner
| Detail | Fixed Dining Set | Expandable Setup |
|---|---|---|
| Daily footprint | Constantly large | Compact when closed |
| Guest seating | Always visible | Added when required |
| Work use | Limited flexibility | Easily reconfigured |
| Floor access | Often restricted | More open between meals |
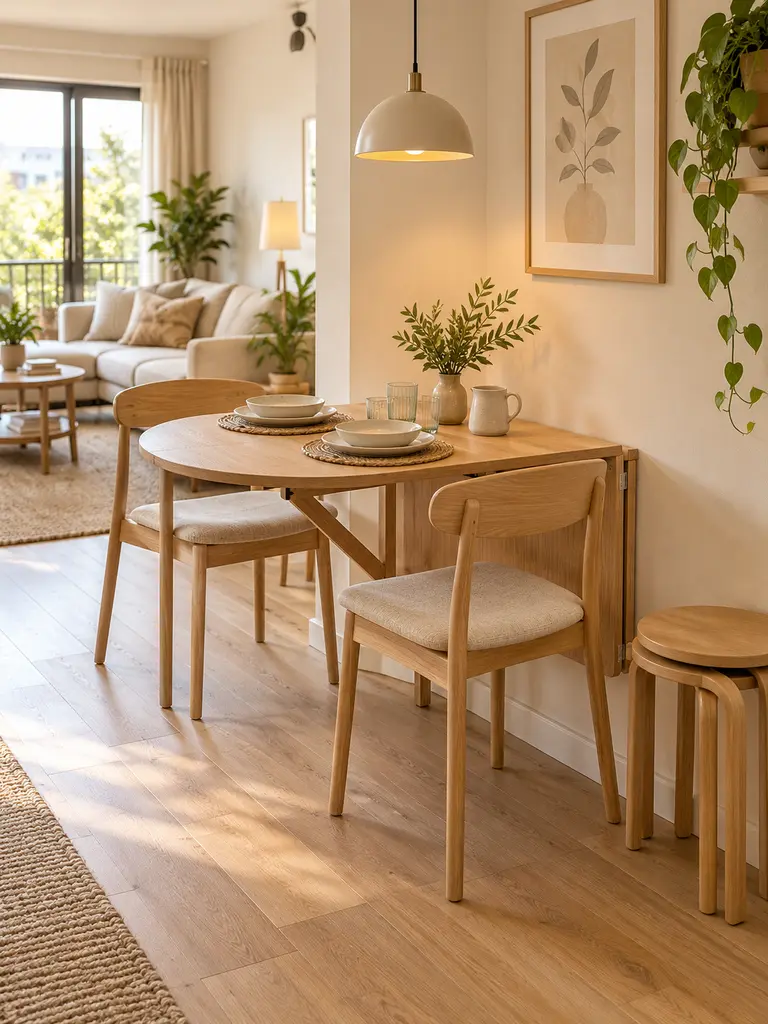
A drop-leaf table can function as a desk, dining surface, and serving station without permanently occupying valuable floor space. Choose lightweight chairs or stools that store neatly nearby, then test the table fully opened. Leave sufficient clearance for guests to pull out seats and move behind one another comfortably.
If one room must support dining, work, sleep, and relaxation, explore these Studio Apartment Layout Ideas for creating clear zones without closing off the space.
Full-Span Window Drapery
DO
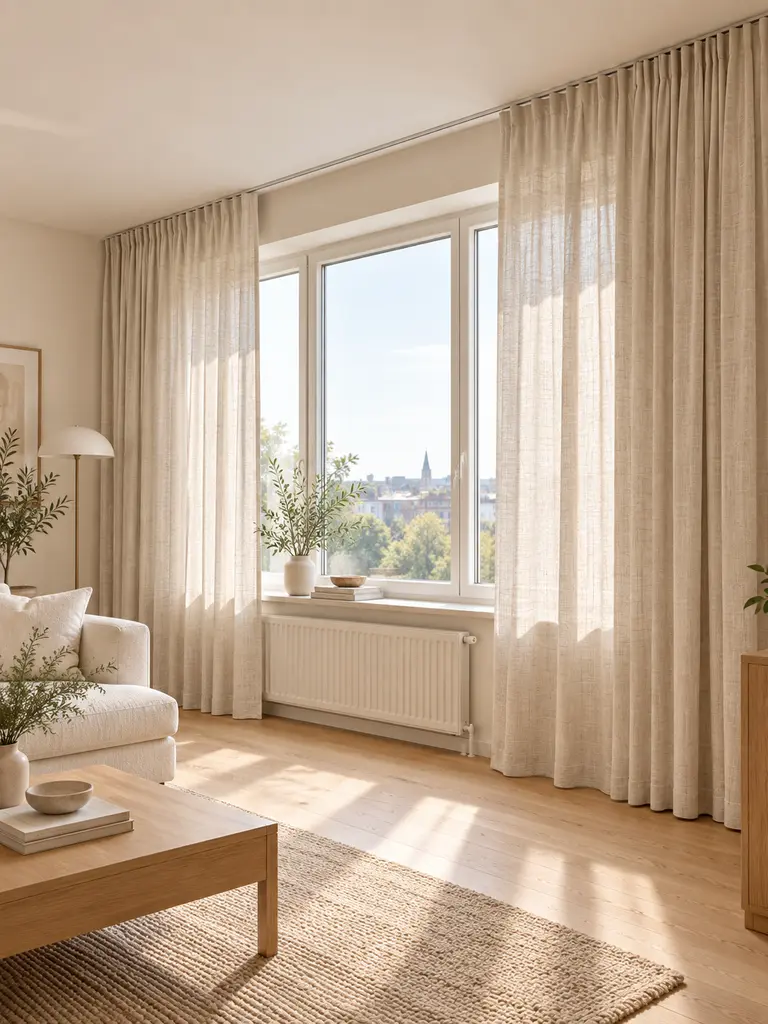
- Mount the curtain rod several inches above the window frame.
- Extend the rod beyond both sides of the glass.
- Choose panels that lightly meet the floor.
- Confirm that heaters and vents remain unobstructed.
DON’T
- Use panels that stop awkwardly above the floor.
- cover window handles or air vents.
- Choose heavy fabric for a room with limited daylight.
- Allow excess material to gather across walking areas.
Few changes reshape a compact room as clearly as properly scaled curtains. Wider, higher placement makes the window appear larger while guiding the eye upward. In my experience, softly woven panels in one consistent color also reduce visual breaks, helping adjoining apartment areas feel calmer, brighter, and more intentionally connected.
Window Bench Moment
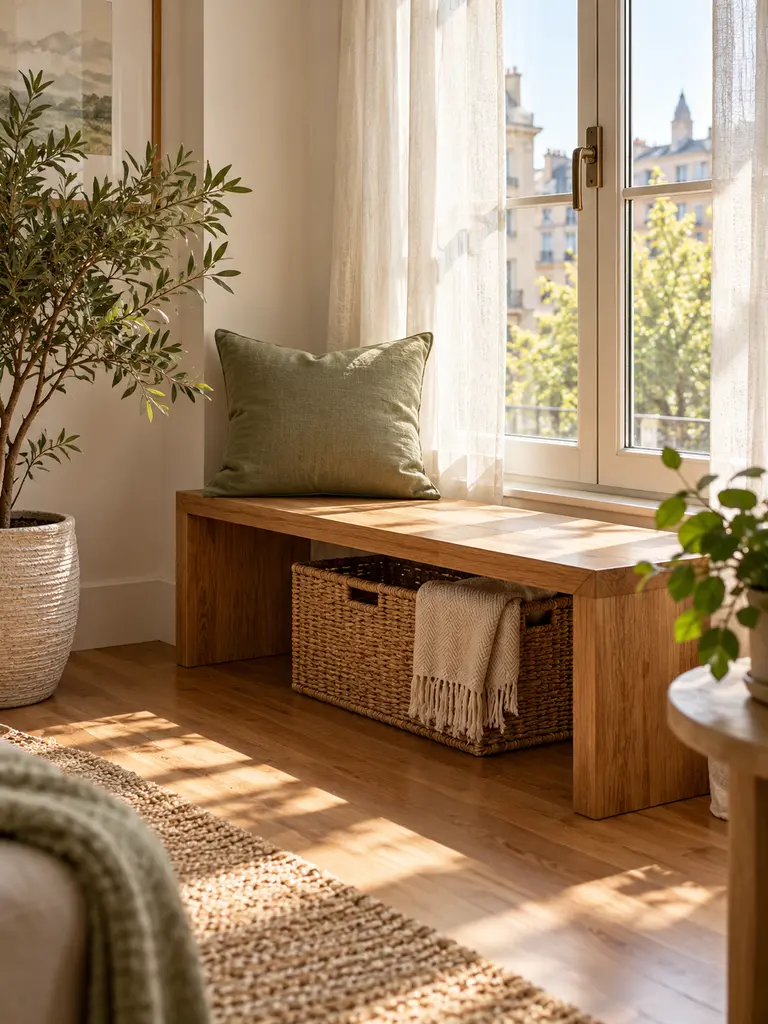
Cost: Low when an existing bench is reused
Time: Approximately 20 minutes to arrange and test
Best For: Bedrooms, living rooms, and wide window recesses
Result: Useful seating with a calm visual focal point
A simple bench becomes more inviting with one supportive cushion and a shallow basket underneath. Keep the top mostly clear so someone can still sit comfortably. Check that curtains move freely, window locks remain accessible, and stored items can be removed without dragging the bench across the floor.
Floating Bedside Ledge
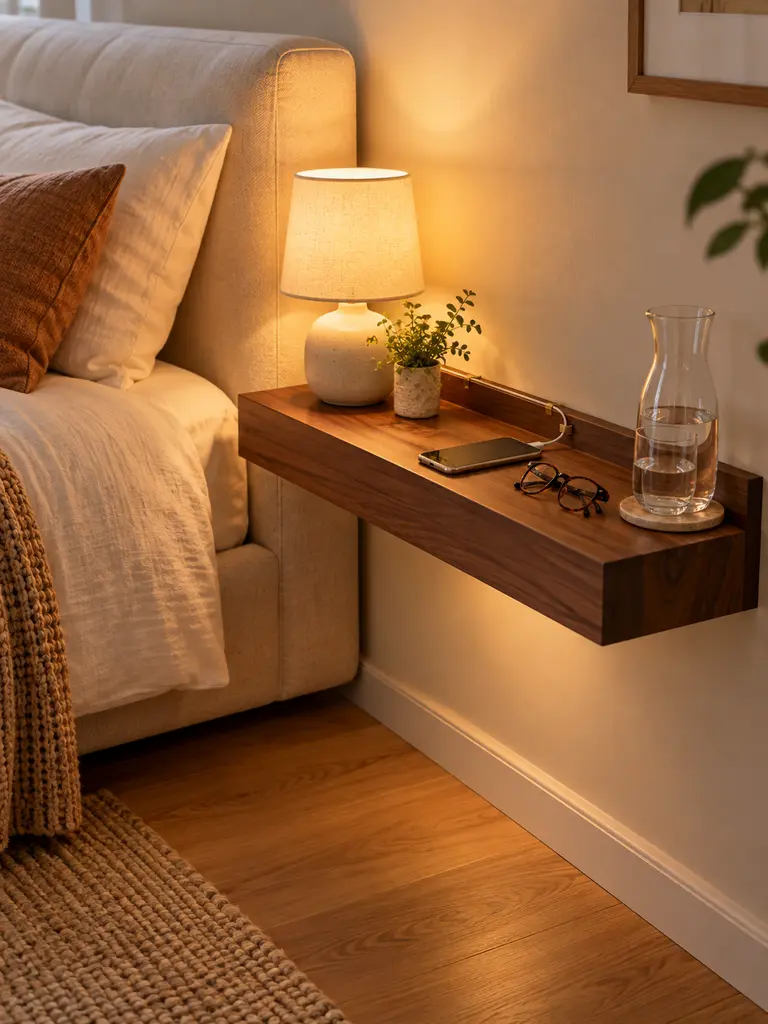
Limited bedroom floor space makes every furniture footprint matter. A shallow ledge can hold a compact lamp, phone, glasses, and water while leaving the area below open. Measure the largest essential object first, then choose a depth that supports it safely without projecting into the walkway.
Mount the ledge at a comfortable reaching height using hardware appropriate for the wall and expected load. Route charging cables along the back edge, and avoid stacking books or decorative items above daily necessities. Renters can consider a slim headboard-mounted shelf if wall installation is prohibited.
For additional ways to free up floors and organize everyday essentials, explore these Small Bedroom Storage Ideas for compact sleeping spaces.
For additional ways to free up floors and organize everyday essentials, explore these Small Bedroom Storage Ideas for compact sleeping spaces.
Vertical Book Tower
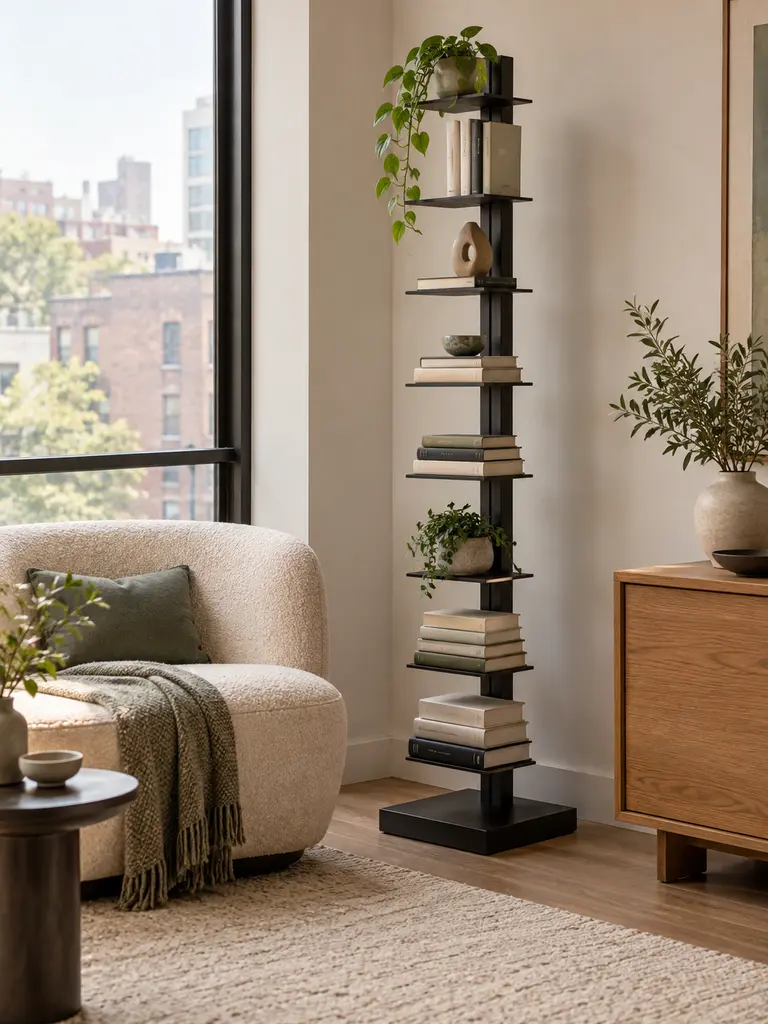
- Select a tower with a stable weighted base and shelves deep enough for the largest books.
- Place heavier volumes on lower levels to reduce top-heavy movement.
- Alternate small horizontal stacks with a few upright books for visual variety.
- Reserve only two or three shelves for decorative objects.
- Position the tower where open doors and passing traffic cannot strike it.
A slim tower concentrates storage upward and keeps nearby tables available for daily use. Organize books by height or color only if that system still helps you find them. Secure tall furniture according to its manufacturer’s guidance, particularly in homes with children, pets, or frequent floor vibration.
Hidden Cleaning Station
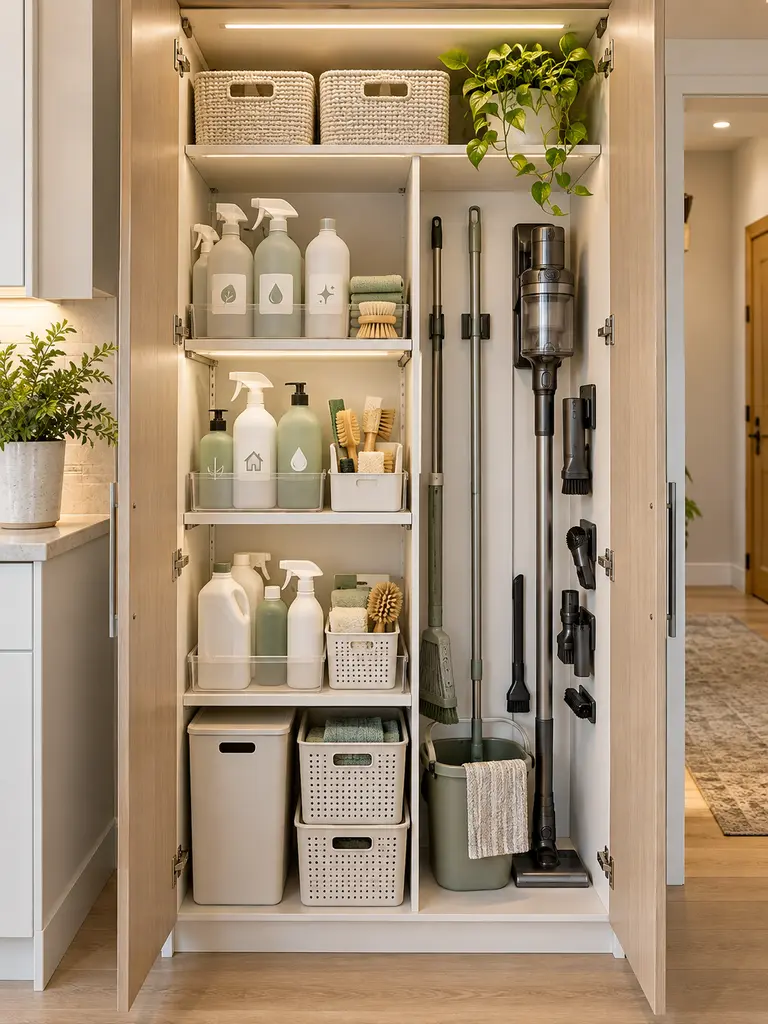
Quick Tip:
Gather every tool and product before choosing a container. Measure the tallest bottle, longest handle, and widest attachment so the storage solution fits the complete kit rather than only the visible pieces.
Cleaning supplies feel less intrusive when they occupy one assigned location near where they are used. Fit a cabinet section with washable trays, or choose a lidded basket for dry cloths and compact tools. Keep chemicals upright, clearly labeled, ventilated as directed, and inaccessible to children and pets.
In a compact bathroom, secure storage above the toilet can keep lightweight cleaning supplies organized without occupying valuable floor space.
Open Room Divider
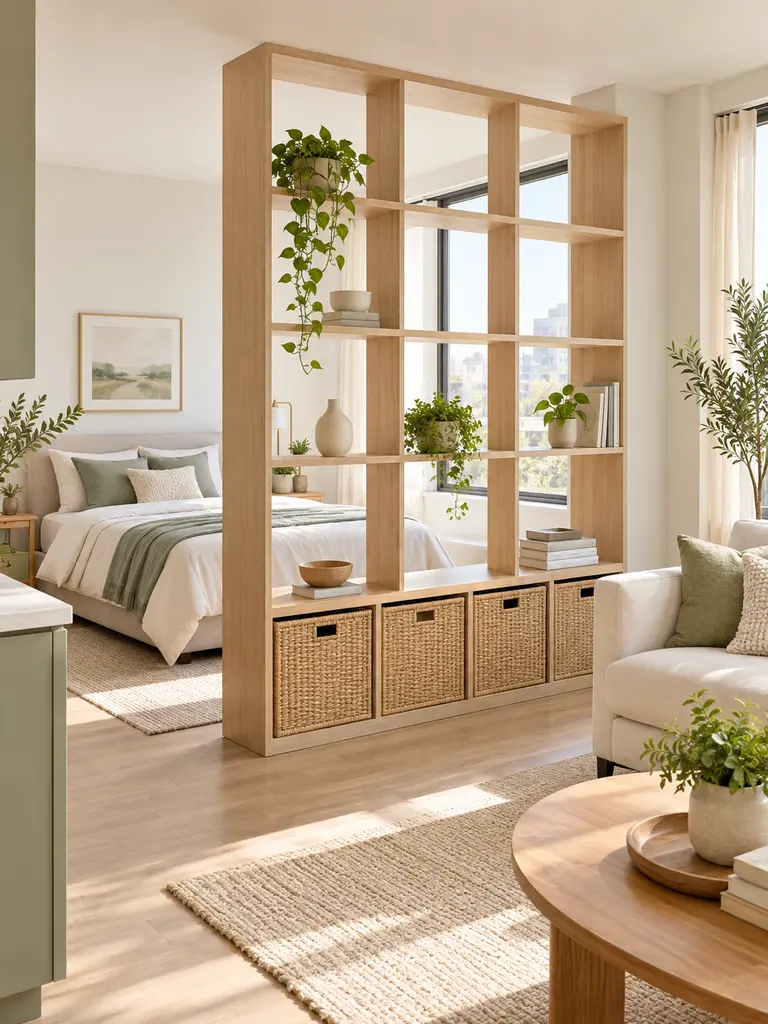
BEFORE:
A solid divider blocks daylight and can make two compact zones feel even smaller. Heavy furniture may also reduce circulation or create an awkward dead end.
AFTER:
An open shelf or slim slatted screen defines separate functions while preserving light and distant views. The room gains structure without losing visual connection.
Position the divider where it separates activities rather than simply cutting the floor in half. Keep most openings clear, and place storage baskets only on lower shelves. Secure tall units appropriately, then confirm that pathways remain wide enough and both zones still receive useful lighting throughout the day.
If several activities share one open room, these Studio Apartment Ideas offer more practical ways to define zones without blocking light or movement.
Coordinated Storage Boxes
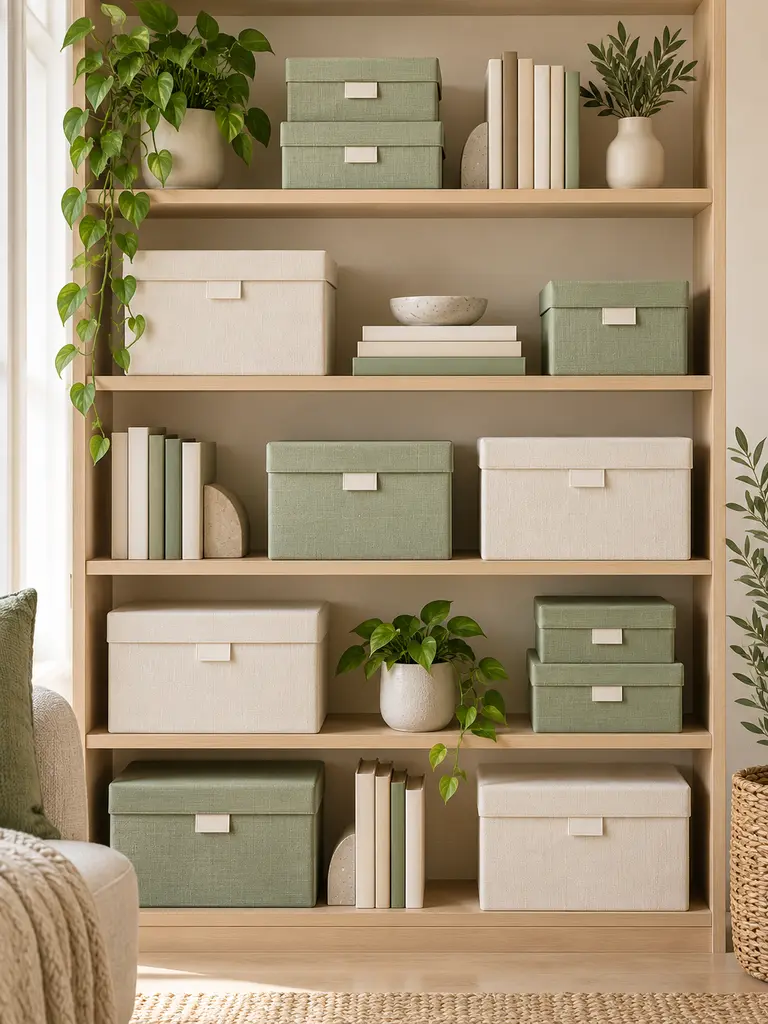
- Measure shelf height, width, and depth before selecting any containers.
- Group belongings by use, such as cables, paperwork, craft supplies, or seasonal items.
- Choose two related container sizes in one material or limited color family.
- Add clear, discreet labels so closed storage remains practical.
- Leave enough space above each box for comfortable removal.
Coordinated containers calm open shelving by reducing competing colors, packaging, and irregular shapes. Avoid filling every compartment with identical boxes, since a few visible books or useful objects keep the arrangement natural. Washable fabric, sturdy cardboard, or lightweight plastic can work well when matched to the stored contents.
For a compact bathroom, these affordable spa bathroom ideas combine coordinated storage with calming color, textiles, and lighting.
Portable Lighting Layers
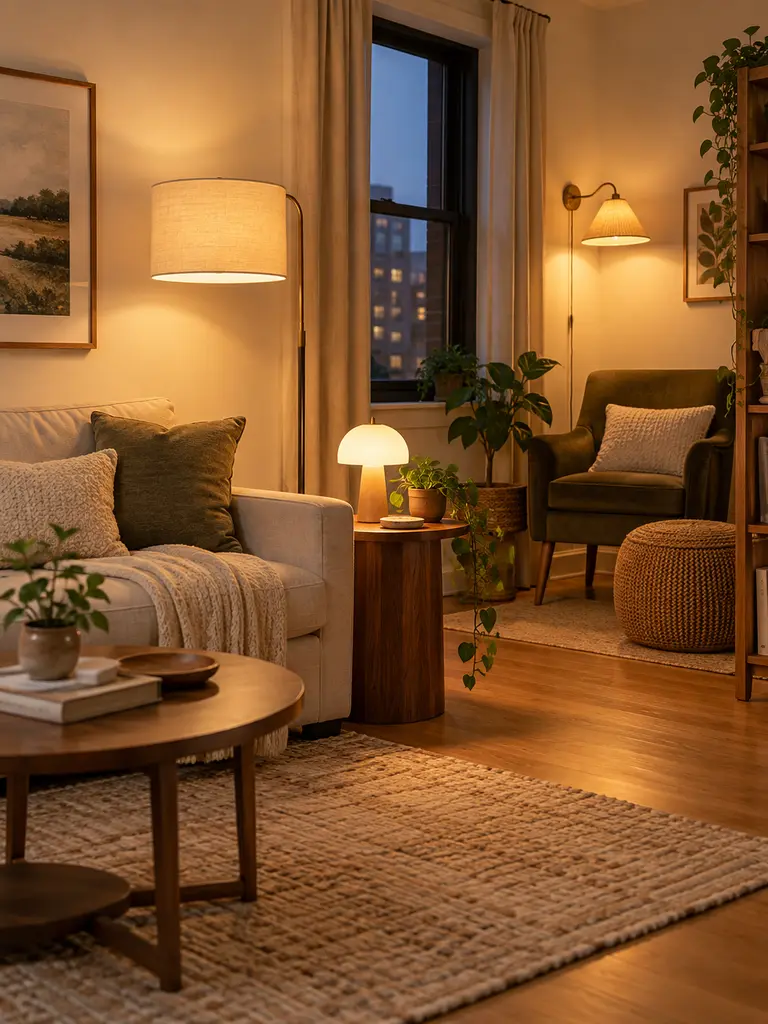
| Detail | Single Ceiling Fixture | Layered Portable Lighting |
|---|---|---|
| Light direction | Mostly downward | Multiple useful angles |
| Mood control | Limited | Adjustable by activity |
| Rental changes | None | Usually reversible |
| Placement | Fixed | Easily relocated |
Combine one floor lamp for general glow, a rechargeable lamp for flexible surfaces, and a plug-in sconce where focused light is needed. Choose compatible color temperatures so the room does not appear patchy. Secure cords along furniture edges, maintain outlet limits, and keep every fixture clear of fabric and moisture.
For outdoor spaces, these Small Balcony Decorating Ideas show how rechargeable lamps and solar lighting can add warmth without permanent wiring.
Leaning Mirror Placement
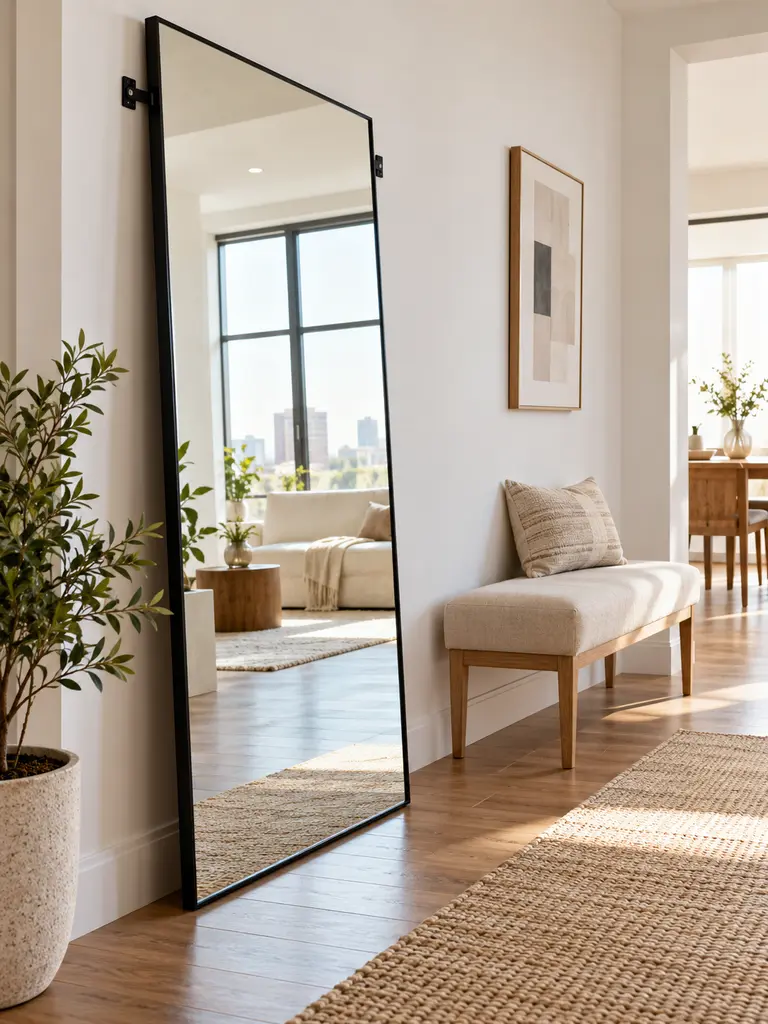
DO:
- Position the mirror where it reflects a window, open doorway, or calm wall.
- Secure it with appropriate anti-tip hardware even when it appears stable.
- Leave enough floor clearance for cleaning around the base.
- Check glare under both daylight and evening lighting.
DON’T:
- Reflect overflowing storage, television cables, or a crowded work surface.
- Rest heavy glass where doors or furniture can strike it.
- Block switches, vents, outlets, or walking space.
- Depend on friction alone to prevent movement.
A full-length mirror can extend a useful sightline and distribute light across a darker section of the apartment. Angle it only slightly, since excessive tilting distorts the reflection and increases instability. A simple frame that repeats the room’s wood or metal finish will connect it naturally to nearby furniture.
Rug Edge Alignment
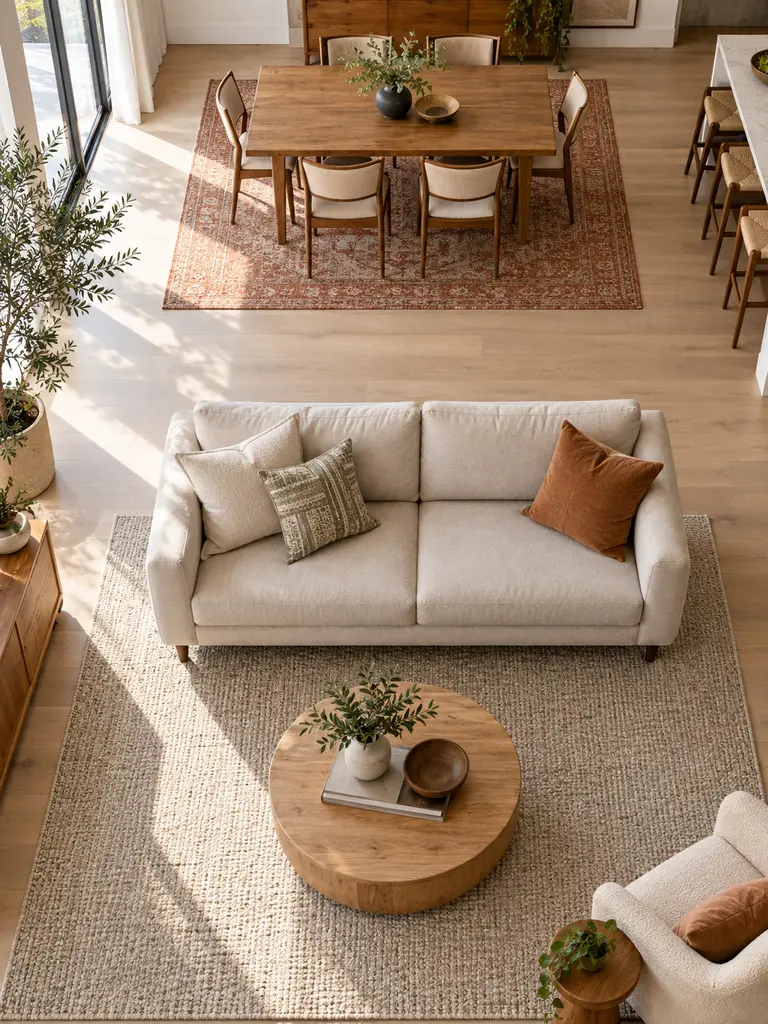
Cost: No cost when existing rugs are repositioned
Time: About 15 minutes per room
Best For: Open living and dining layouts
Result: Clearer zones with stronger visual connection
Furniture edges give a rug an obvious alignment point and prevent it from appearing randomly placed. In a living area, position at least the front furniture legs consistently where proportions allow. In dining spaces, confirm that chairs remain on the rug when pulled out, preventing unstable edges and awkward movement.
For a more comfortable seating arrangement with clearly defined walkways, explore these Small Living Room Layout Ideas before positioning your rug and furniture.
Compact Picture Rail
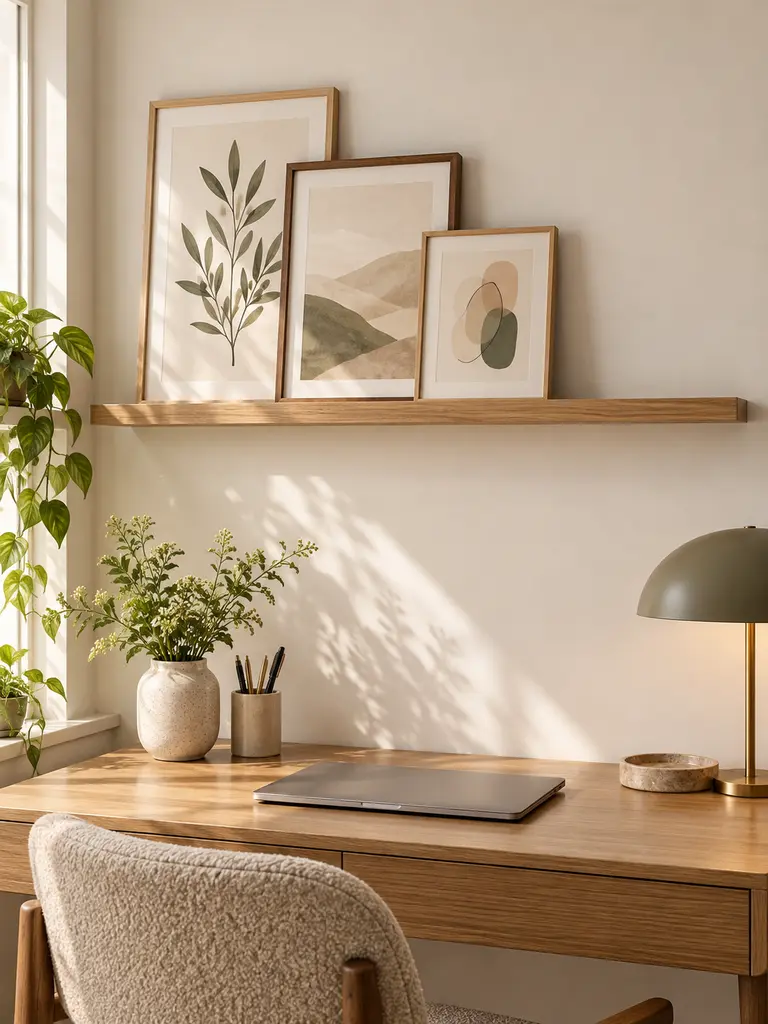
Artwork becomes easier to adjust when several frames share one narrow display ledge. Measure the available wall width, then choose a rail deep enough to support frame bases without projecting far into the room. Keep the tallest piece away from switches, sconces, and low ceilings.
Layer two or three frames with visible height differences, leaving part of the rail empty. Secure leaning artwork where necessary and follow the mounting requirements for the ledge itself. In my experience, one controlled arrangement feels calmer than scattering similar frames across several small walls and corners.
Tall Plant Silhouette

- Choose a narrow upright plant suited to the room’s available light and humidity.
- Select a weighted pot with a saucer that protects the flooring.
- Keep leaves away from heaters, vents, door swings, and busy pathways.
- Rotate a living plant periodically for more even growth.
- Use a convincing faux option if the conditions cannot support live greenery.
One tall plant adds color and vertical movement while preserving tables and shelves for useful items. Place it beside low furniture or within an empty corner that receives suitable light. Avoid squeezing foliage between furniture pieces, since compressed leaves and difficult watering quickly make the arrangement feel neglected rather than intentional.
Styled Utility Cart
Quick Tip:
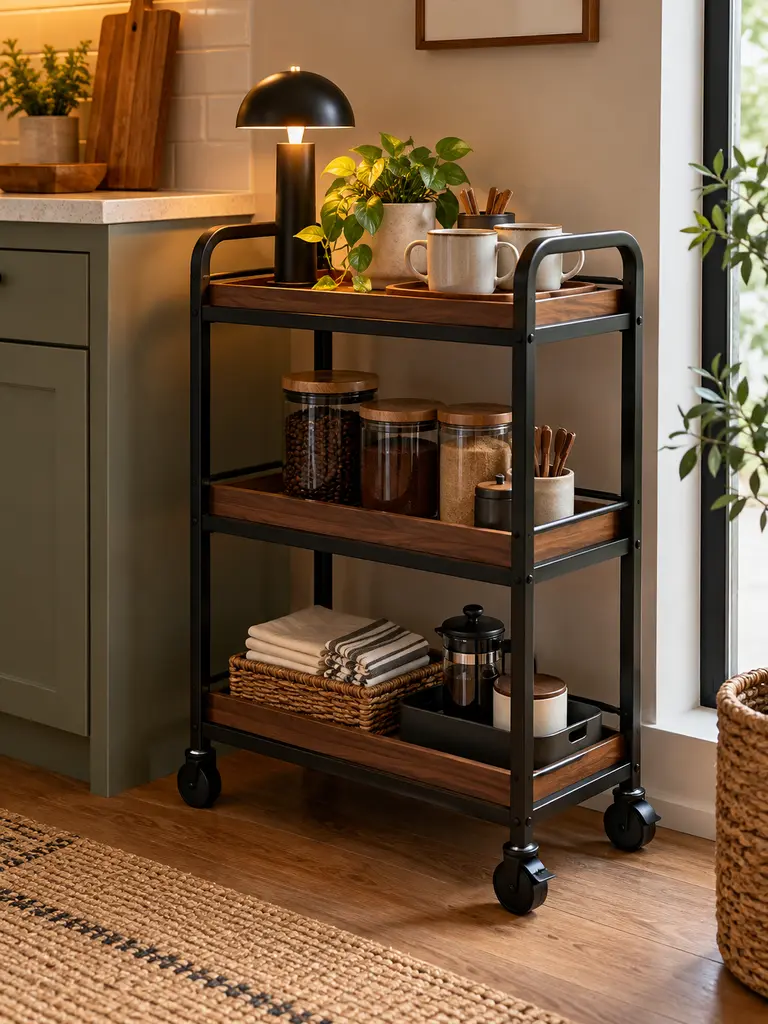
Assign the cart one clear purpose before organizing it. A mixed collection of coffee supplies, paperwork, toiletries, and decorative objects will create mobile clutter rather than useful storage.
A slim cart works best when each tier supports the same activity. Keep frequently used items on top, backups below, and small loose pieces inside one container. Leave handles and wheels clear, then park the cart beside a wall where it remains accessible without narrowing the everyday walking route.
A rolling cart can also support these Pantry-free Kitchen Storage Ideas by holding everyday groceries, breakfast supplies, or baking essentials.
Breathing-Space Shelves
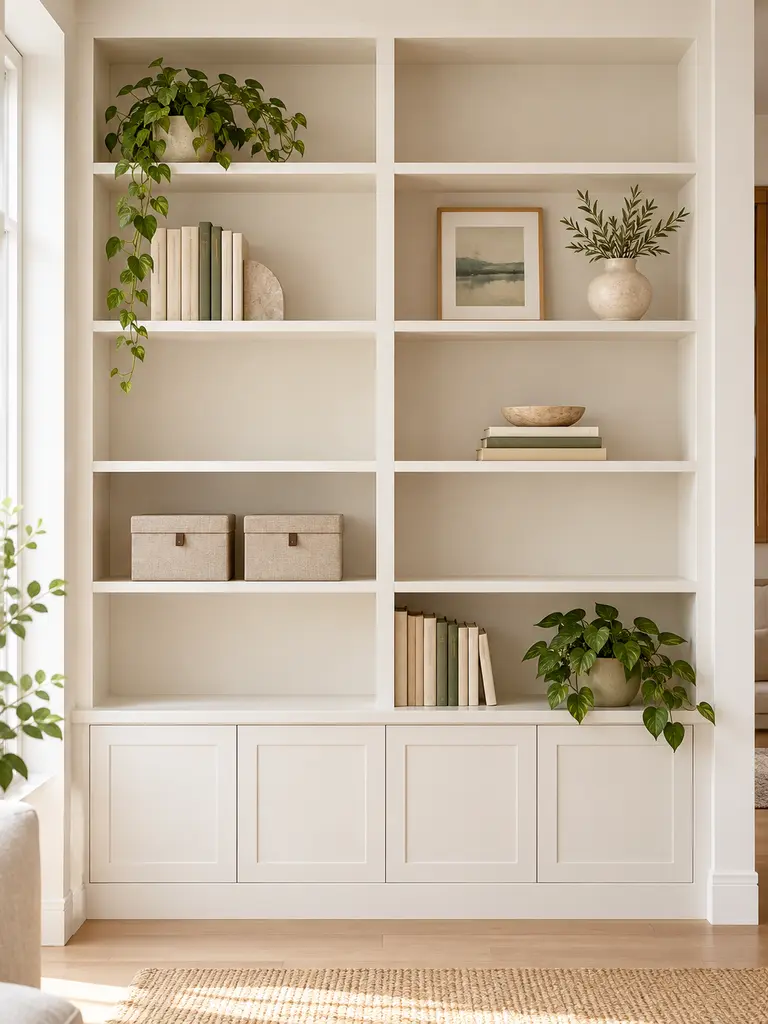
BEFORE:
Every shelf is filled with books, baskets, framed photos, and small decorative pieces. Individual objects become difficult to notice, and removing one item disturbs the entire arrangement.
AFTER:
Selected sections remain empty while useful groups receive clear boundaries. The shelving feels lighter, and daily items become easier to reach and return.
Start by removing everything, then replace essentials before decorative pieces. Group related objects in odd numbers and vary their heights without filling every gap. Open space is not wasted storage when it improves visibility and access. Keep the least attractive necessities inside labeled containers on lower shelves.
For practical systems that keep compact rooms organized beyond open shelving, explore these Small Space Storage Ideas for overlooked gaps, furniture, walls, and daily-use zones.
Apartment Styling Edit
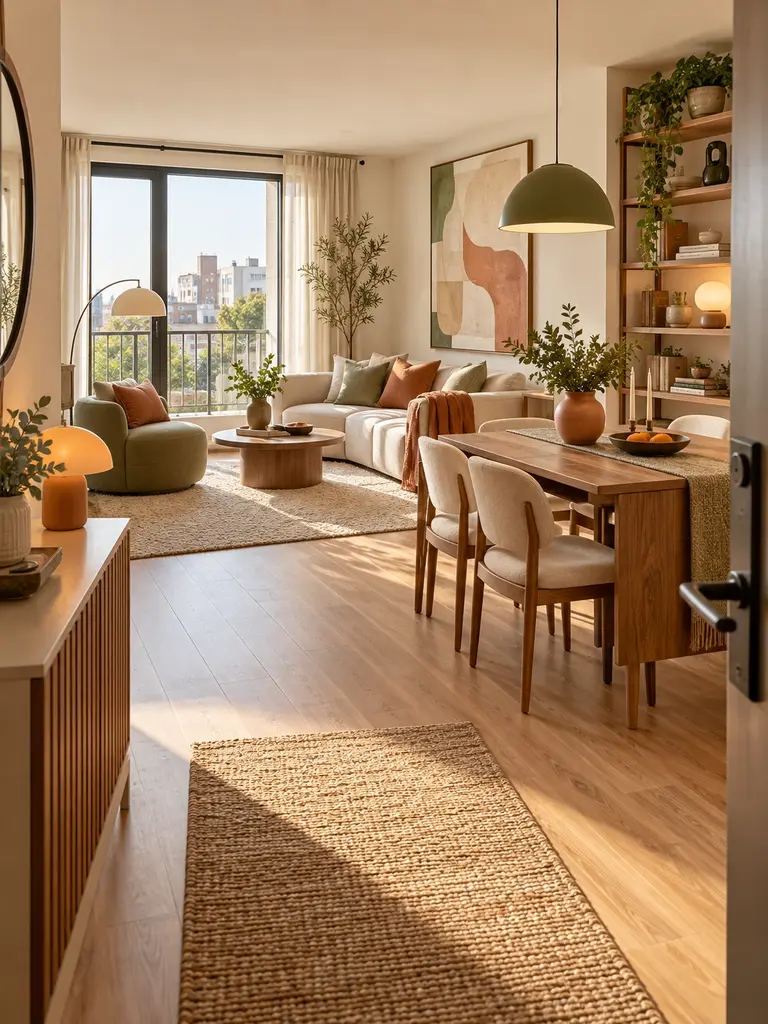
- Walk through every room using the routes followed during a normal morning and evening.
- Remove objects that block windows, doors, drawers, outlets, or comfortable seating.
- Photograph each room from its entrance to identify crowded surfaces and awkward furniture placement.
- Return only decorations that support the palette, function, or focal point.
- Store, donate, or relocate anything that no longer earns its space.
The final review should make the apartment easier to live in, not merely emptier. Check whether light travels freely, storage remains accessible, and each room supports its intended routines. One thoughtful edit often improves the entire home more than another purchase, especially where every shelf and walkway carries visual weight.
Conclusion
A smaller home feels more polished when every object supports comfort, function, or visual harmony. These small apartment decorating ideas show how thoughtful color, flexible furniture, vertical storage, layered lighting, and intentional empty space can improve the way each room works. I’ve noticed that removing one obstructive item often creates more impact than adding another accessory. Save this post on Pinterest so you can revisit the ideas while planning, then choose one or two changes that address your biggest challenge. Share the article with another apartment dweller, and begin creating a home that feels stylish, practical, and comfortable every day.