
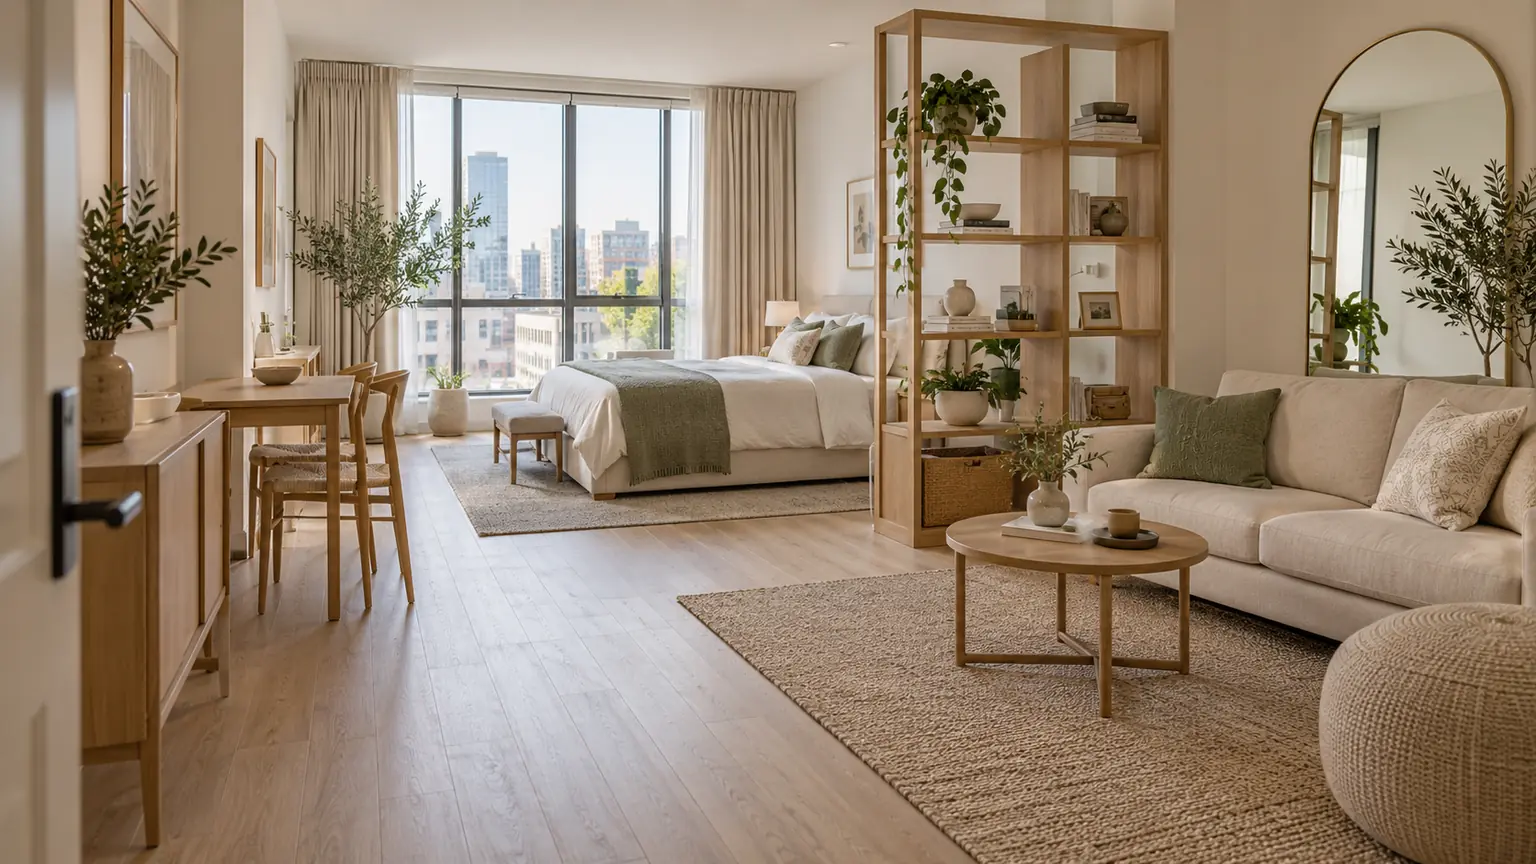
A compact home should not feel crowded or difficult to use. These studio apartment ideas will help you create clearer zones, improve movement, increase visual space, and make one open room support your entire daily routine.
From low-profile furniture and flexible dividers to better lighting and thoughtful color choices, every idea addresses a real challenge found in small apartments. In my experience, the biggest improvement often comes from fixing the layout before buying additional furniture or organizers. This guide will show you practical ways to arrange sleeping, living, dining, working, and entry areas without making the apartment feel divided or heavy. Start with the changes that solve your biggest frustration, then build a comfortable space that feels open and personal.
Table of Contents
Clear Sightline Layout
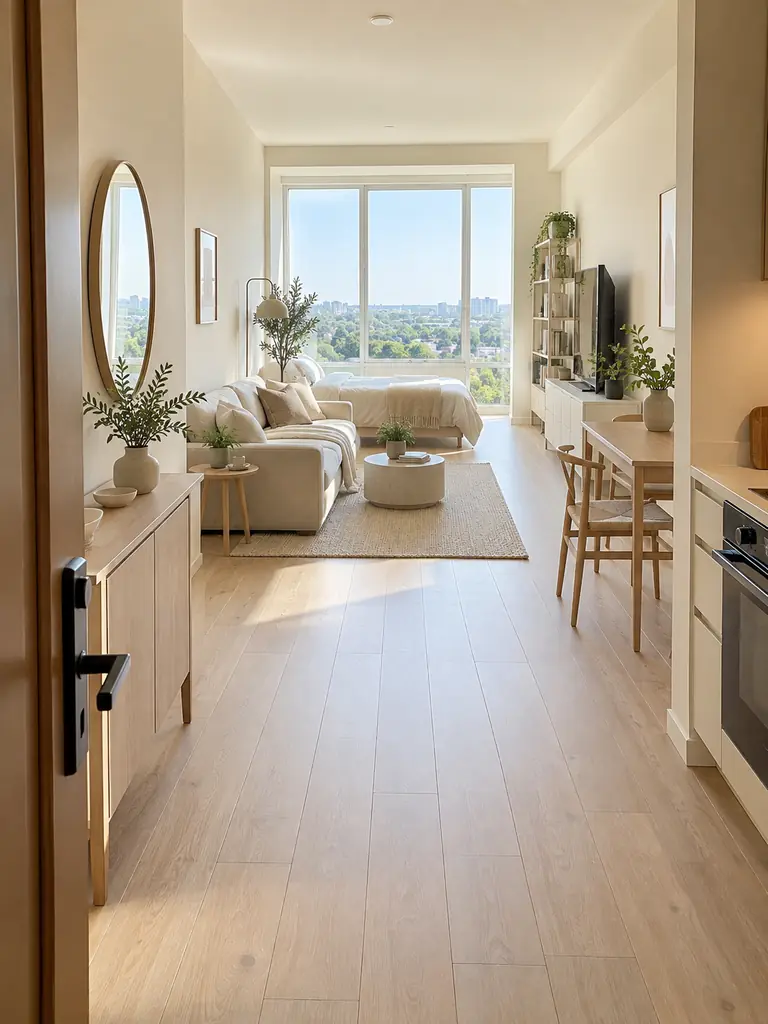
A clear visual path instantly makes a one-room home feel more spacious. Start by standing at the entrance and identifying the window, balcony door, or strongest architectural feature. Arrange tall cabinets and bulky furniture away from this line so the eye can travel across the apartment uninterrupted.
Among practical studio apartment ideas, this layout change costs nothing and improves both appearance and movement. Keep the central floor area open, align large pieces with the longest walls, and avoid placing tall shelving beside windows. In my experience, even a narrow uninterrupted view can make compact interiors feel calmer.
Defined Living Zones

- Give the bed a clear boundary with a rug edge, curtain, or narrow divider.
- Position the sofa so its back subtly separates the lounge from the sleeping area.
- Place a compact dining table close to the kitchen to support a natural routine.
- Keep the desk near daylight but outside the main route between the entrance and bathroom.
- Repeat two or three colors across every zone to maintain a connected appearance.
Defined zones help one open room support several activities without feeling chaotic. Before moving furniture, sketch the apartment and mark where you sleep, eat, work, relax, and store belongings. Each zone needs a purpose, but the pathways between them should remain open enough for comfortable daily movement.
Floating Furniture Plan
Quick Tip:
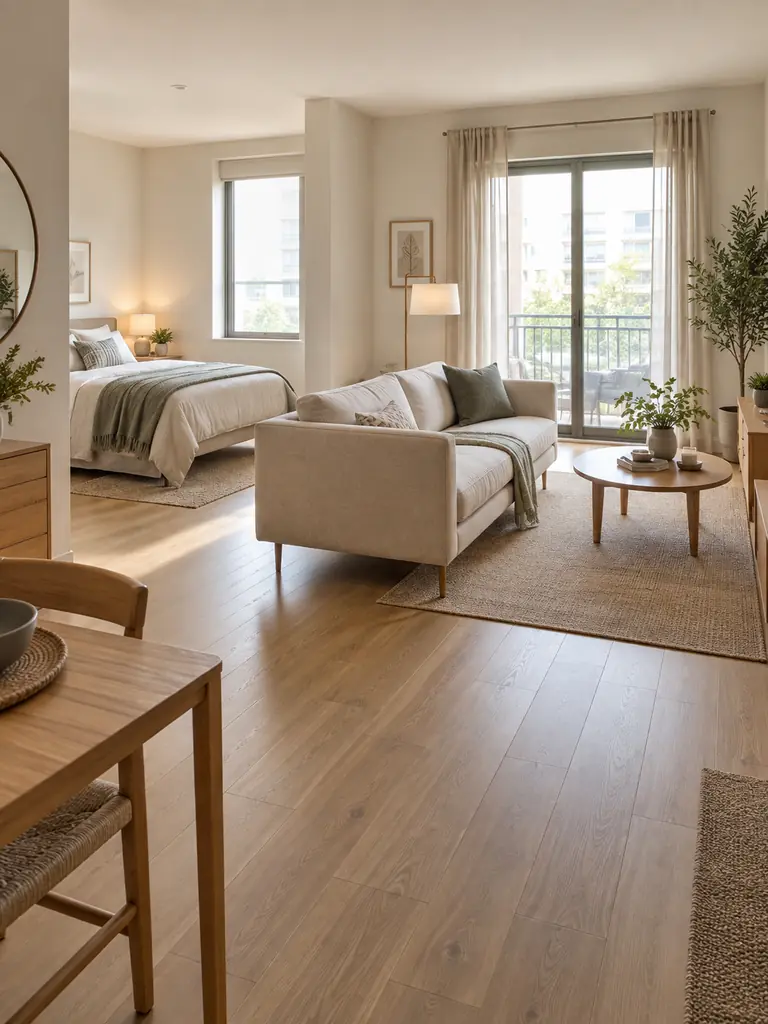
Do not push every item tightly against the walls. Floating one carefully chosen piece, such as a sofa or narrow console, can define a functional zone while making the layout feel planned rather than cramped.
Measure the walking space before repositioning furniture and maintain at least 30 inches along main routes where possible. Use the back of a floating sofa for a slim console, charging point, or lighting. Avoid placing several pieces in the center, since the benefit disappears once circulation becomes restricted.
Low-Profile Bed
Before:
A tall bed frame, oversized headboard, and bulky footboard dominate the room. The bed interrupts the view across the apartment and makes the surrounding walls appear shorter.
After:
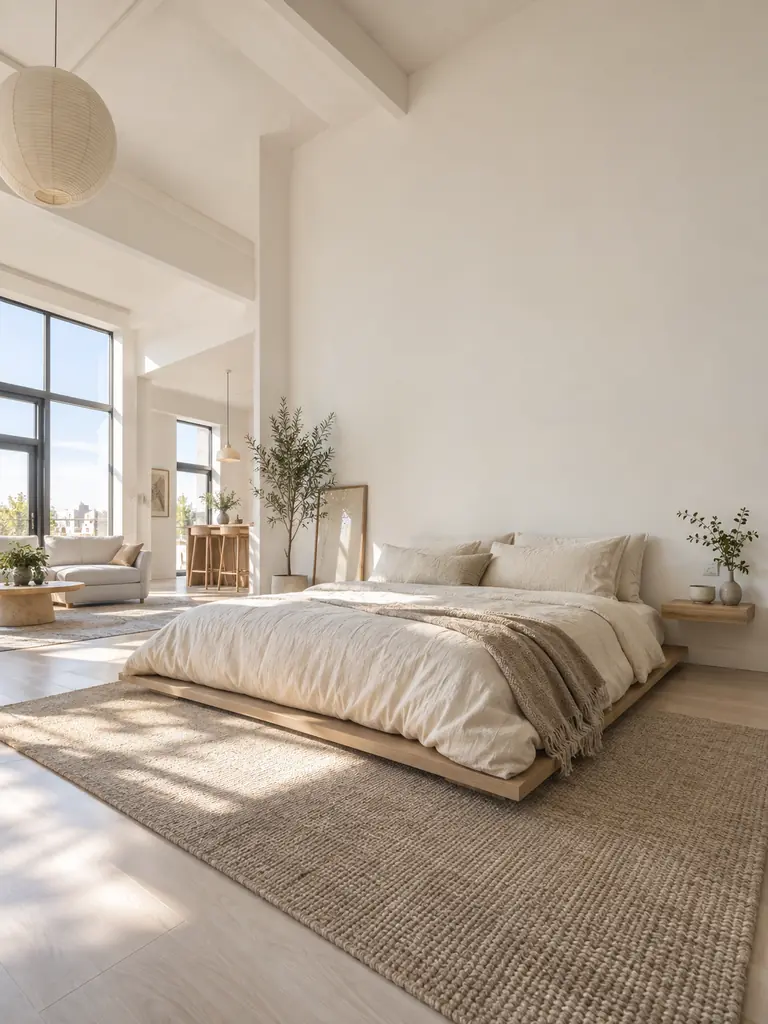
A low platform frame keeps more wall area visible and reduces the bed’s visual weight. Simple bedding and a restrained headboard help the sleeping zone blend into the wider layout.
Measure both mattress and frame height before buying, since product photos can make beds appear lower than they are. Select a design with a narrow outline and avoid thick upholstered sides in tight layouts. A lighter frame also leaves more breathing room around nearby furniture, windows, and walking routes.
Corner Bed Placement
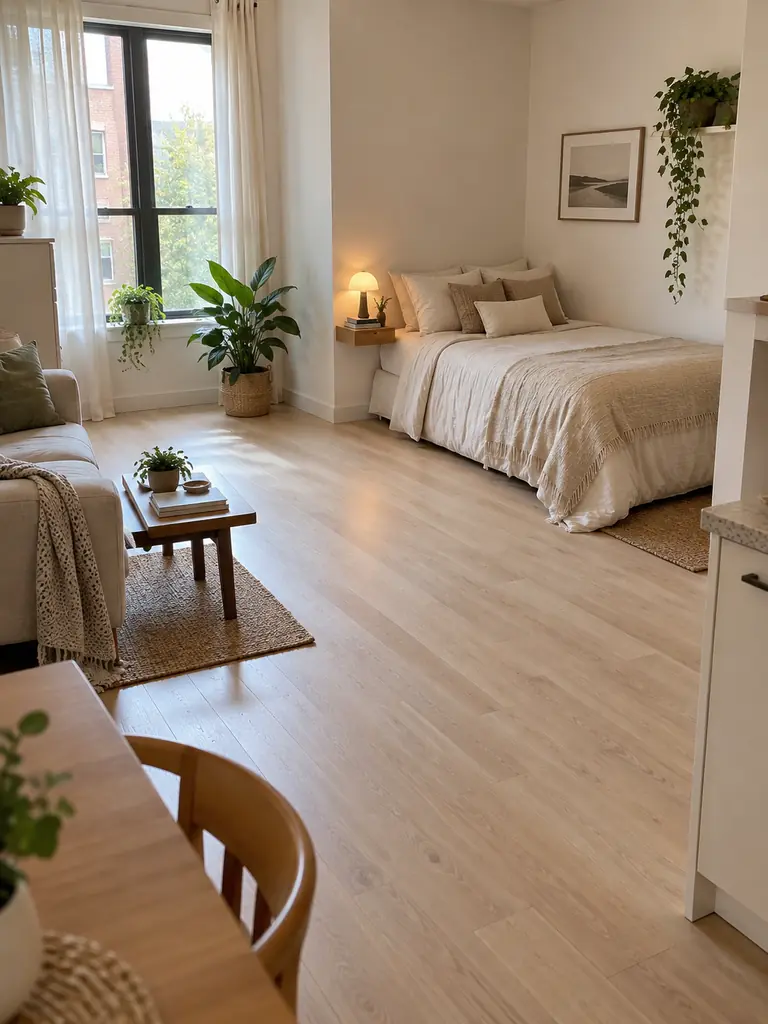
- Identify the corner farthest from the entrance, kitchen activity, and main walkway.
- Confirm that the chosen position does not cover a radiator, outlet, vent, or window access.
- Leave one side accessible where possible for changing sheets and getting into bed comfortably.
- Replace a full nightstand with a floating ledge, wall lamp, or slim pocket organizer.
- Keep bedding colors connected to the living area so the bed does not appear isolated.
Corner placement can free the middle of a studio for seating, dining, or exercise. Before committing, mark the mattress dimensions on the floor with painter’s tape and test the route around it. If both sides cannot remain open, choose lightweight bedding that is easier to straighten from one accessible edge.
Once the sleeping zone is positioned, these practical ways to Maximize Storage around a Small Bed can help you use the remaining space without creating clutter.
Sofa Bed Setup
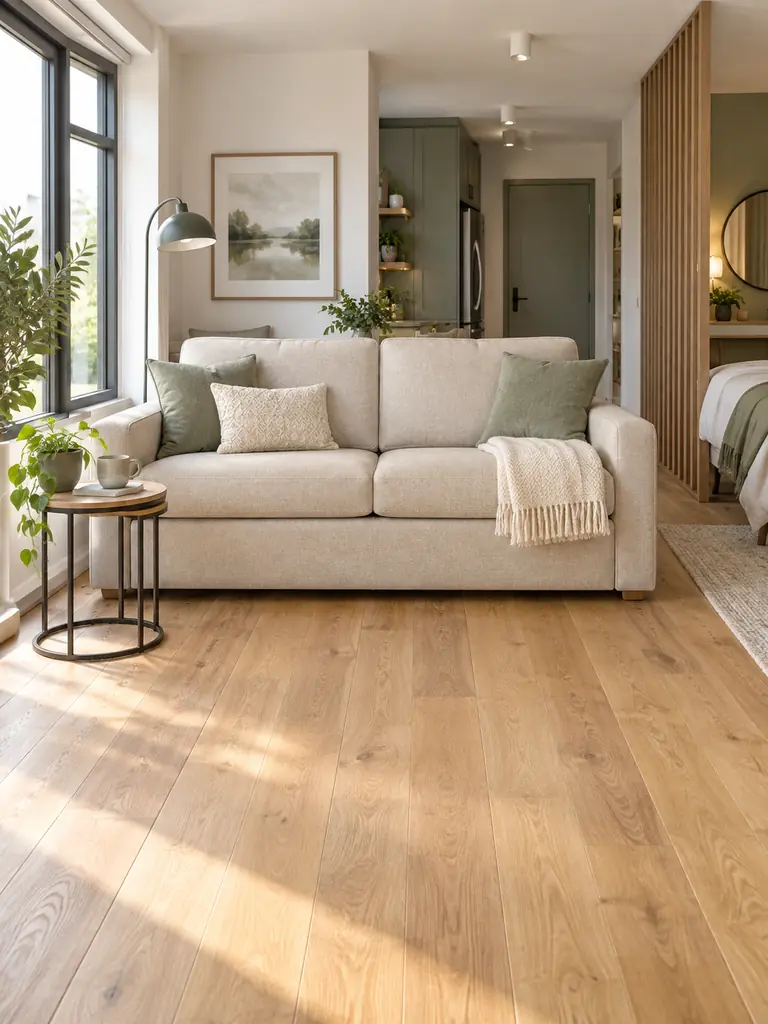
| Standard Sofa | Sofa Bed |
|---|---|
| Provides seating only | Combines seating and sleeping |
| Requires a separate bed | Uses one furniture footprint |
| Leaves bedding elsewhere | Can include hidden linen storage |
| No clearance for opening | Needs measured conversion space |
A sofa bed works best when its sleeping mechanism is easy enough for daily use. Test the mattress support, opening motion, and seat comfort before purchasing. Measure the fully extended depth, not only the closed dimensions, and keep the conversion area free from heavy coffee tables or fixed furniture.
Curtain Bed Divider
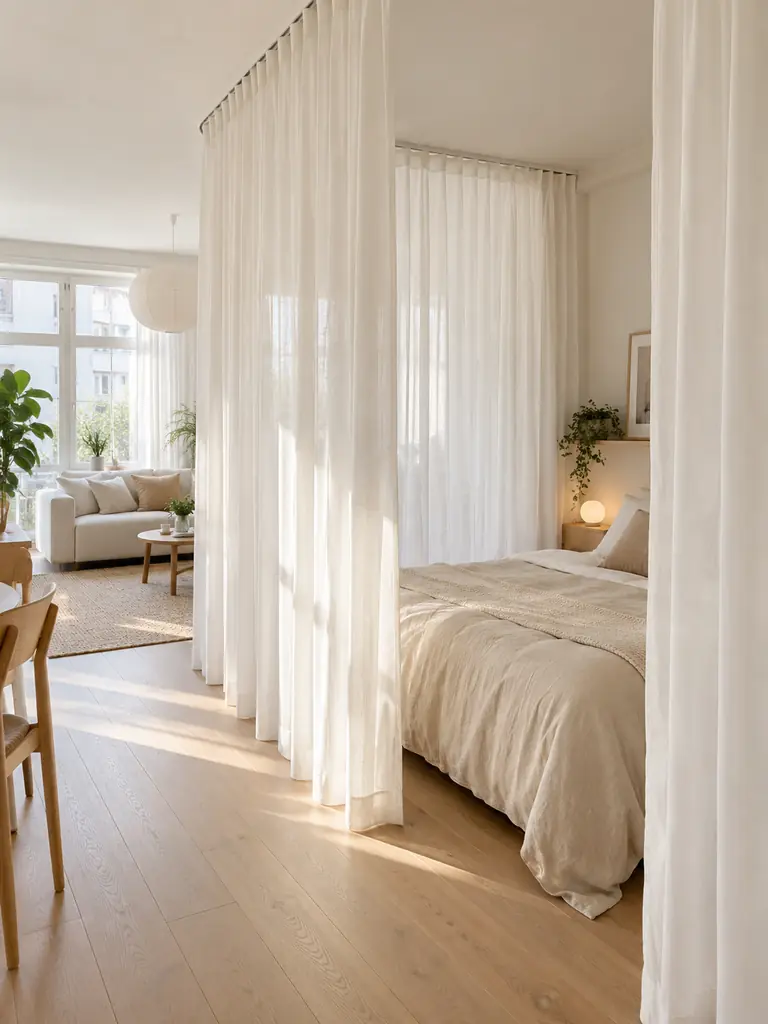
Do:
- Choose light-filtering fabric that creates privacy without darkening the apartment.
- Mount the track securely into suitable ceiling supports.
- Leave enough clearance for the curtain to move without touching lamps or heaters.
- Match the fabric with the wall color for a quieter visual effect.
Don’t:
- Use heavy blackout fabric across the entire studio.
- Block windows, vents, sprinklers, or smoke detectors.
- Let excess fabric gather across the floor.
- Install ceiling hardware without checking rental restrictions.
A curtain creates flexible privacy because it can close at night and disappear during the day. Measure from the mounting point to just above the floor, then select washable fabric with gentle folds. For rentals, consider a tension-based system only when the span and manufacturer’s weight guidance allow safe installation.
For more room-by-room inspiration, explore these Decorating Ideas For Small Apartments focused on flexible furniture, organized storage, and clear everyday movement.
Open Slat Partition

Cost: Moderate
Difficulty: Intermediate
Best For: Separating the bed from the living area
Result: Defined zones with retained light and airflow
A slatted partition provides stronger structure than fabric while avoiding the heaviness of a solid wall. Keep the wood tone consistent with nearby furniture and leave balanced gaps between each strip. Renters can use a freestanding screen, while permanent installations should be secured by someone familiar with the ceiling and flooring materials.
Backless Bookcase Divider
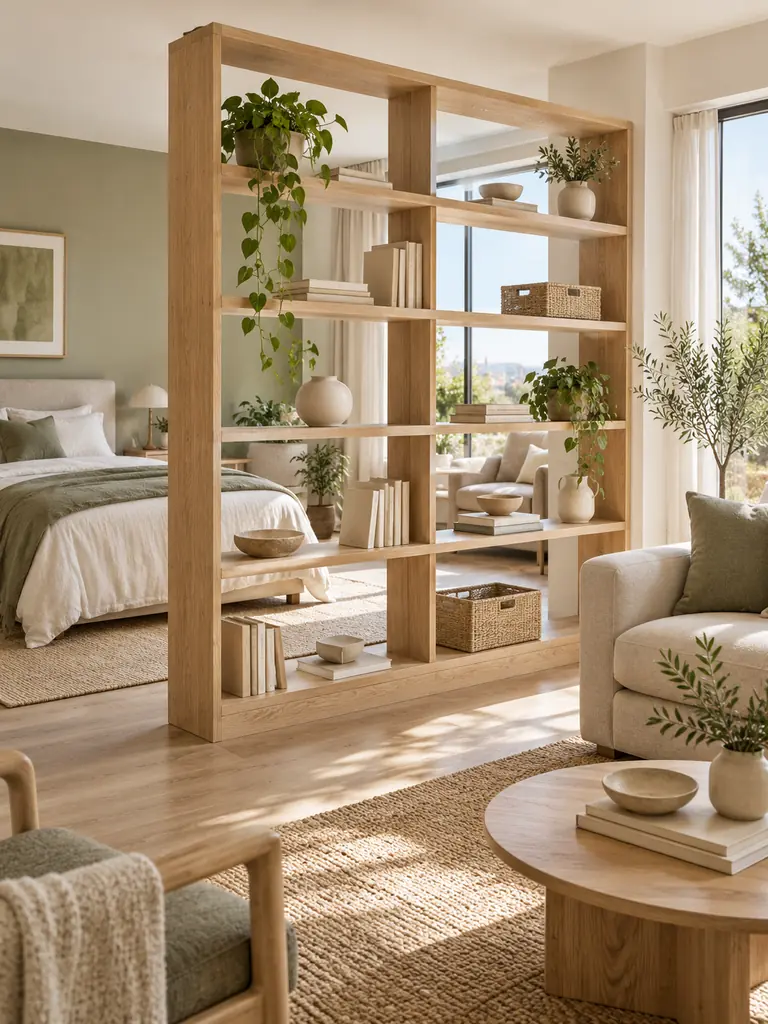
An open bookcase separates activities while allowing light and sightlines to pass through. Choose a unit that is stable, appropriately scaled, and accessible from both sides. Position closed baskets on the lowest shelves for heavier belongings, then reserve upper levels for lighter books and a few decorative pieces.
Avoid filling every shelf, since dense storage can turn the divider into a visual wall. I’ve noticed that leaving roughly one-third of the openings clear produces a lighter result. Secure tall furniture against tipping, especially in homes with children or pets, and keep the main walkway completely unobstructed.
An open divider becomes even more useful when combined with these Space-saving Apartment Storage Ideas, especially if you need extra organization without adding bulky cabinets.
Rotating TV Stand

- Position the screen where it can face both the bed and sofa without crossing a walkway.
- Choose a swivel mount or rotating stand rated for the television’s exact size and weight.
- Keep the screen away from direct window glare for comfortable daytime viewing.
- Route power and media cables through clips or a covered channel to prevent visible tangles.
- Confirm that rotation will not strike shelves, walls, lamps, or nearby furniture.
One adjustable screen removes the need for duplicate electronics and helps two areas share the same feature. Test viewing angles from each seat before drilling or assembling anything. A stable base works well for renters, while wall mounting requires suitable fixings and careful attention to the wall material.
Wall-Mounted Dining Table
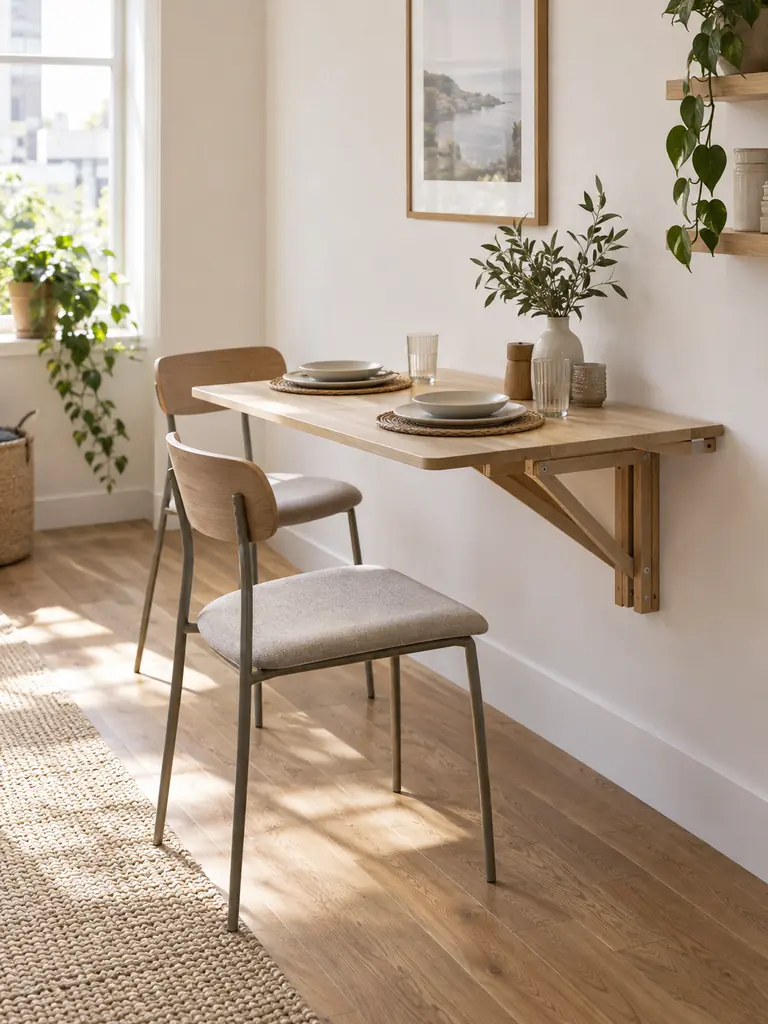
Quick Tip:
Mark the table’s open dimensions on the floor with painter’s tape before installation. Check that chairs, cabinet doors, and the main walking route still work when the surface is fully extended.
A wall-mounted table provides a dedicated place for meals or laptop work, then folds away to restore valuable floor space. Install it at a comfortable seated height and follow the manufacturer’s fixing requirements. Choose stackable or folding chairs that can hang securely or store inside a nearby closet between uses.
Expandable Console Dining
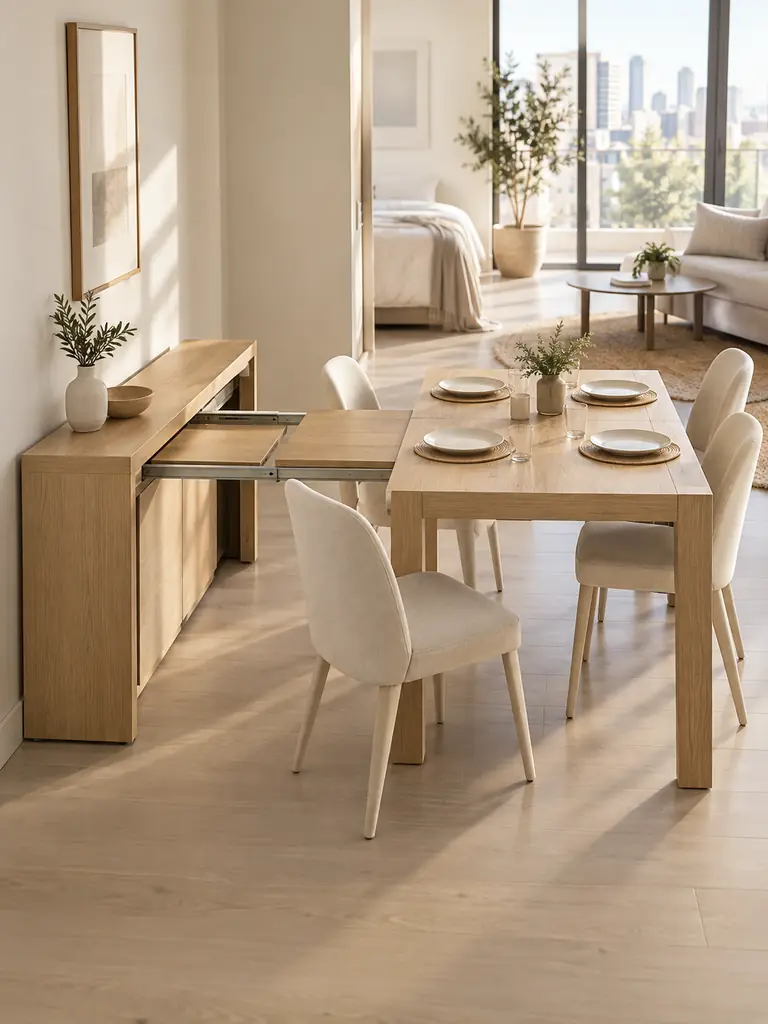
Before:
A full-size dining table consumes valuable floor space even when nobody is eating. Chairs remain scattered around it, narrowing the route between the kitchen and living area.
After:
A slim console supports keys, lighting, or decor during ordinary days. Its expanding top creates a larger dining surface only for meals, work sessions, or guests.
Before purchasing, check both the closed and fully expanded measurements, including space for pulled-out chairs. Store extension leaves and spare seating close enough that setup remains convenient. Select a sturdy mechanism that one person can operate safely, because difficult furniture often stays permanently open or goes unused.
Nesting Side Tables
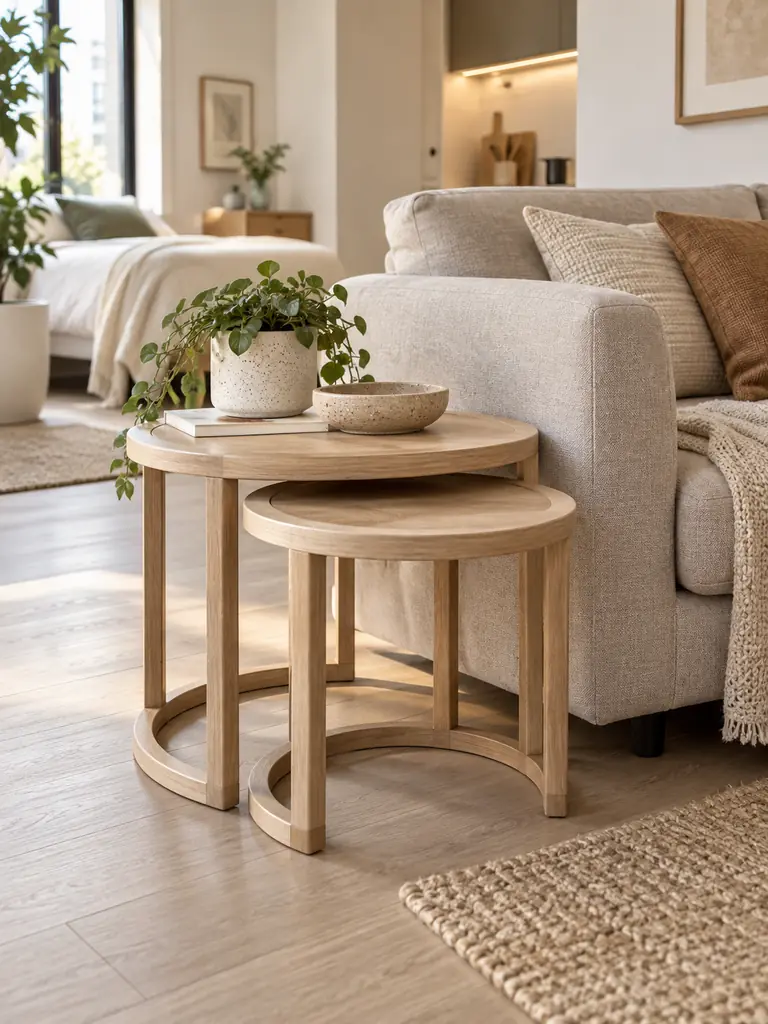
- Measure the open space beside the sofa and the clearance around nearby walkways.
- Choose two or three tables that slide fully together without scratching their surfaces.
- Separate them only when you need extra space for drinks, meals, guests, or laptop work.
- Return the smaller pieces beneath the largest table after use to restore floor space.
- Add felt pads underneath each leg so the tables move smoothly without damaging the flooring.
Nesting tables adapt more easily than a large fixed coffee table because each surface can move independently. Select lightweight pieces with stable bases and rounded corners for narrow routes. Avoid styling every level with decor, since the tables need to remain available for everyday use and stack together without extra clearing.
Transparent Furniture Pieces
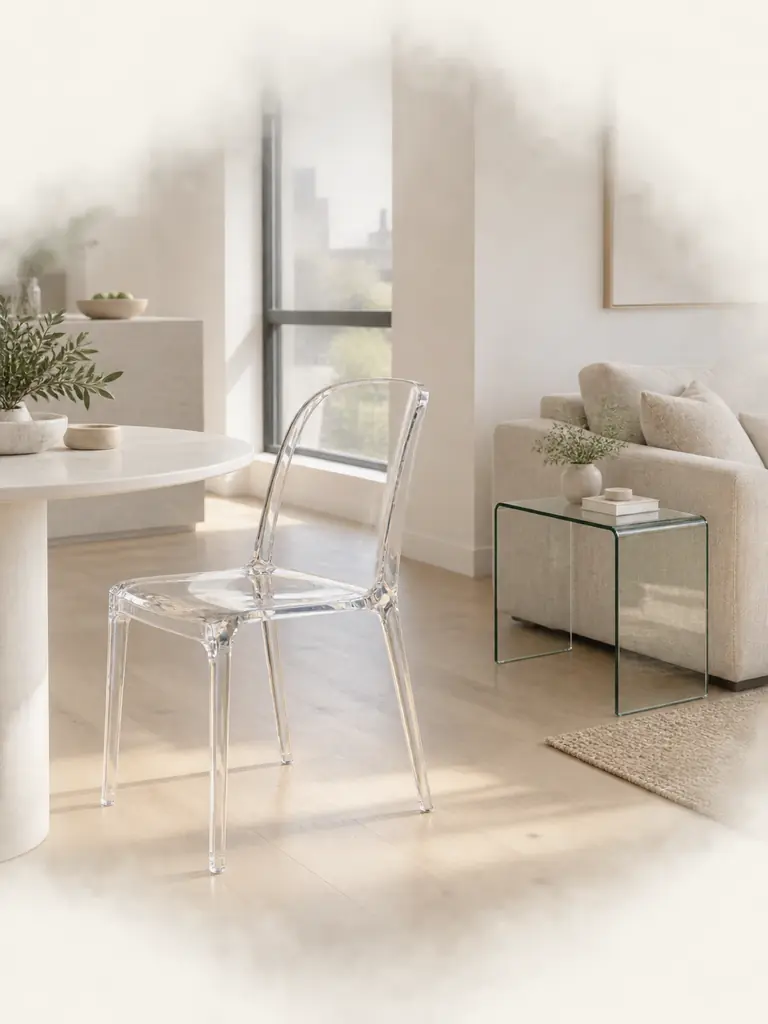
| Solid Furniture | Transparent Furniture |
|---|---|
| Creates a strong visual block | Keeps flooring and walls visible |
| Adds color and material weight | Blends quietly into the room |
| May crowd narrow areas | Suits compact dining or bedside zones |
| Often hides surrounding details | Preserves sightlines around nearby pieces |
Clear furniture reduces visual weight, but it still occupies physical space. Measure carefully and maintain comfortable clearance around acrylic chairs, glass tables, and transparent stools. Choose rounded edges where possible, keep glass away from busy pathways, and clean fingerprints regularly so the piece retains its light, barely-there appearance.
Leggy Furniture Style
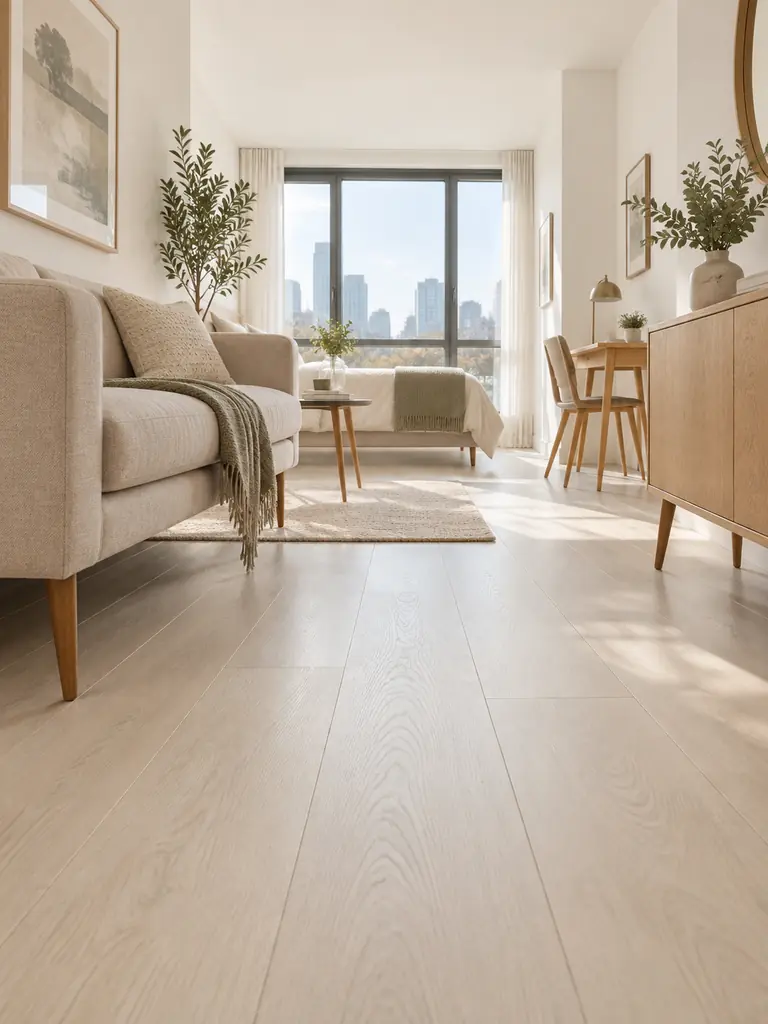
Do:
- Choose sofas, cabinets, and tables with visible space beneath their frames.
- Keep the flooring below each item clean and mostly empty.
- Select narrow legs that match other wood or metal finishes in the room.
- Check weight capacity and stability before purchasing elevated furniture.
Don’t:
- Fill every open area underneath with mismatched storage boxes.
- Choose delicate legs for furniture that carries substantial weight.
- Combine too many competing leg shapes and finishes.
- Allow cords and clutter to collect beneath raised pieces.
Visible flooring helps the room feel less packed, even when the furniture footprint remains unchanged. I’ve noticed that matching leg finishes creates a calmer, more connected scheme. Use hidden cable clips and only add under-furniture storage when containers fit neatly, remain easy to access, and match the surrounding palette.
Ceiling-Height Curtains

Cost: Moderate
Difficulty: Beginner
Best For: Studios with standard or low ceilings
Result: Taller-looking walls and a more polished window
High curtain placement draws attention upward and makes the wall appear longer. Mount the rod several inches above the window frame where the wall and hardware allow, then extend it beyond both sides so open panels reveal more glass. Choose fabric that reaches the floor without forming a bulky puddle.
Oversized Mirror Placement

A large mirror can visually extend a compact apartment by repeating light and open space. Place it opposite or beside a window where it reflects the brightest part of the room, not a cluttered kitchen counter or crowded storage area. Use one substantial mirror instead of several disconnected small designs.
Before positioning it, check the reflection from the entrance, sofa, bed, and dining seat. Secure leaning or wall-mounted mirrors according to their weight and the wall type. Avoid placing one where direct sunlight creates uncomfortable glare. The strongest result comes from reflecting an organized, attractive part of the apartment.
Layered Lighting Zones
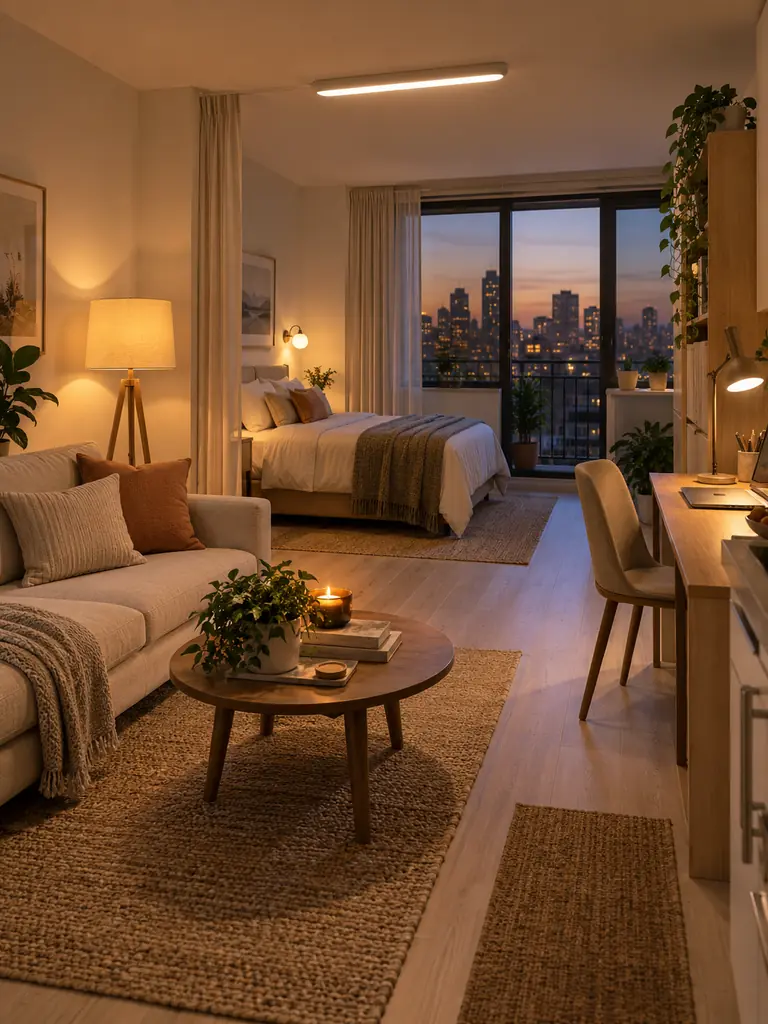
- Use a ceiling fixture to provide even general light across the apartment.
- Add a focused desk lamp that supports work without illuminating the sleeping area.
- Place a floor or table lamp beside the sofa for softer evening light.
- Install a wall-mounted bedside light to preserve limited table space.
- Keep bulb color temperatures consistent, preferably warm white between 2700K and 3000K.
Separate light sources let each zone function independently and reduce the flat appearance created by one harsh ceiling bulb. Put lamps on accessible switches or smart plugs, then turn on only the layers needed for the activity. Keep cords secured along walls and away from doorways, rugs, and walking routes.
Continuous Color Scheme
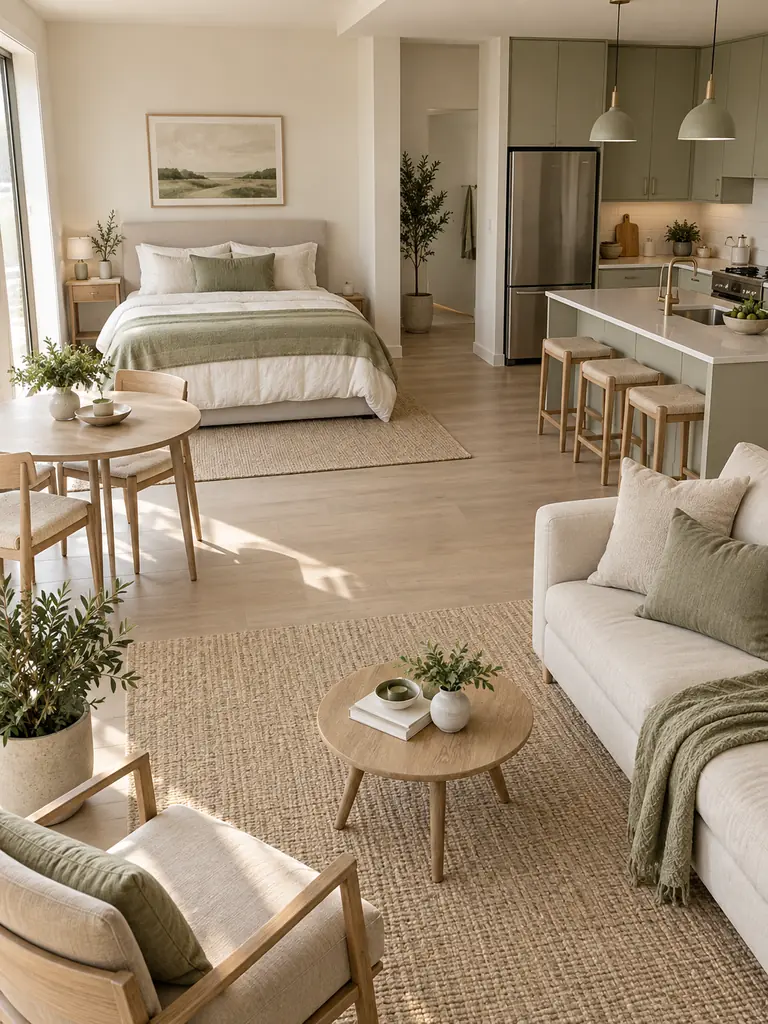
Quick Tip:
Select one light base color, one warm material tone, and one muted accent before buying furniture or decor. Repeat them across every zone so the apartment reads as one connected interior rather than several unrelated mini rooms.
A continuous palette helps the eye move through the studio without stopping at abrupt color changes. Apply the lightest shade to the largest surfaces, repeat wood tones through furniture, and reserve the accent color for small textiles or artwork. Keep permanent kitchen finishes in mind when choosing the final combination.
Large-Scale Wall Art

Before:
Several small frames cover the wall in an uneven arrangement. Competing images and narrow gaps make the apartment feel busier, while the display lacks a clear focal point.
After:
One substantial artwork anchors the seating area and gives the wall a cleaner structure. The simplified display adds personality without introducing multiple colors, frames, or visual interruptions.
Choose a piece narrower than the furniture beneath it and leave open wall space around every edge. Lightweight canvas or acrylic-front frames are easier to handle than heavy glass. Hang artwork securely at a comfortable viewing height, and select colors that connect with the apartment’s established palette rather than creating a separate theme.
Hidden Workstation Cabinet

- Measure the laptop, chair, and working clearance before selecting a cabinet or secretary desk.
- Choose a design with doors or a folding panel that closes completely after work.
- Install a compact task light and route charging cables through the rear opening.
- Store only daily office supplies inside shallow trays or labeled containers.
- Close the workstation each evening and return the chair to its secondary use or storage position.
A concealed workstation prevents office equipment from dominating the living and sleeping areas after working hours. In my experience, closing the doors creates a helpful mental boundary at the end of the day. Ensure the cabinet receives ventilation, and never trap warm chargers, power strips, or active electronics inside an enclosed compartment.
Kitchen Boundary Runner
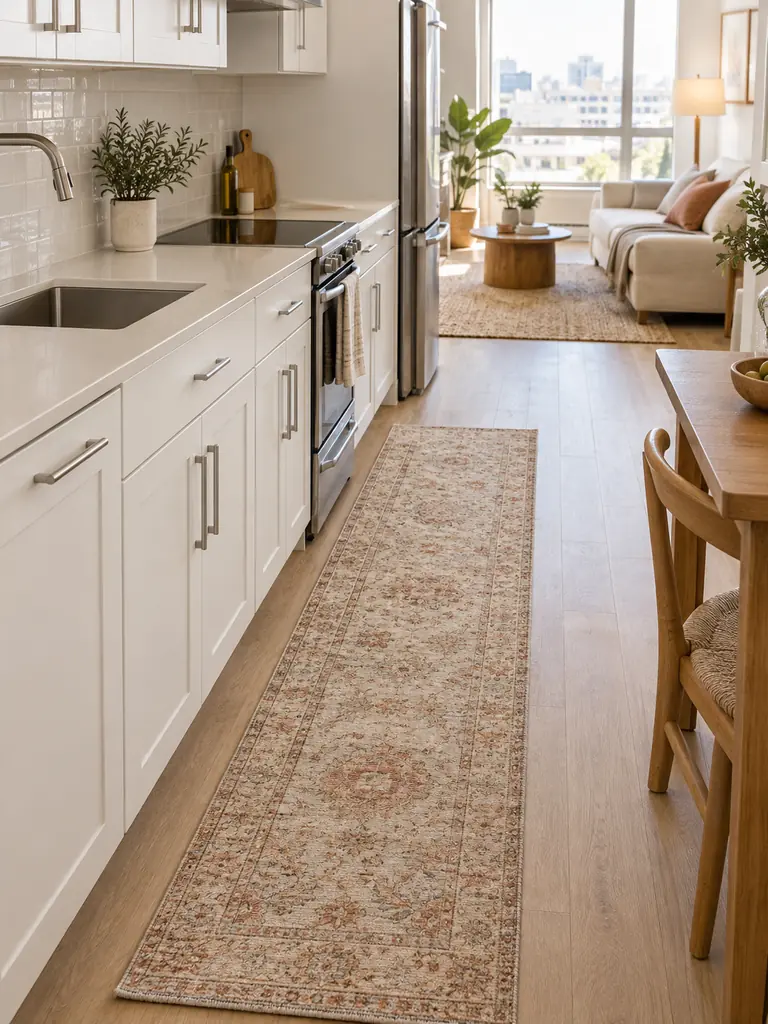
| Oversized Rug | Slim Runner |
|---|---|
| Extends into the living zone | Stays within the kitchenette |
| Interrupts surrounding floor lines | Creates a clear visual boundary |
| Can obstruct cabinets or stools | Fits beside counters and appliances |
| More difficult to clean | Easy to lift and wash |
A runner defines the kitchen without requiring an island, divider, or extra furniture. Measure the open floor between cabinets and pathways, then choose a flat, nonslip, washable design. Leave clearance around appliance doors and avoid thick edges that may catch shoes, stools, or cabinet doors during daily use.
Entry Drop Zone
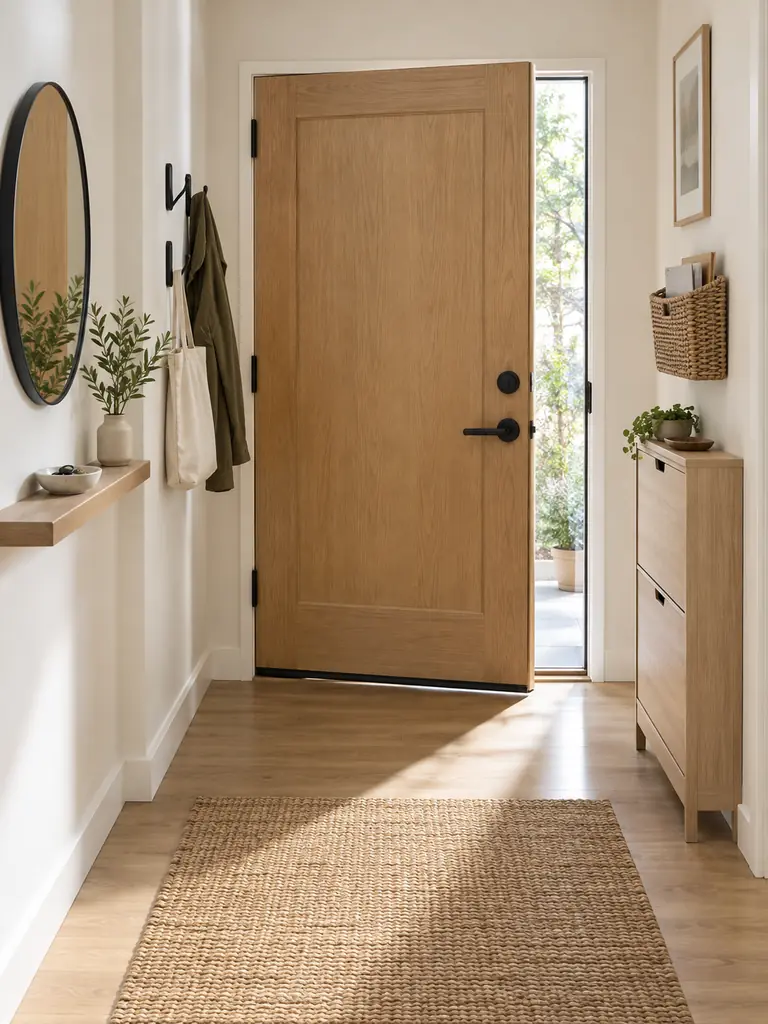
Do:
- Assign one small container for keys, cards, and other pocket items.
- Install hooks for the bag or jacket used most frequently.
- Choose a closed shoe cabinet shallow enough for the available wall.
- Sort mail before it moves into the main living area.
Don’t:
- Place storage within the door’s full opening path.
- Let hooks become permanent storage for every coat and bag.
- Leave footwear across the main walkway.
- Use a wide console in a narrow entrance.
A controlled landing area stops everyday belongings from spreading across the sofa, table, and kitchen counter. Limit the setup to items used while entering or leaving home, then relocate everything else. Review the zone weekly, remove outdated papers, and return occasional shoes or outerwear to longer-term storage.
Flexible Furniture Pathways
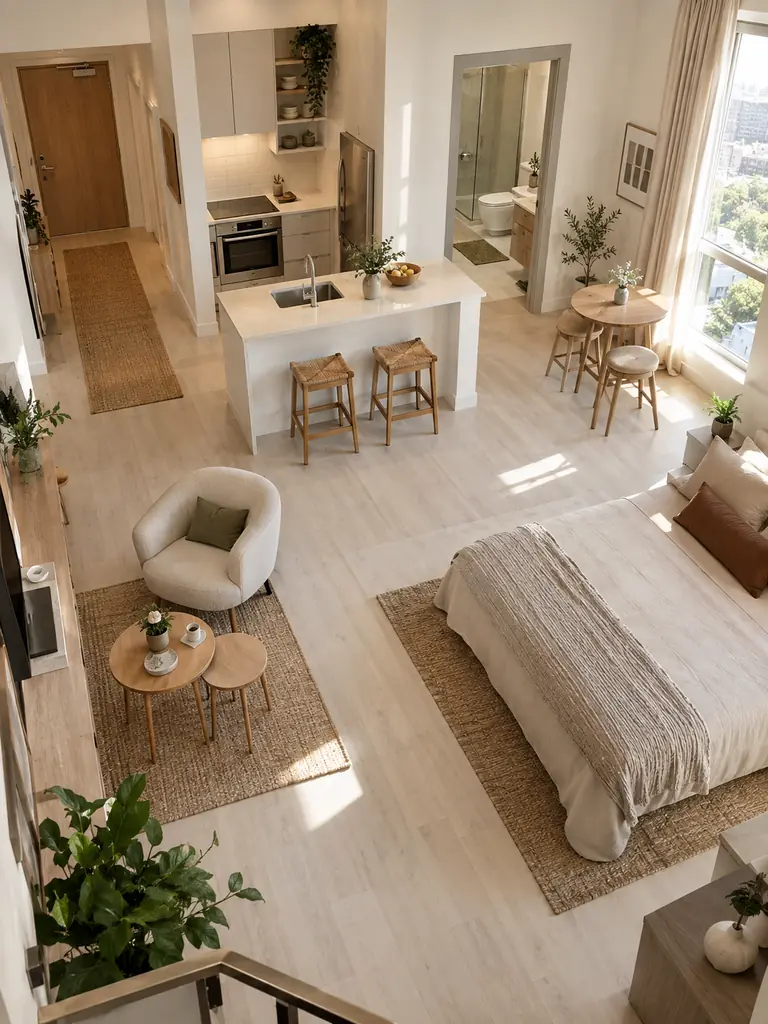
Time: About 30 minutes
Difficulty: Beginner
Best For: Busy layouts with several daily functions
Result: Safer movement and easier furniture changes
Mark the routes you use most, then move small furniture completely outside those paths. Lightweight tables, stools, and chairs should have a clear resting position when not in use. Aim for consistent walkway widths, avoid sharp corners near turns, and test the layout while carrying laundry, groceries, or bedding.
Visual Clutter Review
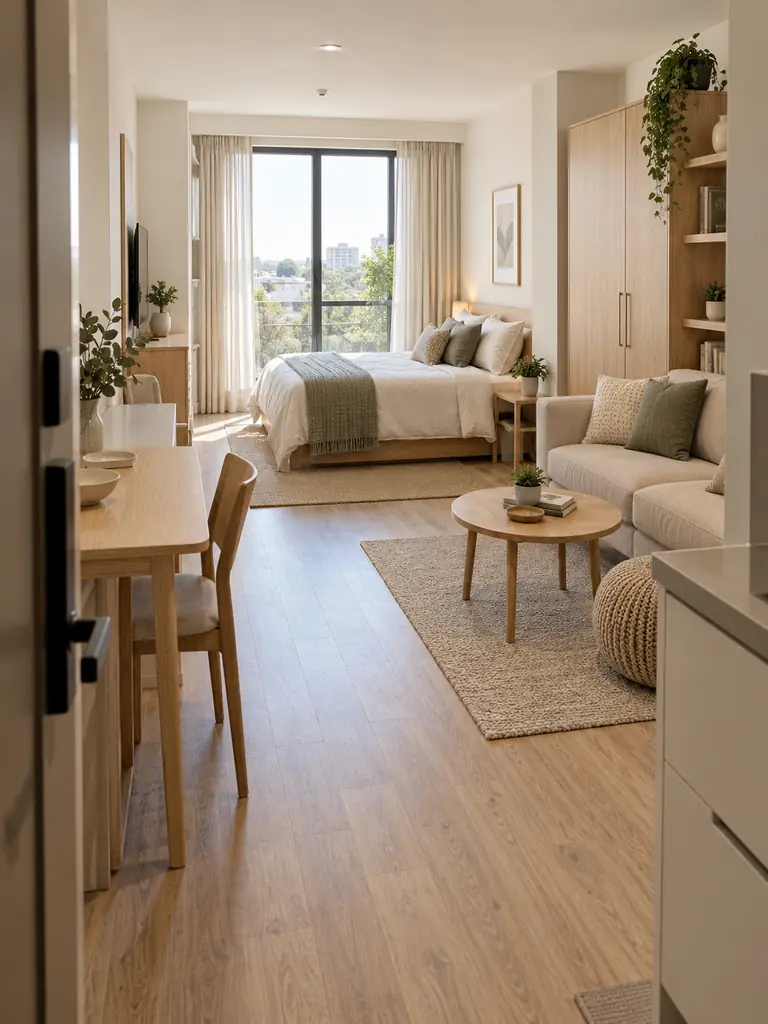
The final edit often has more impact than adding another piece of furniture. Stand at the entrance, photograph the studio, and identify crowded surfaces, repeated decorations, exposed cables, mismatched containers, and objects blocking sightlines. Remove one item at a time, then review the room from several seating positions.
Strong studio apartment ideas support everyday routines without making the interior harder to maintain. Keep items that provide function, comfort, or meaningful character, and relocate everything else to assigned storage. Check windows, walking routes, and furniture edges once more. A calmer visual field helps every carefully planned zone feel larger.
After simplifying the layout, use these Simple Daily Organization Habits to stop clothes, papers, and everyday belongings from spreading across the studio again.
Conclusion
A studio can feel organized, comfortable, and visually spacious when every piece supports the layout. These studio apartment ideas show how clear pathways, flexible furniture, connected colors, layered lighting, and carefully defined zones can improve one-room living. Start with a free change, such as moving furniture or removing visual clutter, before purchasing anything new. I’ve seen how one thoughtful layout adjustment can completely shift the way a compact home feels. Save this post on Pinterest for future reference, test your favorite ideas in your own apartment, and share it with someone who needs more room. Choose one change today and let your space breathe.