
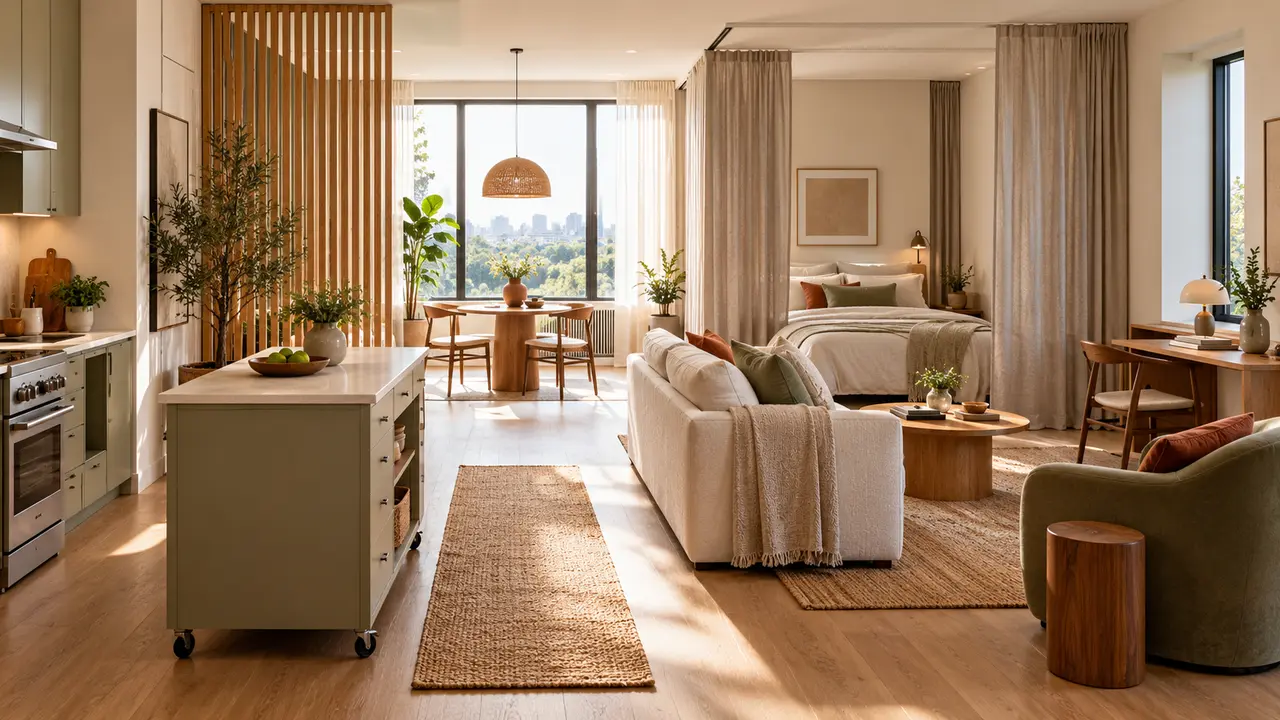
One open room can support an entire home without feeling crowded or confused.
The right Studio Apartment Layout Ideas create recognizable places for sleeping, dining, working, relaxing, dressing, and welcoming guests while keeping movement easy.
This guide focuses on smart zoning methods that use furniture placement, rugs, lighting, color, storage, movable screens, and daily reset routines instead of unnecessary walls. You will learn how to protect natural light, preserve a clear main aisle, combine compatible functions, and test furniture before committing. In my experience, a studio feels larger when every zone has a clear purpose but still belongs to the same visual story. Start with your daily activities, then shape the apartment around how you genuinely live.
Table of Contents
Daily Activity Diagram
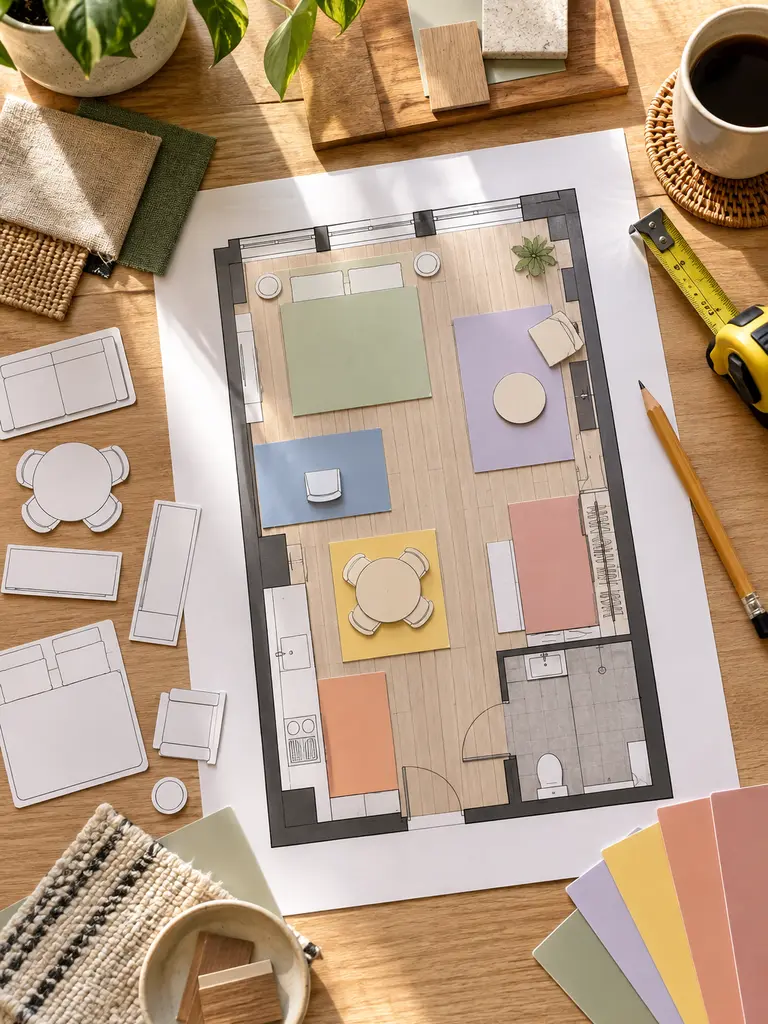
A studio works better when its layout begins with real routines instead of furniture placement. List where you sleep, cook, eat, work, dress, relax, and welcome visitors. Mark the time each activity happens and note which tasks need light, privacy, storage, outlets, or open floor space.
Overlap compatible routines before creating separate zones for everything. In my experience, the strongest studio apartment layout ideas let one area handle several activities without constant disruption. A dining table may support work, while a bench can serve meals, guests, and storage. Protect incompatible activities, especially sleep and noisy entertainment.
After mapping your routines, explore these Small Apartment Decorating Ideas for furniture scale, lighting, storage, and visual details that support each planned zone.
Entry Buffer Strip
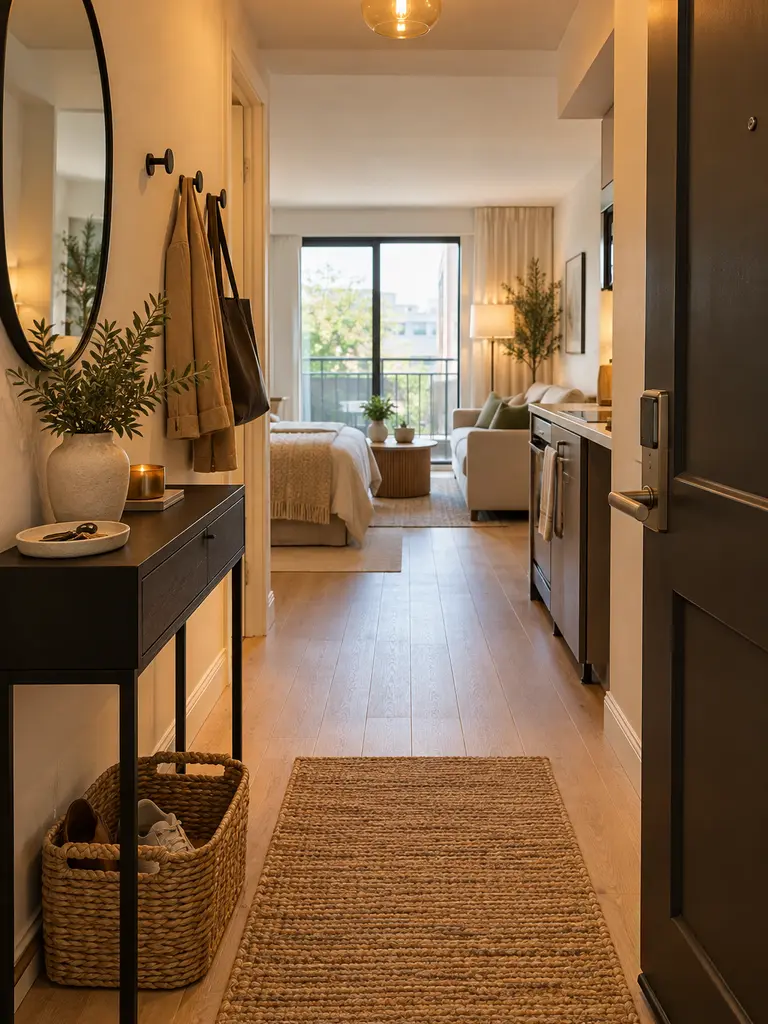
- Give the entrance a clear function before it visually merges with the living area.
- Use a shallow tray for keys, cards, and other pocket items.
- Add compact hooks or a freestanding rack for bags and outerwear.
- Place a washable shoe mat within the door swing clearance.
- Keep the route toward the kitchen, bathroom, and bed completely open.
A narrow arrival zone prevents outdoor items from spreading through the apartment and creates a sense of separation at the door. Limit storage to everyday essentials, since an overloaded entry feels smaller immediately. If clutter continues moving inward, reposition the drop point closer to the natural path rather than adding more containers.
Sofa-Back Boundary

Quick Tip:
Outline the sofa on the floor before turning it away from the bed. Confirm that the back looks finished, the main aisle remains comfortable, and nearby drawers or doors can still open fully.
A sofa can define the lounge without blocking light or requiring a permanent divider. Keep its back parallel with the sleeping zone for a cleaner visual line, then add a narrow console only if passage width permits. A low profile preserves longer sightlines and helps both areas feel connected yet distinct.
Bedside Storage Spine
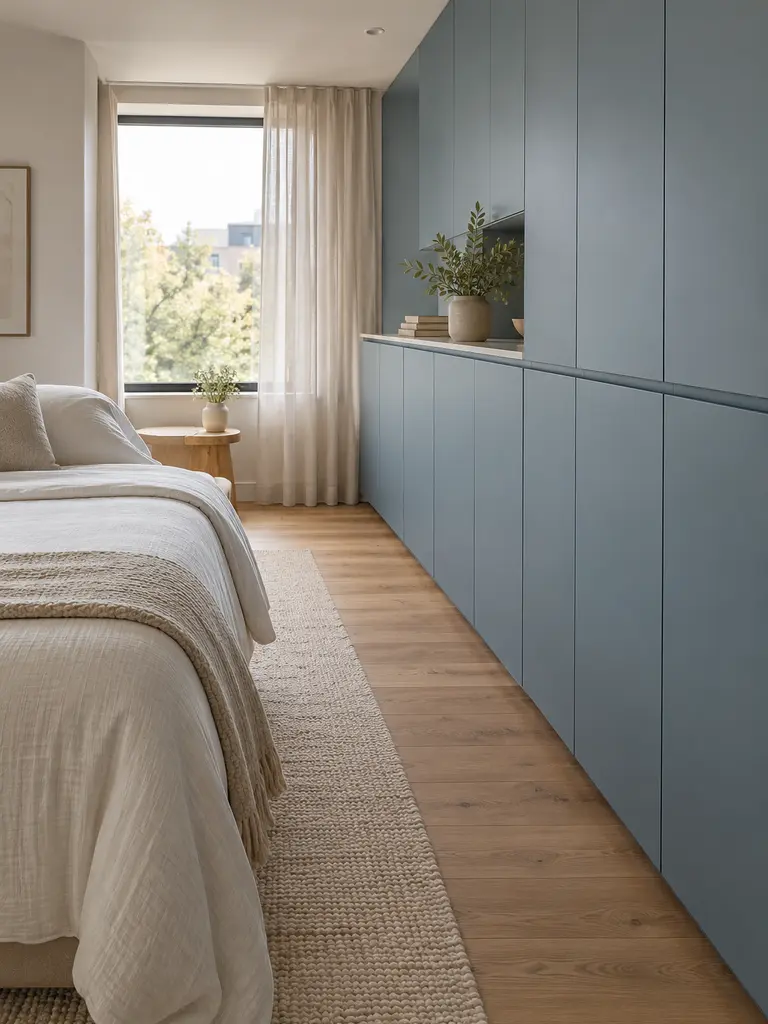
BEFORE:
Small nightstands, baskets, and loose belongings form separate clusters around the bed. The sleeping area lacks a clear edge, and personal items spread into the main apartment.
AFTER:
One continuous row of shallow closed storage creates an organized boundary beside the bed. Nighttime essentials, clothing, and linens stay together without requiring several unrelated pieces.
A storage spine works best when every door and drawer opens without entering the bedside passage. Keep the unit lower than nearby sightlines and divide the interior by category. A consistent finish helps it read as one architectural line rather than additional furniture placed wherever space remained.
For more ways to organize shallow gaps, movable furniture, and overlooked areas, explore these practical Small Space Storage Ideas.
Curtain-Framed Sleep Bay
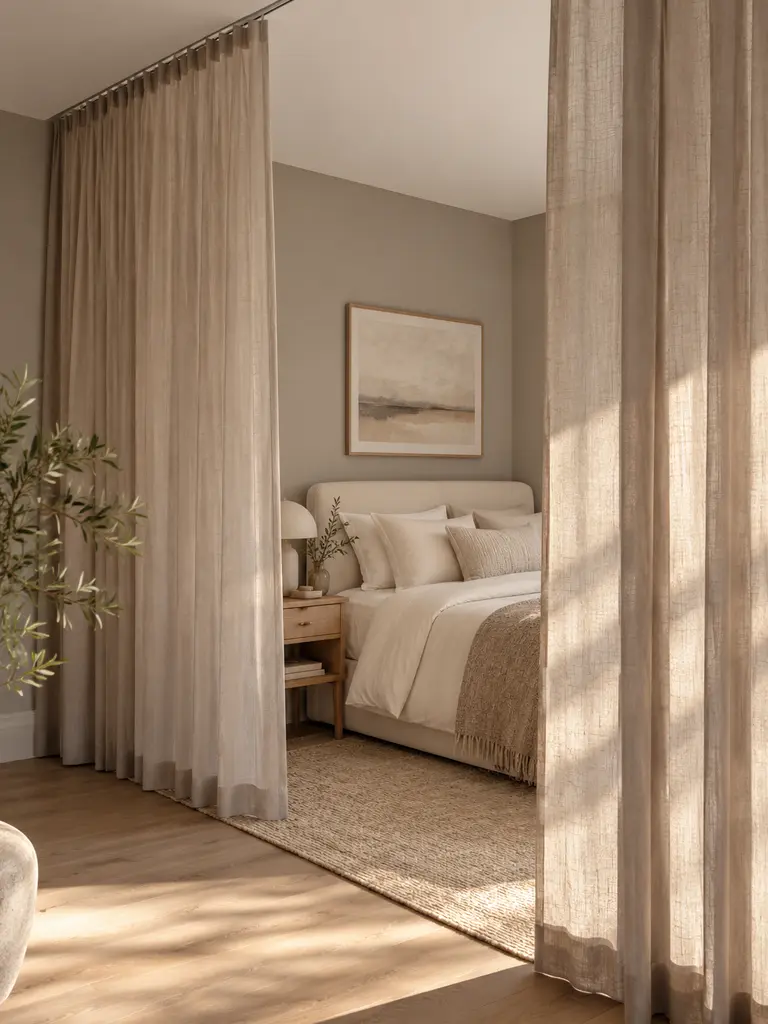
- Check installation permission. Confirm whether the lease allows ceiling-mounted tracks or other proposed supports.
- Measure the enclosure. Leave comfortable access on at least one side of the bed.
- Choose lightweight fabric. Use breathable panels that slide smoothly and remain easy to wash.
- Protect airflow. Keep curtains away from vents, heaters, lamps, and sleeping faces.
- Test both positions. Confirm that open panels stack neatly without blocking storage or pathways.
Curtains provide adjustable privacy while occupying less floor space than a solid partition. Choose a tone related to the walls so the enclosed bed does not feel visually heavy. Open the panels during the day for airflow and daylight, then close them only when separation is genuinely useful.
If permanent tracks or wall changes are restricted, these Renter Friendly Bedroom Ideas offer movable screens, freestanding backdrops, temporary lighting, and reversible alternatives.
Raised Sleep Platform
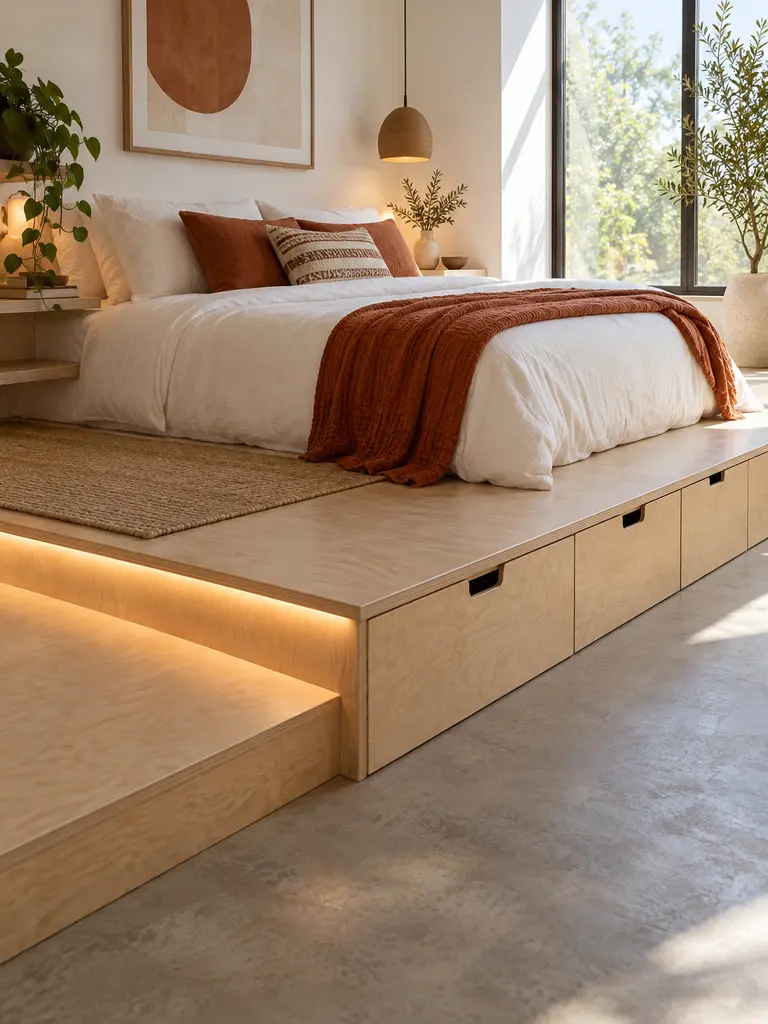
| Feature | Standard Bed Frame | Raised Sleep Platform |
|---|---|---|
| Zone definition | Relies on surrounding decor | Creates a visible level change |
| Storage potential | Limited underneath | Can include fitted compartments |
| Installation | Usually simple | Requires careful construction |
| Flexibility | Easier to relocate | More fixed and substantial |
A low platform gives the sleeping area a clear footprint while creating storage below, but safe construction is essential. Use professional guidance for load capacity, ventilation, edge protection, and rental approval. Keep the level change visible after dark, and avoid heights that make entry awkward or create a fall risk.
Focused Media Wall
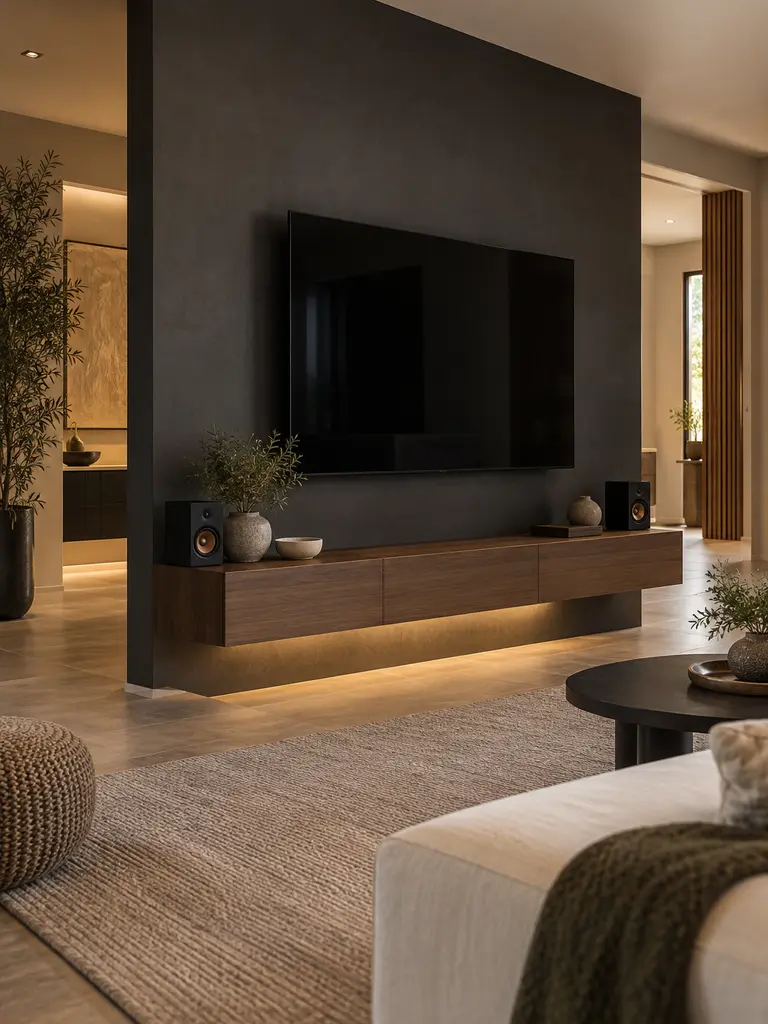
DO
- Keep the screen, speakers, remotes, and media storage within one shallow zone.
- Choose closed compartments for cables and occasional accessories.
- Position the screen at a comfortable seated viewing height.
- Maintain access to outlets and ventilation.
DON’T
- Spread electronics across several furniture pieces.
- Block the main route with a deep console.
- Hide power strips where heat can build.
- Let cables cross the floor.
Concentrating media equipment prevents technology from visually taking over the apartment. A narrow console or wall-mounted system can preserve more floor area, but installation must suit the lease and wall type. Keep decorative objects limited so the screen wall remains functional, balanced, and easy to clean.
Window Dining Pocket

Cost: Low to moderate
Setup Time: About one afternoon
Best For: Breakfast, laptop work, and meals for one or two
Result: A brighter dining zone with a compact footprint
A table near the window gains natural light and a pleasant outward view, making a small dining area feel more inviting. Choose a shape that preserves curtain movement and window access, and keep chairs within the table footprint when unused. Avoid blocking heaters, vents, or emergency openings.
A nearby outdoor area can also become a compact dining retreat with these Balcony Ideas For Small Apartments.
Banquette Work Hub
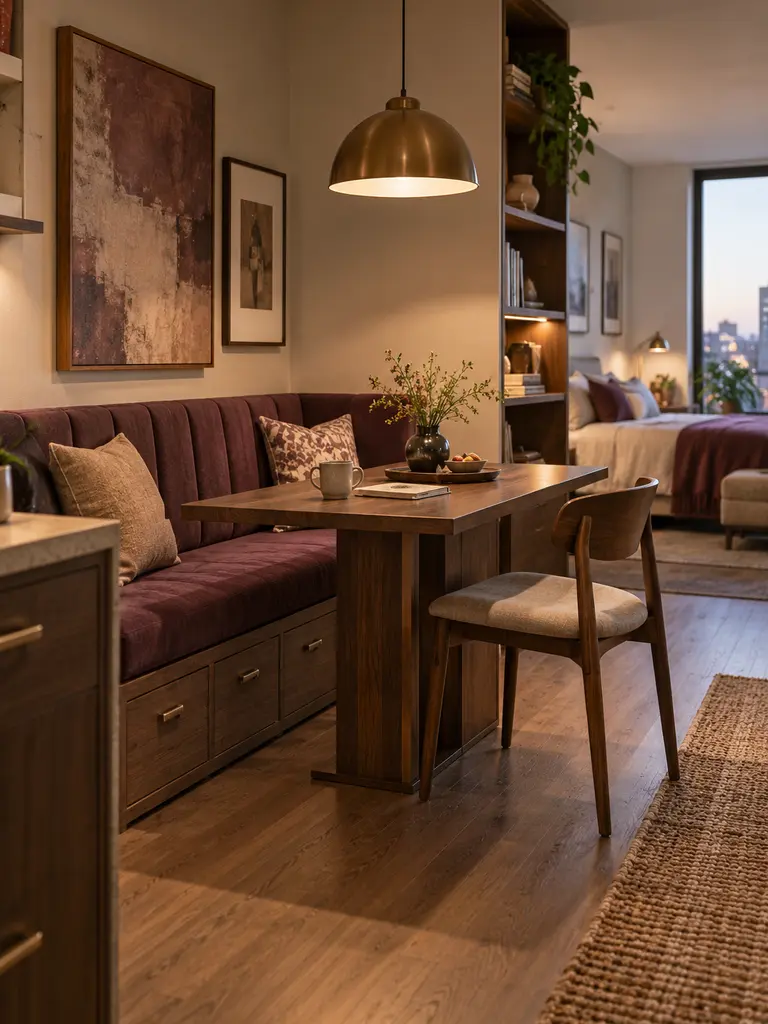
A wall-side bench can support dining, work, and guests without requiring chairs around every edge. Pair it with a compact table that reaches the bench comfortably, then add one lightweight chair on the open side. Select upright seat support so longer laptop sessions remain reasonably comfortable.
Store only related items beneath the bench, such as table linens, office supplies, or occasional serving pieces. I’ve seen this work well when each activity has a portable container that can be removed quickly. Clear the tabletop after work so the zone can shift functions without carrying visual clutter.
Galley Kitchen Border
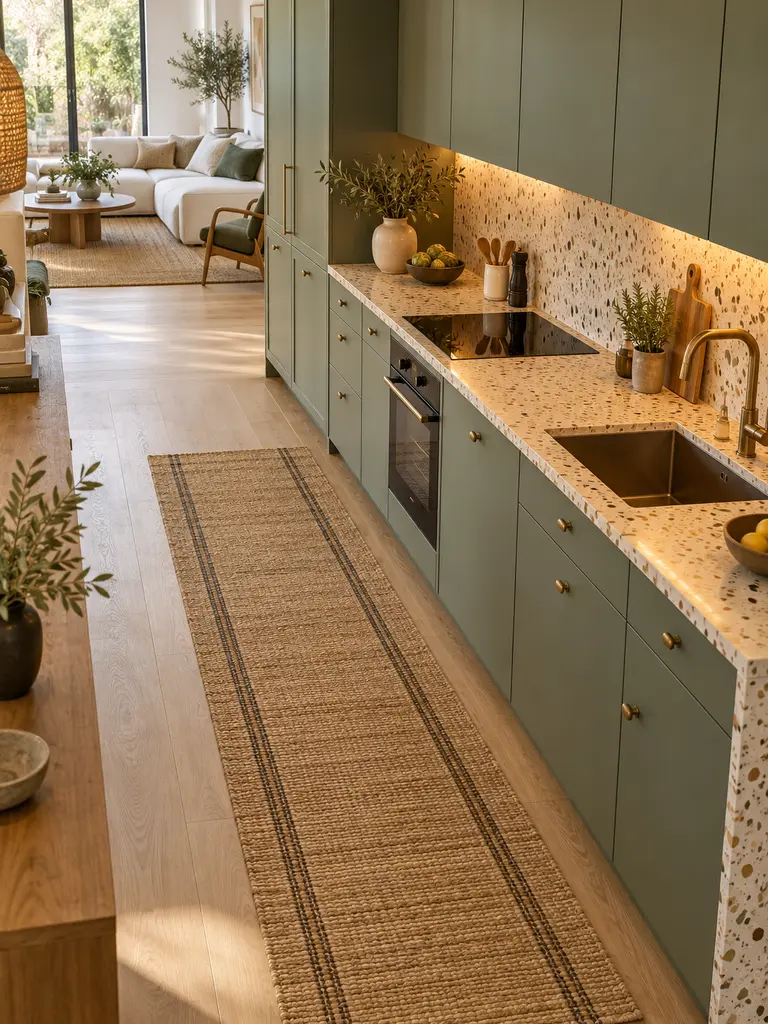
- Mark the kitchen footprint without installing a divider that narrows the apartment.
- Place a washable runner parallel with the cabinets and beyond door swings.
- Keep counter storage aligned instead of spreading appliances toward the living zone.
- Use focused under-cabinet lighting to strengthen the kitchen boundary.
- Repeat one material or color across handles, textiles, and small accessories.
A visual border helps the kitchen feel intentional while preserving open movement through the studio. Select a rug with a nonslip backing suitable for the floor and enough clearance from heat sources. Keep the outer counter edge mostly clear so cooking supplies do not gradually migrate into the adjoining lounge.
Compact cooking zones can stay functional with these Storage Ideas For Kitchens Without Pantries, including cabinet systems, narrow shelves, and movable furniture.
Island Edge Transition
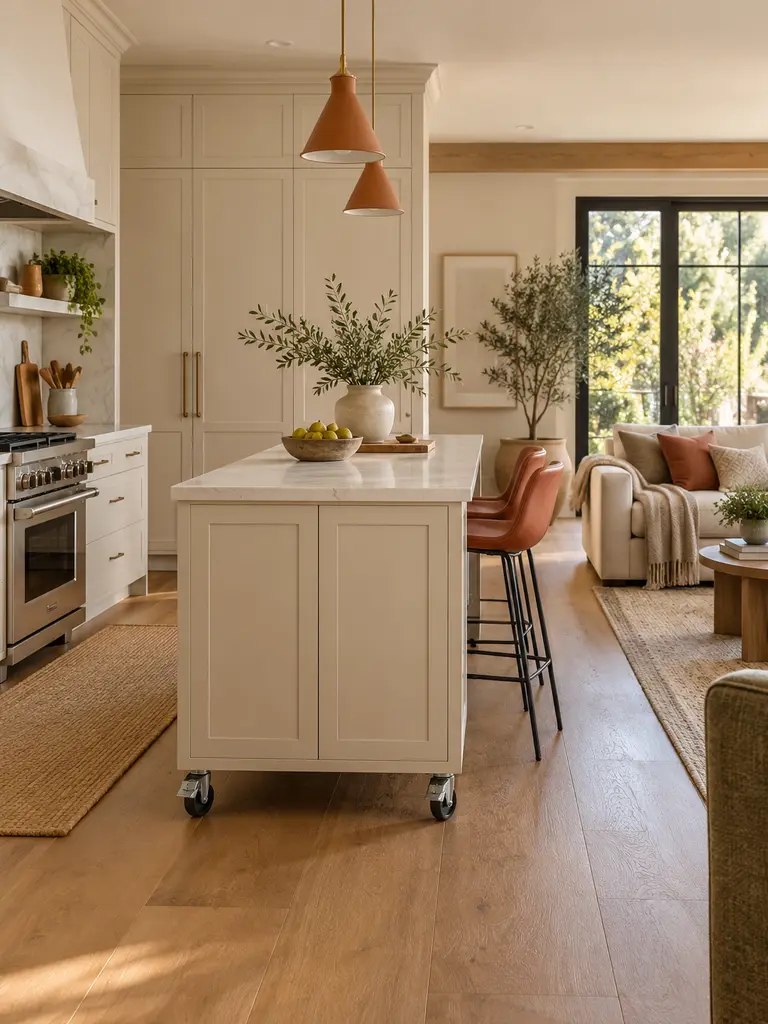
Quick Tip:
Use a narrow movable island with locking wheels so its position can change for cooking, dining, or entertaining. Measure appliance doors, cabinet access, and the complete walking route before choosing its depth.
A mobile island creates preparation space and a readable boundary without committing to fixed cabinetry. Keep the living-facing side visually quiet with closed storage or shallow shelves. Lock the wheels during use, distribute weight evenly, and preserve enough clearance for two people to pass safely when the apartment is busy.
Rug-Coded Lounge
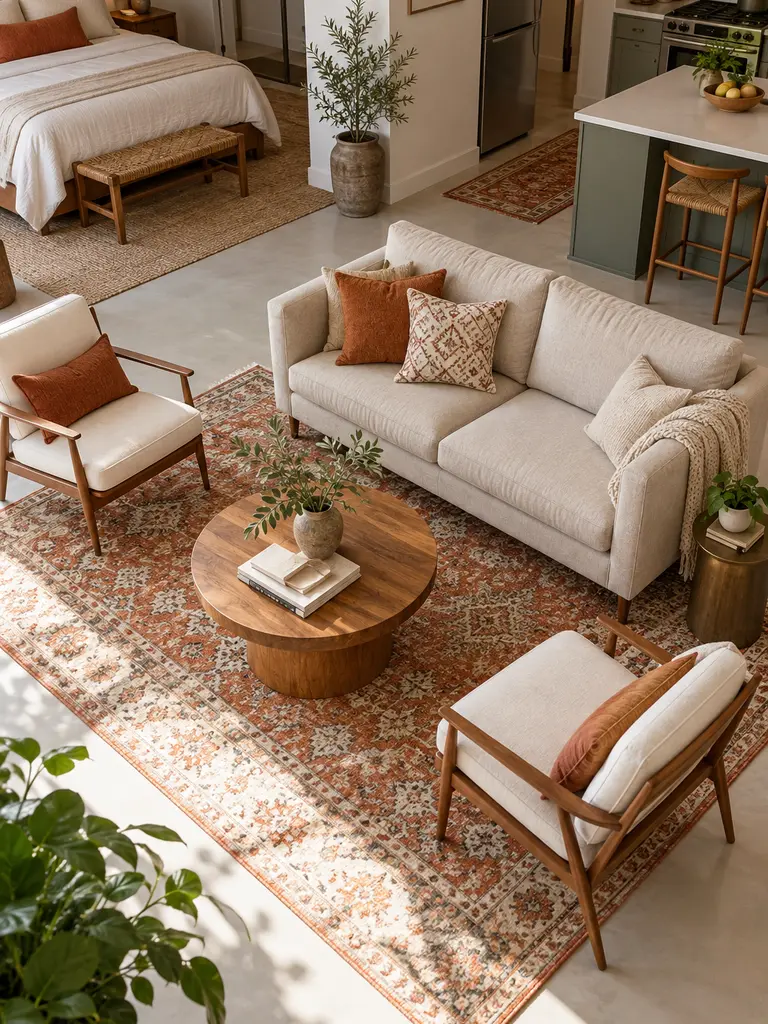
BEFORE:
The sofa, coffee table, and occasional chair appear to float between the kitchen and bed. Without a shared visual base, the living area feels temporary and poorly defined.
AFTER:
One correctly scaled rug connects the seating pieces and establishes a recognizable lounge. The surrounding floor remains visible enough to separate adjacent functions.
A rug defines space most clearly when its edges relate to the furniture rather than sitting alone in the center. Place at least the sofa’s front legs on it, keep corners flat, and select a pattern that supports the apartment’s wider palette. Avoid creating a raised obstacle across the main aisle.
Once the lounge zone is defined, use these Layout Ideas For Small Living Rooms to position seating, tables, and walkways more effectively.
Rotating Slat Screen
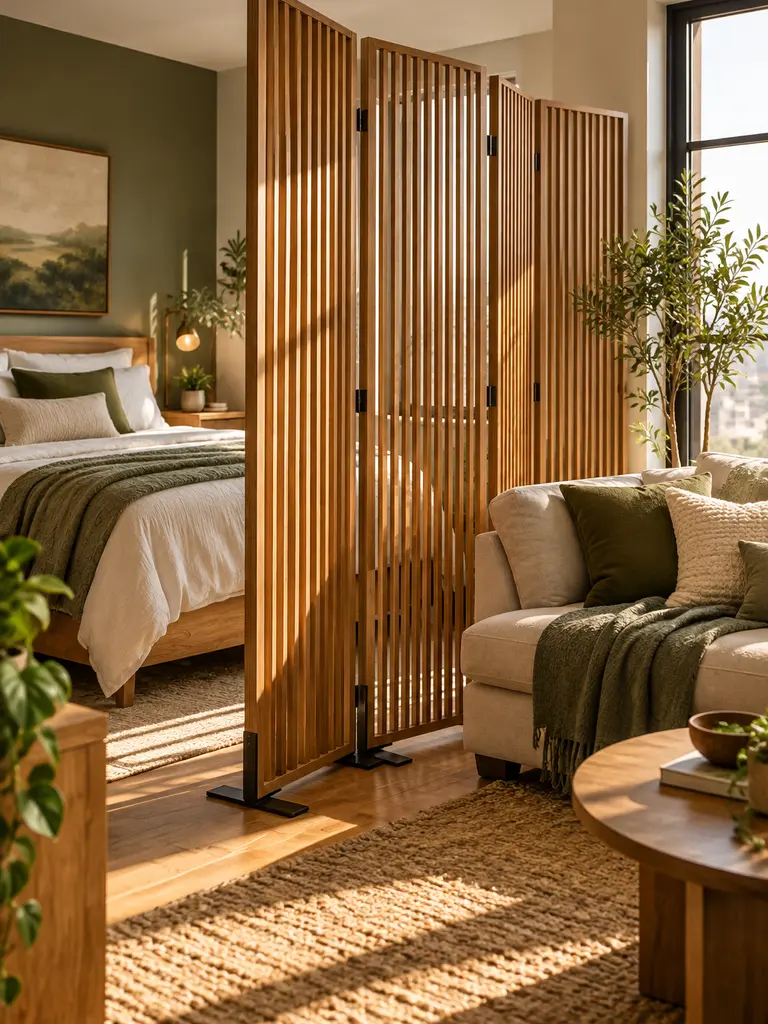
- Choose an open design. Select slats that soften the view without creating a solid visual wall.
- Confirm the base. Use a stable freestanding frame suitable for the screen’s height and weight.
- Plan both angles. Rotate the slats to test privacy from the entrance and seating area.
- Protect circulation. Keep the complete screen outside door swings and walking routes.
- Check daylight. Make sure natural light still reaches the sleeping area.
An adjustable screen changes privacy throughout the day without permanently dividing the studio. Keep its finish related to nearby furniture so it appears intentional from both sides. Regularly test moving components and stability, especially if the panel stands near the bed, sofa, or another frequently used area.
Bookshelf Desk Endcap
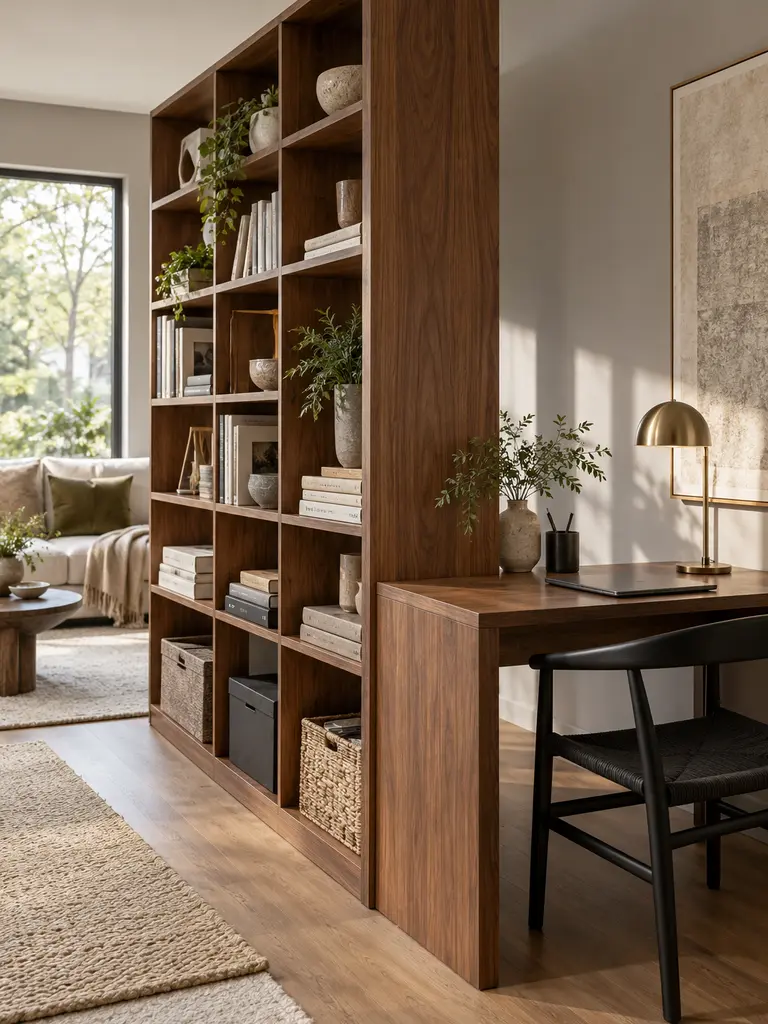
| Feature | Separate Desk | Bookshelf Endcap |
|---|---|---|
| Furniture count | Adds another piece | Combines two functions |
| Zone definition | Depends on placement | Creates a clear work edge |
| Storage access | Office supplies only | Books and work materials |
| Visual footprint | Can feel isolated | Reads as one unit |
A desk positioned at the end of a freestanding bookcase can define the office without consuming an additional wall. Match the work-surface depth to the shelf and keep the structure stable from every direction. Leave upper compartments partly open so the boundary stores essentials without becoming a heavy visual block.
If your work zone is located inside the sleeping area, these compact bedroom desk setups can help preserve comfort and clear movement.
Closet Dressing Corridor

DO
- Keep the mirror, laundry, and daily clothing near the closet.
- Leave room for every door and drawer to open.
- Use focused lighting that shows clothing colors accurately.
- Maintain a clear standing area for dressing.
DON’T
- Place baskets inside the walking route.
- Let open drawers block the bathroom path.
- Position the mirror where it reflects kitchen clutter.
- Spread clothing storage across unrelated zones.
Concentrating dressing tasks near the closet reduces repeated movement through the studio and keeps clothing away from the living area. Test the corridor while carrying laundry and opening storage simultaneously. A narrow bench or hook can help, but add it only if comfortable clearance remains after the closet is fully open.
Bed-Foot Storage Line

Cost: Moderate
Setup Time: One to two hours
Best For: Separating the bed from a central living zone
Result: Added storage with a low visual boundary
A closed unit beyond the foot of the bed can hide linens, clothing, or media accessories while clarifying where the sleeping area ends. Keep it lower than the mattress or nearby sightline, leave enough room for bed access, and secure any piece that could shift or tip during use.
Corner Reading Triangle

Three carefully chosen pieces can turn an overlooked corner into a complete reading zone. Position a compact upright chair beside a narrow light and small table, arranging them as a tight triangle rather than spreading them along separate walls. Maintain comfortable access without entering the apartment’s main route.
Choose a chair with a shallow depth, direct the lamp away from the bed, and reserve the table for a drink and current book. In my experience, strict limits keep this zone useful. Extra baskets, floor cushions, and stacked books quickly convert a restful corner into another storage area.
Fold-Away Guest Zone
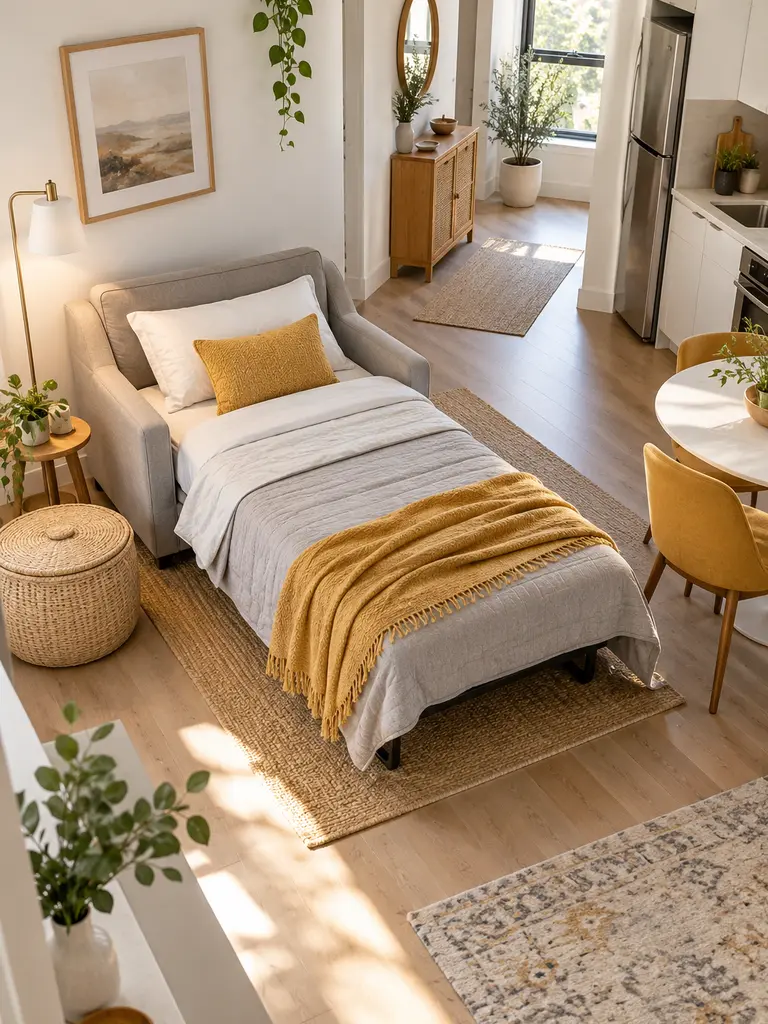
- Reserve a clear section of floor before selecting convertible guest furniture.
- Choose a folding bed, compact sleeper chair, or portable mattress that stores efficiently.
- Measure the item in both closed and fully opened positions.
- Keep a labeled bedding set nearby but outside the daily living area.
- Test access to the bathroom, kitchen, and exit after setup.
A guest zone should appear only when needed and disappear without rearranging the entire apartment. Mark the open footprint with removable tape before purchasing anything. Avoid designs that block essential pathways or require heavy furniture to move, and let bedding dry completely before returning it to enclosed storage.
Rolling Partition Station
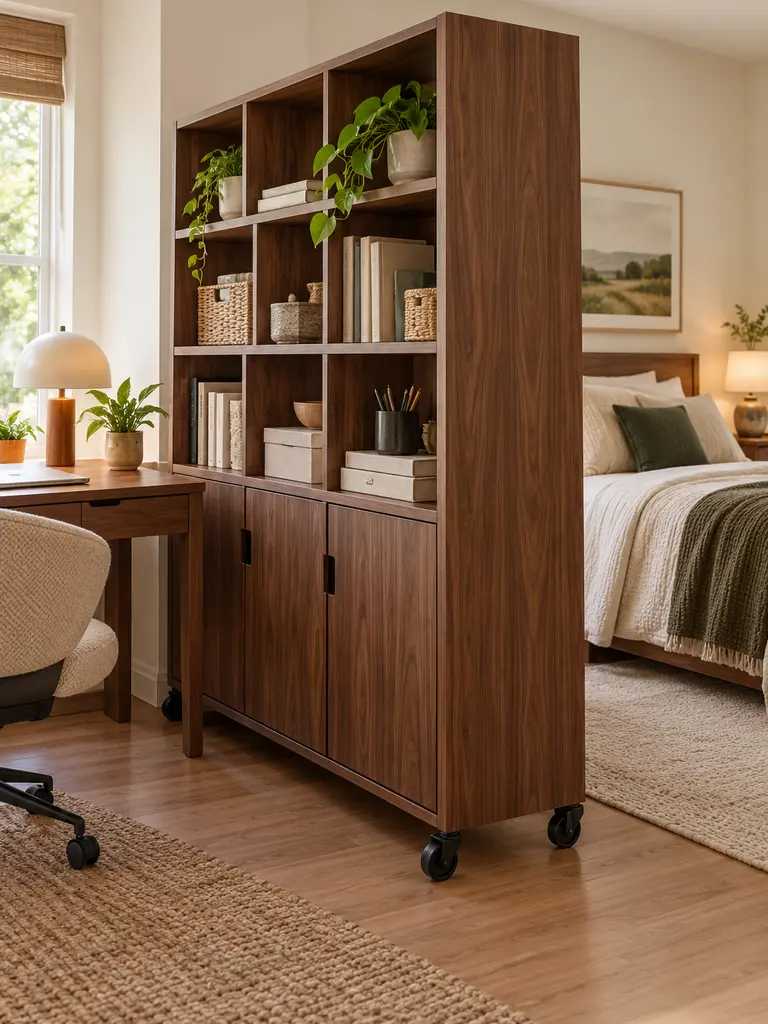
Quick Tip:
Select a mobile unit with locking wheels, a finished back, and a depth that remains stable while moving. Test its turning space before loading it, and keep the heaviest contents low and centered.
A rolling partition can shift beside the desk during work, screen the bed when guests arrive, or return to a wall when open space matters more. Give it one consistent storage purpose so movement does not create disorder. Lock every wheel after positioning, and never use the unit across an emergency route.
Layered Lighting Districts
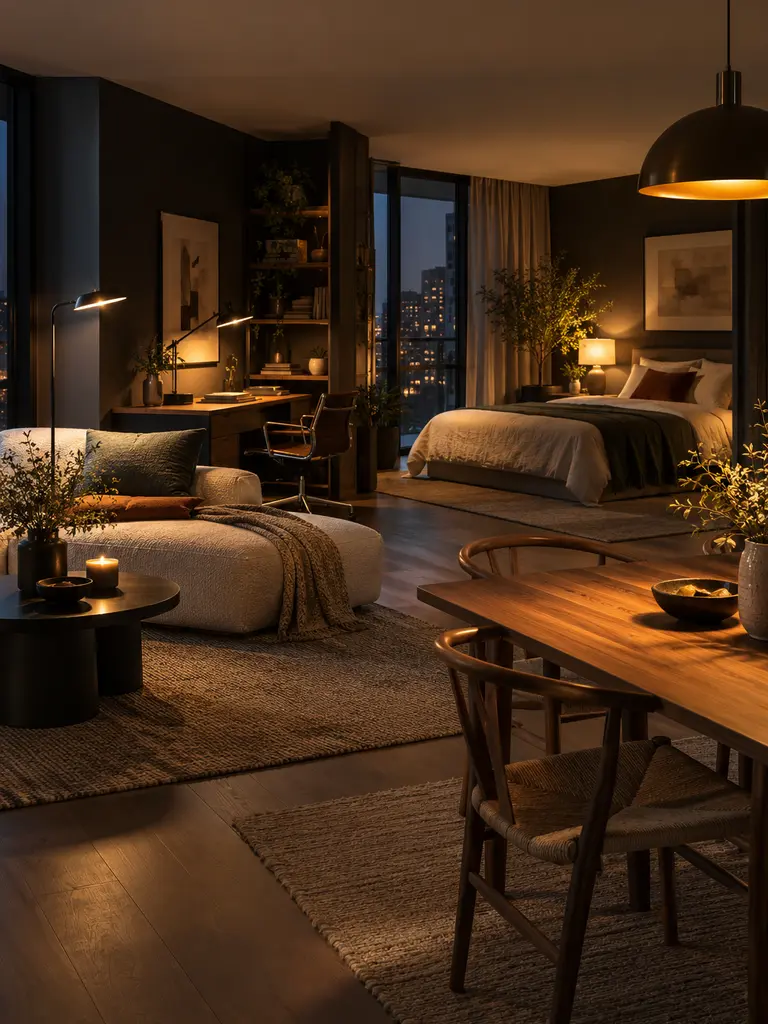
BEFORE:
One bright ceiling fixture lights every activity equally and leaves the apartment visually flat. Work surfaces may remain dim while the sleeping area receives more light than it needs.
AFTER:
Focused lamps identify the lounge, dining, work, and sleeping zones individually. Each area can operate without flooding the entire studio with glare.
Lighting defines zones most effectively when fixtures share a consistent color temperature but serve different tasks. Use a reading lamp near seating, focused light at the desk, and softer illumination beside the bed. Keep switches accessible and route cords along furniture edges rather than across open floor paths.
For practical examples of combining portable lighting with compact furniture and decor, explore this Small Apartment Living Room Inspiration.
Color-Band Wayfinding
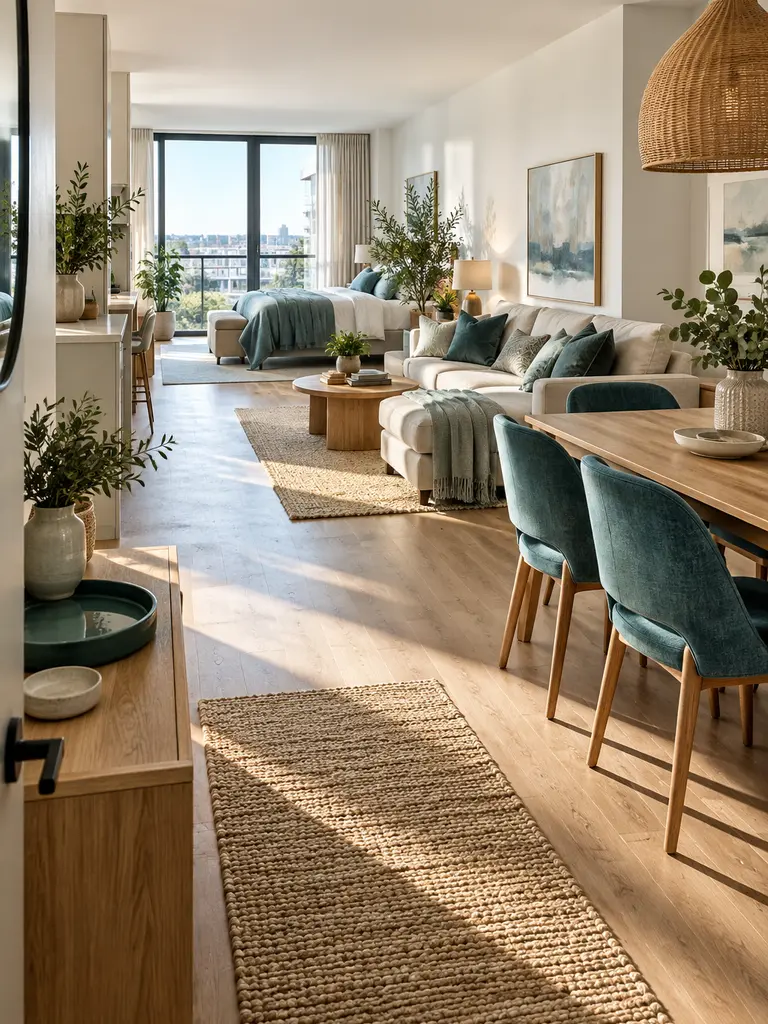
- Choose one accent family. Select a color that works with the apartment’s permanent finishes.
- Vary the intensity. Use deeper shades in active zones and softer versions near the bed.
- Repeat with purpose. Add the color through rugs, cushions, artwork, or small furniture.
- Protect the foundation. Keep walls and major pieces visually consistent across the studio.
- Review every view. Confirm that no zone feels disconnected from the others.
Controlled color repetition guides the eye through an open apartment without requiring physical dividers. The goal is connection, not assigning a completely different palette to every activity. Limit each zone to a few visible accents, and repeat one neutral throughout so the complete interior still feels calm and cohesive.
Ceiling-Line Continuity

| Feature | Uneven Tall Storage | Consistent Upper Line |
|---|---|---|
| Visual rhythm | Frequently interrupted | Calm and continuous |
| Room height | Feels fragmented | Appears easier to read |
| Zone connection | Pieces feel unrelated | Areas share one structure |
| Best approach | Mixed heights everywhere | Controlled height changes |
Keeping wardrobes, shelves, screens, and tall decor within a related height range reduces visual interruption across the studio. Measure the highest necessary piece, then repeat or step down from that line intentionally. Avoid filling every upper wall because visible space above furniture helps separate zones while preserving one cohesive interior.
Unbroken Main Aisle
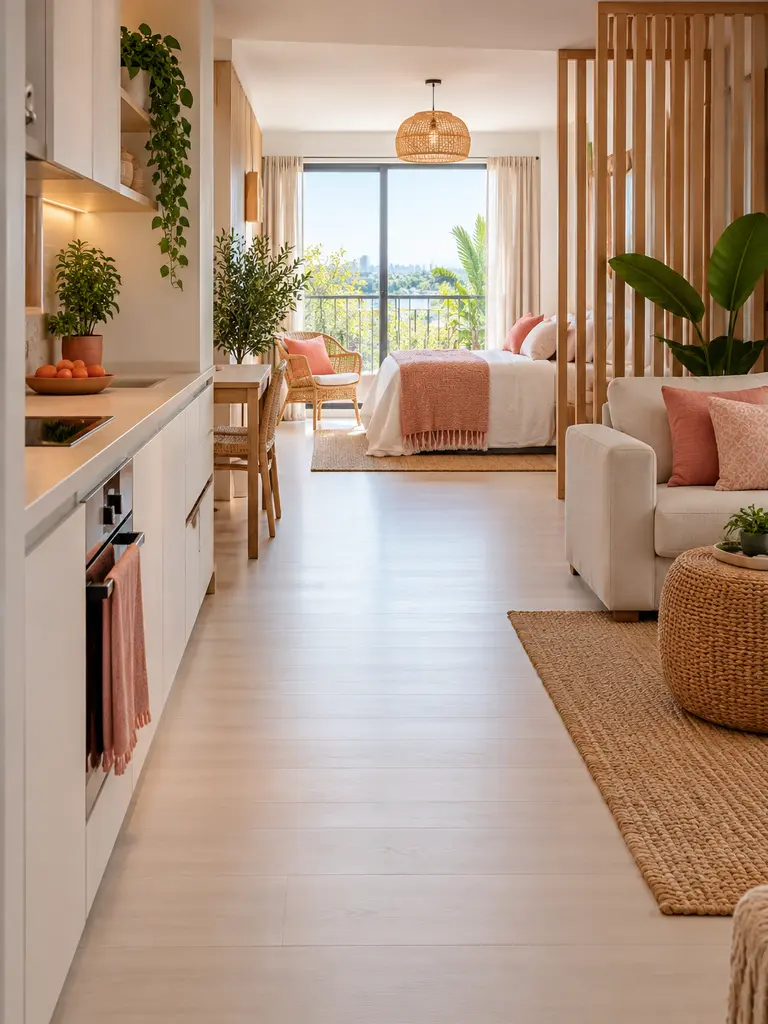
DO
- Trace one direct route from the entrance through essential zones.
- Align furniture edges away from the passage.
- Test the aisle while carrying groceries or laundry.
- Keep rug corners and cables outside the route.
DON’T
- Force movement around projecting table corners.
- Use baskets as temporary floor storage.
- Narrow the passage when guest furniture opens.
- Block access to windows, doors, or appliances.
A continuous aisle makes a studio feel calmer because movement no longer cuts through every activity zone. Walk the route during daytime and after dark, noting where you turn sideways or hesitate. Reposition the single worst obstruction first, since a small furniture shift can improve the whole apartment’s daily flow.
Day-to-Night Reset
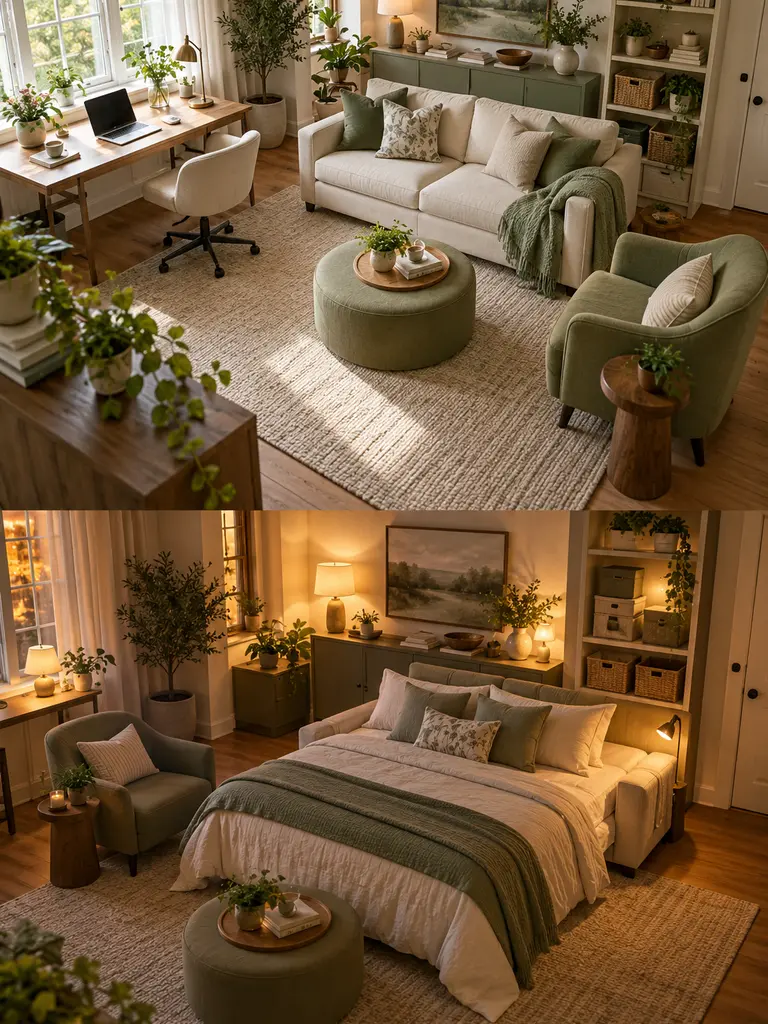
Time: Five to fifteen minutes
Best For: Apartments where furniture serves several purposes
Key Tools: Portable bins, folding pieces, and assigned parking spots
Result: Faster transitions between work, relaxation, and sleep
A reset routine lets the studio change function without allowing one activity to overwhelm the next. Give every movable screen, chair, laptop, bedding item, and table a clear daytime and nighttime position. Practice the sequence for several evenings, then remove any unnecessary step that makes the routine difficult to maintain.
A flexible daily reset becomes easier when you use a clear system to organize a small apartment without adding bulky storage.
Full-Scale Layout Trial
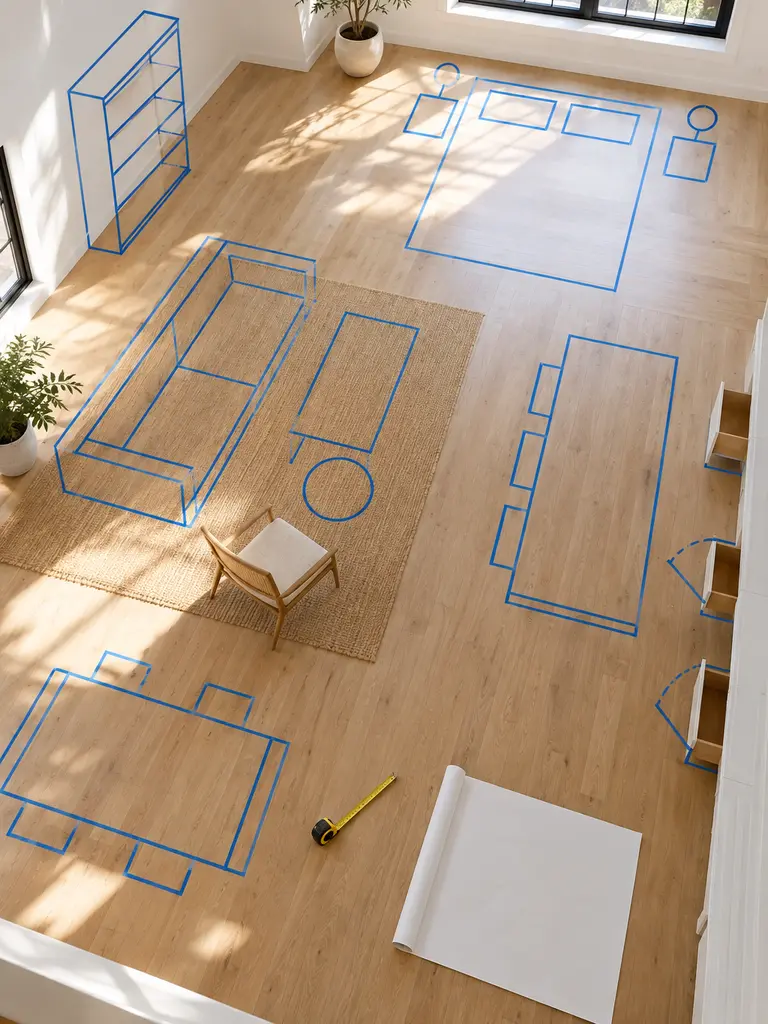
Furniture dimensions can appear reasonable on paper yet feel completely different inside the apartment. Mark the full footprint of every proposed bed, sofa, table, shelf, and divider with removable floor tape. Include open drawers, extended chairs, appliance doors, and the space required to use each item.
Walk through the taped arrangement during several daily routines before moving or purchasing furniture. Carry groceries, open storage, prepare food, sit at the desk, and approach the bed from each side. This practical rehearsal exposes collisions and tight turns while changes remain free, quick, and physically easy.
Conclusion
A successful studio layout gives each activity a clear place without making the apartment feel divided into tiny boxes. These Studio Apartment Layout Ideas use flexible furniture, visual boundaries, lighting, color, and practical routines to create smart zones while preserving flow. Begin by mapping your daily activities and testing one adjustment before moving everything. I’ve seen how turning a sofa, shifting a table, or clearing one direct aisle can improve the whole room. Save this post on Pinterest, try one or more ideas in your apartment, and share it with someone planning a compact home. Create clear zones, protect open space, and make every area work with purpose.