
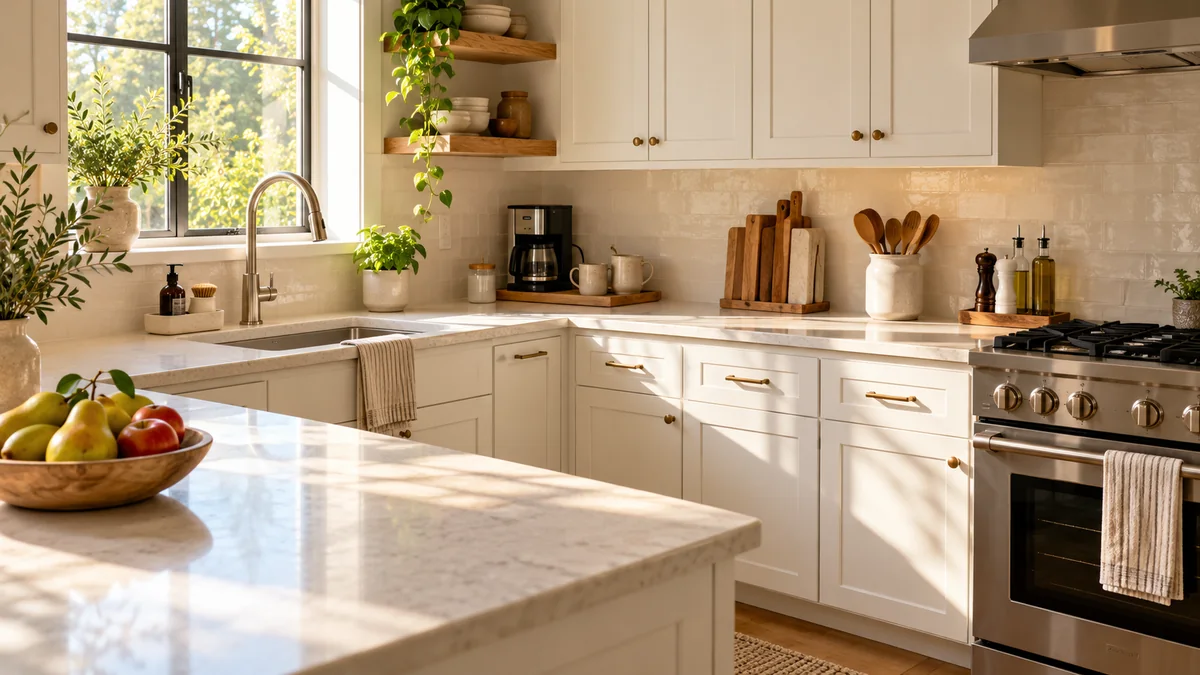
Small counters can feel crowded surprisingly fast, especially when appliances, utensils, food, and everyday essentials compete for the same few feet of space. Small Kitchen Counter Organization is less about hiding everything and more about deciding what deserves to stay within reach.
These 21 practical ideas will help you create clear zones, organize daily essentials, use vertical space, control appliances, and keep valuable preparation areas open. In my experience, the biggest improvement often comes from giving frequently used items a defined home rather than adding more storage products. Whether your kitchen has one short counter or several busy surfaces, these approachable solutions can help it feel calmer, easier to clean, and more efficient for everyday cooking.
Table of Contents
Countertop Zone Map
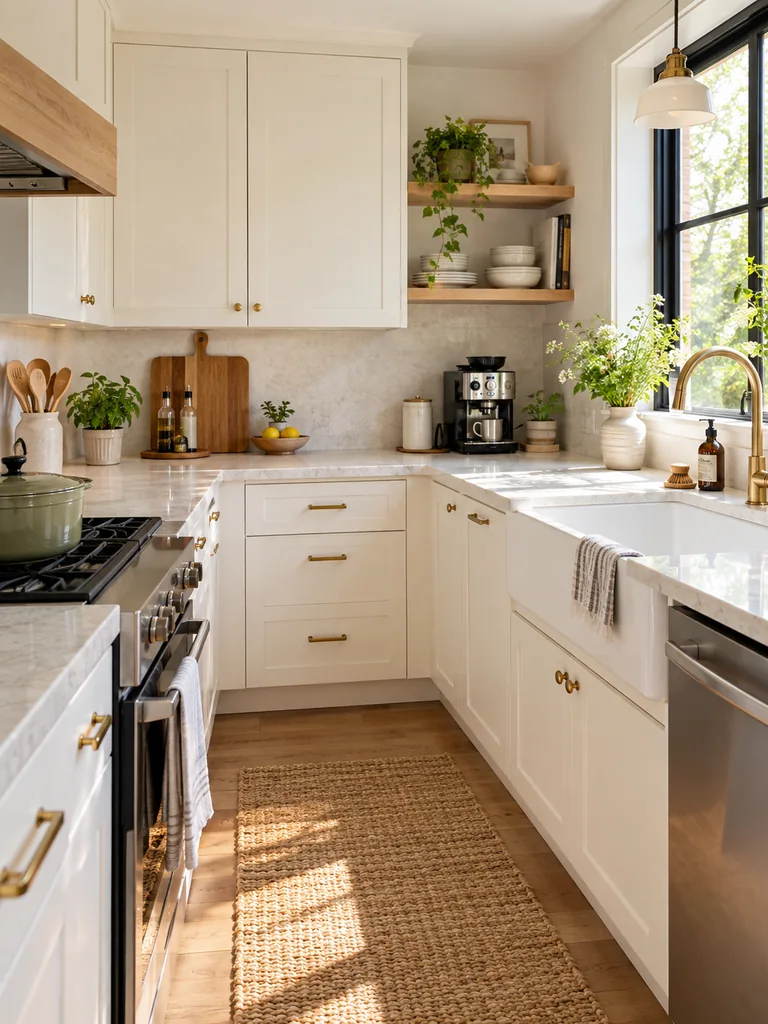
A crowded counter often feels smaller because unrelated items compete for the same working space. Divide the surface into clear zones based on what happens there, such as food prep beside the cutting area, coffee near the machine, and washing essentials beside the sink. Keep each category inside its assigned boundary.
In my experience, zoning makes it much easier to notice what does not belong on the counter. Leave your largest preparation area mostly empty, then move rarely used appliances and supplies into cabinets. The result is a kitchen that stays functional even during busy cooking hours.
Daily Essentials Tray
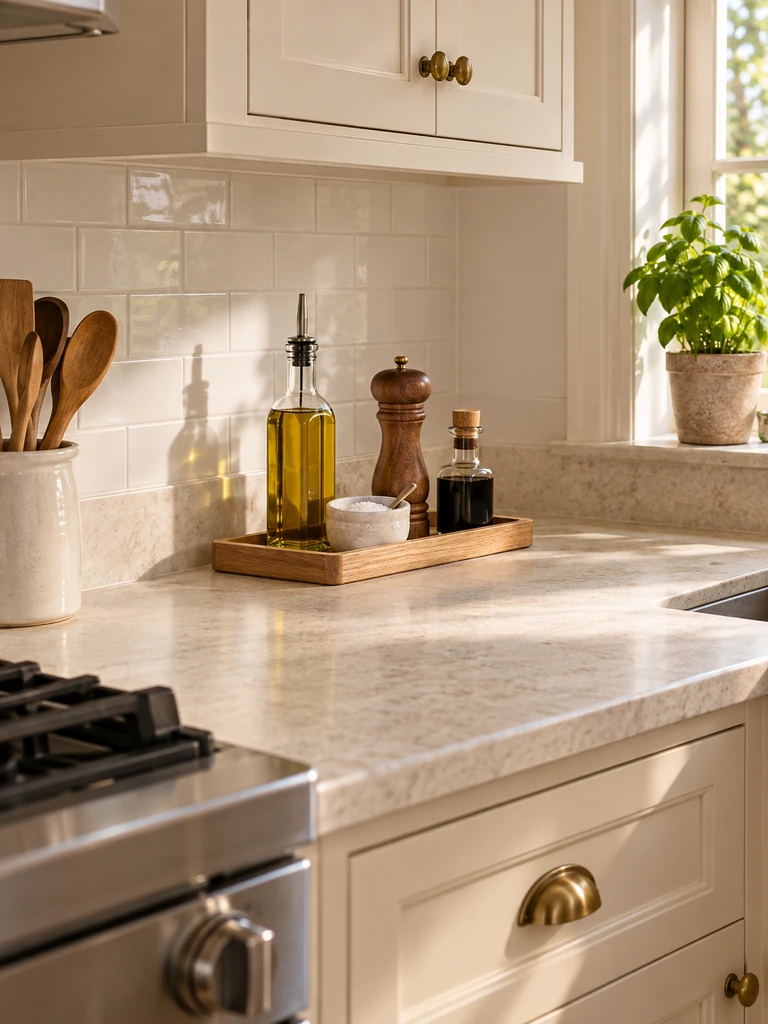
- Choose a narrow tray that fits comfortably against the backsplash without taking over your preparation area.
- Keep only items you genuinely reach for every day, such as cooking oil, salt, and pepper.
- Limit the collection to one compact layer rather than stacking bottles behind each other.
- Wipe the tray and bottle bases regularly so grease and crumbs do not accumulate.
- Return every item to the tray after cooking instead of leaving it elsewhere on the counter.
A defined tray turns several loose objects into one controlled group and makes counter cleaning faster. It also creates a useful visual limit. When the tray becomes crowded, something needs to return to a cabinet or pantry rather than expanding into valuable workspace.
Sink-Side Caddy
Quick Tip:
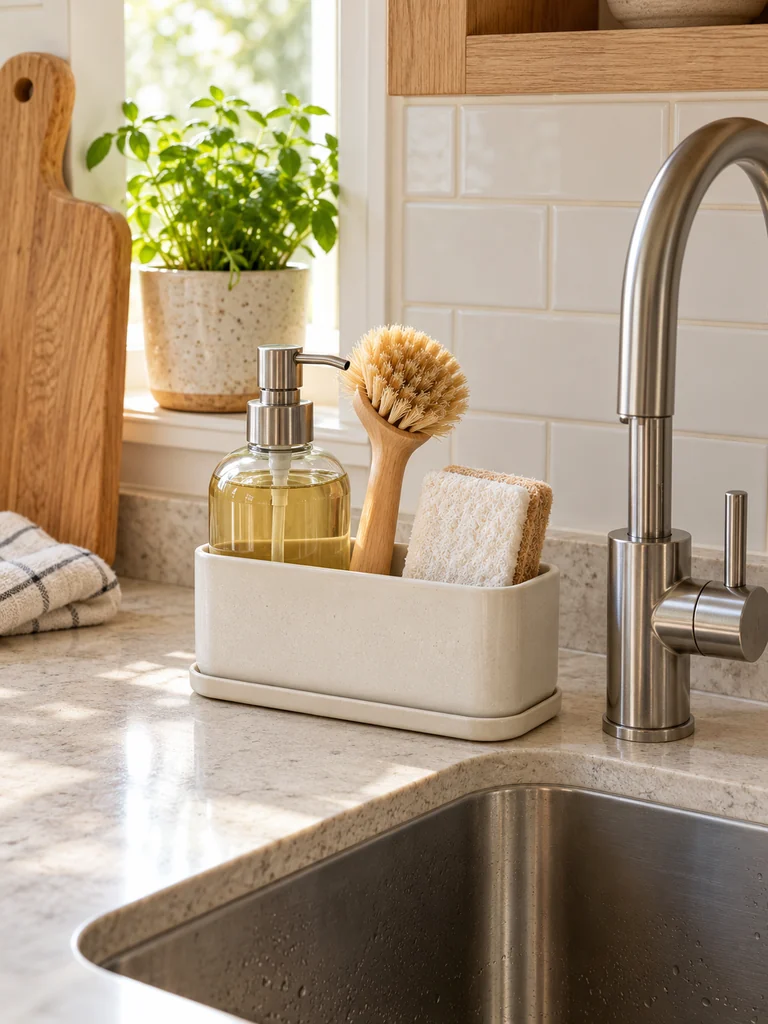
Choose a washable caddy with drainage or a removable base so moisture does not remain trapped underneath. Keep only current washing supplies beside the sink and store refills elsewhere.
The sink area can become messy quickly when bottles, brushes, cloths, and sponges spread across the counter. A compact holder gives wet essentials a defined home while keeping them easy to reach. Choose materials that tolerate regular moisture, and clean underneath frequently to prevent residue from building up.
Corner Tiered Stand
BEFORE:
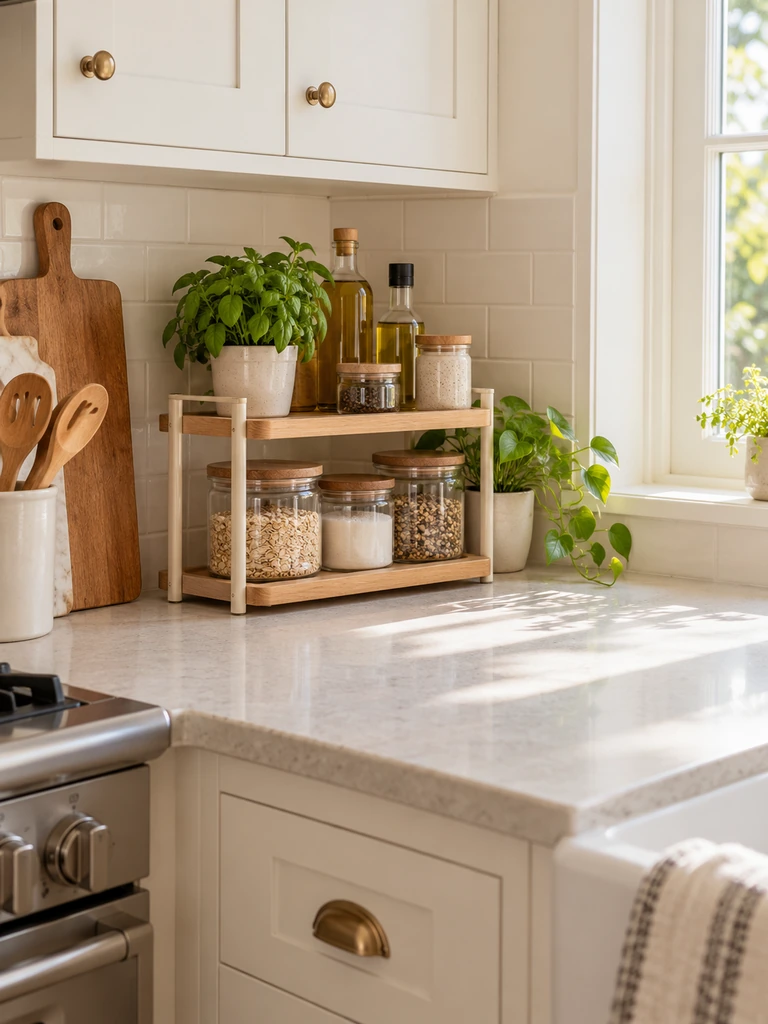
A counter corner becomes a drop zone for spice jars, small bottles, fruit, and other loose items. Objects at the back are difficult to reach, while the scattered arrangement consumes more surface than expected.
AFTER:
A compact two-tier stand moves selected essentials upward while keeping them inside one defined footprint. Frequently used items stay visible, and the surrounding counter becomes easier to wipe and use.
Corners are useful for vertical organization because they are often awkward preparation areas anyway. Choose a stable stand that fits below upper cabinets and does not block outlets. Keep heavier items on the lower level and avoid filling every tier simply because extra space is available.
Raised Counter Shelf
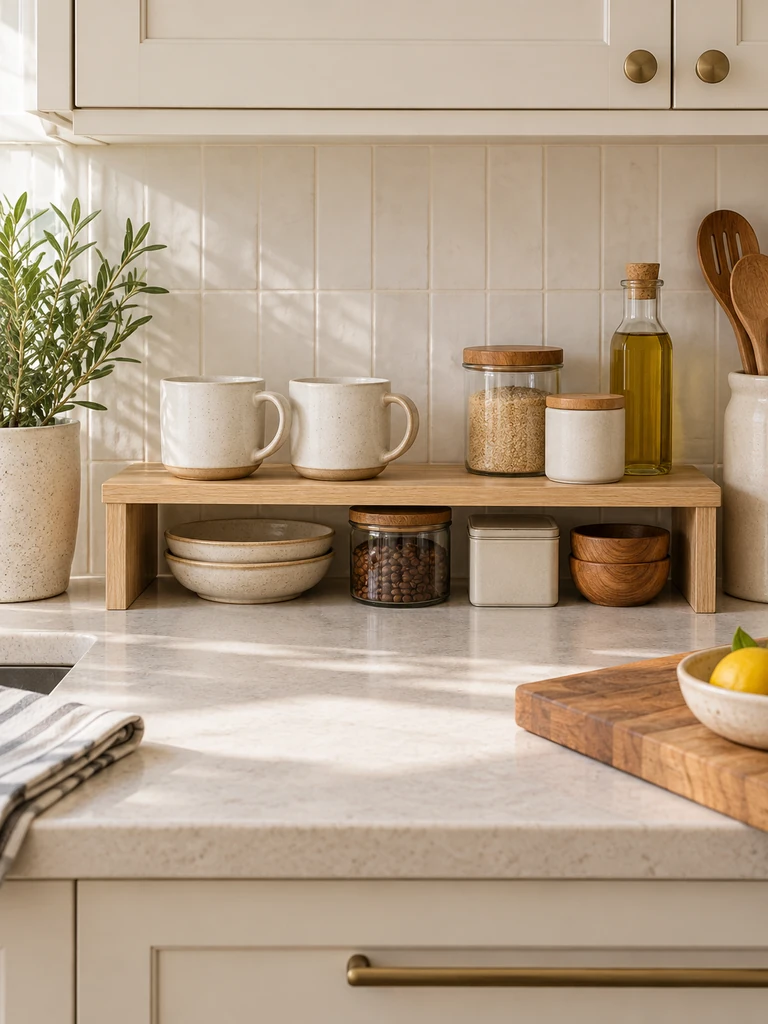
- Measure the available height between your countertop and upper cabinets before choosing a shelf.
- Position the shelf against the backsplash so the front portion of the counter remains open.
- Store lightweight everyday items on top, such as mugs or small containers.
- Use the space underneath for low-profile items you regularly need.
- Keep the shelf away from direct stove heat and sink splashes.
A raised shelf creates a second storage level without permanently changing the kitchen. It works especially well on counters where several small objects normally sit side by side. Match its width to the items being stored so the organizer saves space rather than becoming another oversized countertop object.
Appliance Parking Zone
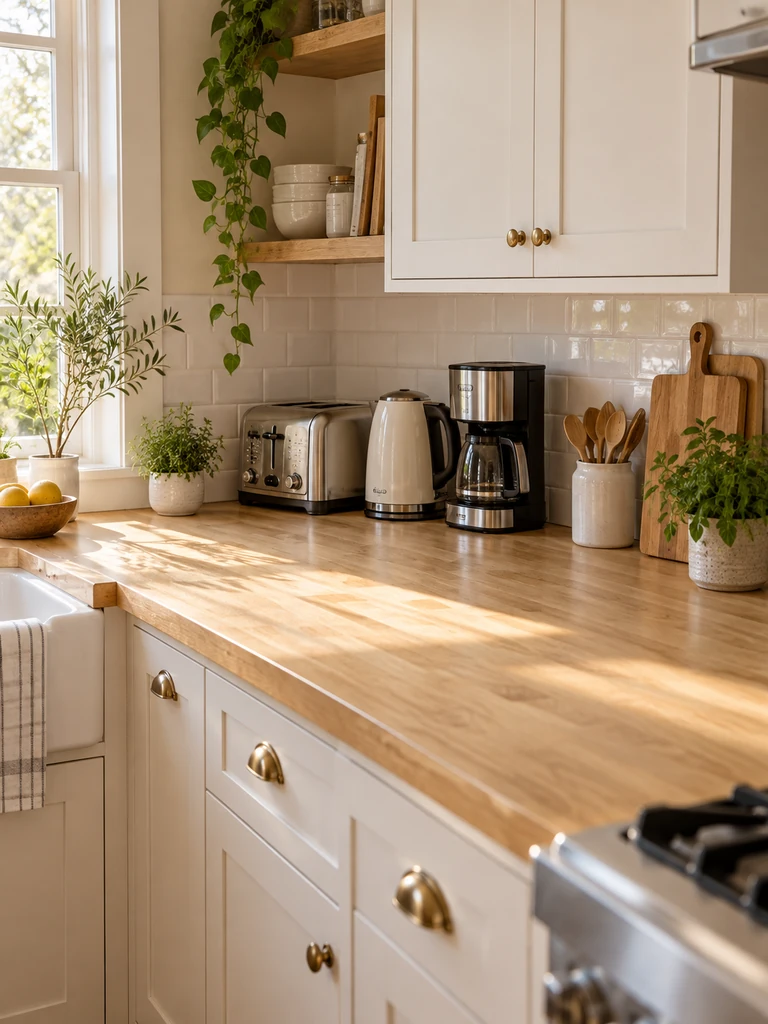
| Detail | Scattered Appliances | Parking Zone |
|---|---|---|
| Counter space | Broken into small areas | Clear workspace grouped together |
| Cleaning | More objects to move | One defined area to manage |
| Appearance | Visually busy | More controlled |
| Daily use | Appliances placed randomly | Frequent tools stay accessible |
Small appliances deserve counter space only when their use justifies it. Group the coffee maker, toaster, or kettle in one practical area while storing occasional appliances elsewhere. I’ve noticed that this simple boundary prevents appliances from slowly spreading across every available surface and protects a larger uninterrupted preparation zone.
For more ways to free up counter space and improve your kitchen layout, explore these small apartment kitchen ideas featuring clever appliance storage, flexible work surfaces, and practical space-saving solutions.
Coffee Station Tray
DO:
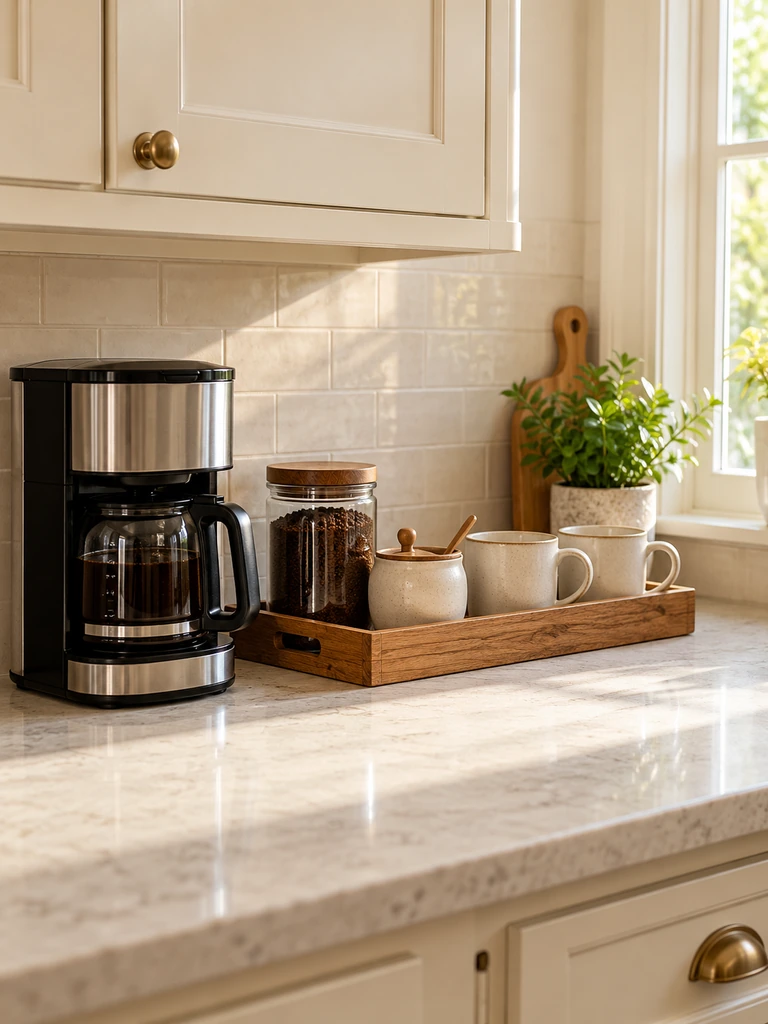
- Keep the coffee maker, beans, and daily sweetener within one compact zone.
- Choose a washable tray that fits comfortably beside the machine.
- Store extra pods, filters, and unopened supplies inside a cabinet.
- Leave enough clearance for filling the machine and handling hot drinks safely.
DON’T:
- Display every mug and coffee accessory on the counter.
- Block outlets with jars or decorative objects.
- Place the station inside your main food preparation area.
- Allow empty packets and used pods to collect on the tray.
A compact coffee station keeps one daily routine from spreading across the entire kitchen. Keep only what you use most mornings within reach and move backup supplies behind closed storage. The setup should make preparing coffee faster while still leaving enough clear counter space for cooking and cleanup.
If you want to make busy mornings less stressful, discover these small kitchen organization ideas for creating practical storage zones and keeping daily essentials within reach.
Vertical Mug Stand
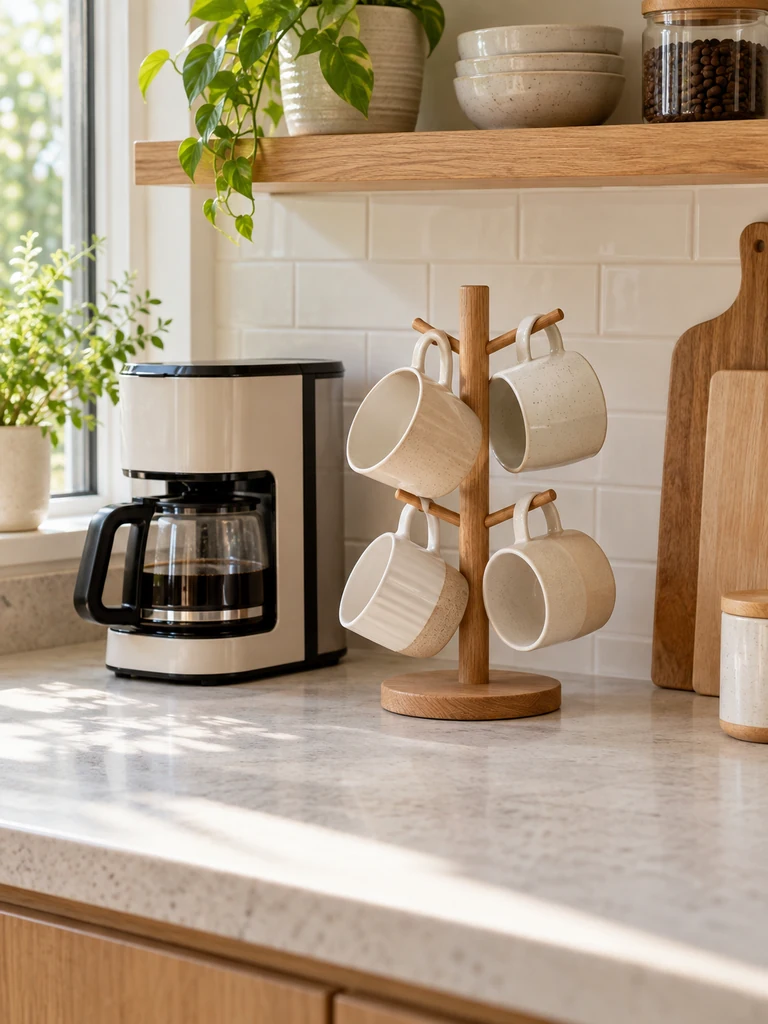
Best For: Frequently used mugs
Works In: Coffee corners and narrow counters
Difficulty: Beginner
Result: More usable horizontal counter space
Mugs can occupy surprising amounts of cabinet or counter space when they are arranged individually. A stable vertical stand uses height instead, keeping a small daily collection accessible within a narrow footprint. Limit the stand to frequently used mugs and check that its base remains secure when removing one.
Utensil Crock Station

Cooking utensils are easiest to manage when the countertop container holds only tools used regularly at the stove. Keep wooden spoons, spatulas, and tongs together in a sturdy crock positioned close enough for convenient access but safely away from direct heat and open flames.
Avoid turning the crock into storage for every whisk, ladle, and duplicate utensil you own. Store occasional tools inside a drawer instead. A smaller edited collection is quicker to find, easier to clean around, and helps preserve the uncluttered appearance that makes a compact counter feel more spacious.
Cutting Board Holder
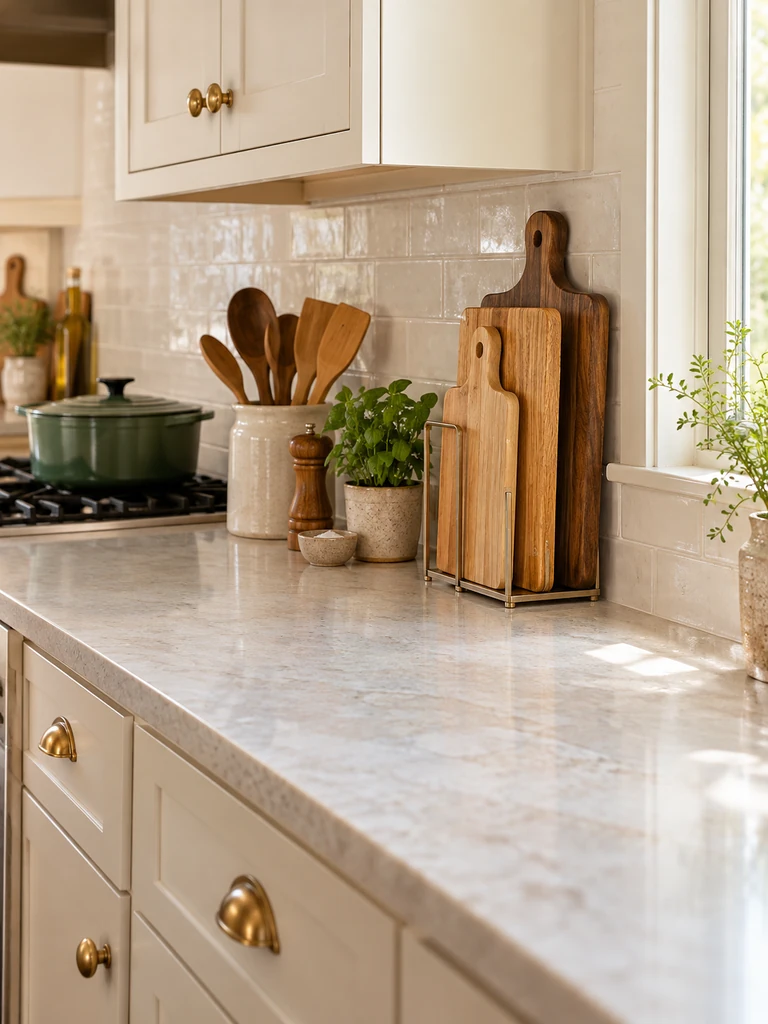
- Choose a slim vertical holder that keeps boards upright instead of stacking them flat across the counter.
- Place it near your main preparation zone so frequently used boards stay easy to reach.
- Separate boards slightly so air can circulate after they are fully washed and dried.
- Keep only daily-use boards on display and store specialty boards elsewhere.
- Check that the holder stays stable when removing heavier wooden boards.
Vertical storage gives cutting boards a defined footprint while freeing more counter depth for food preparation. It also prevents a loose stack from leaning against the backsplash or appliances. Choose a holder sized closely to your collection rather than leaving extra slots that encourage unnecessary boards to accumulate.
Produce Bowl Zone
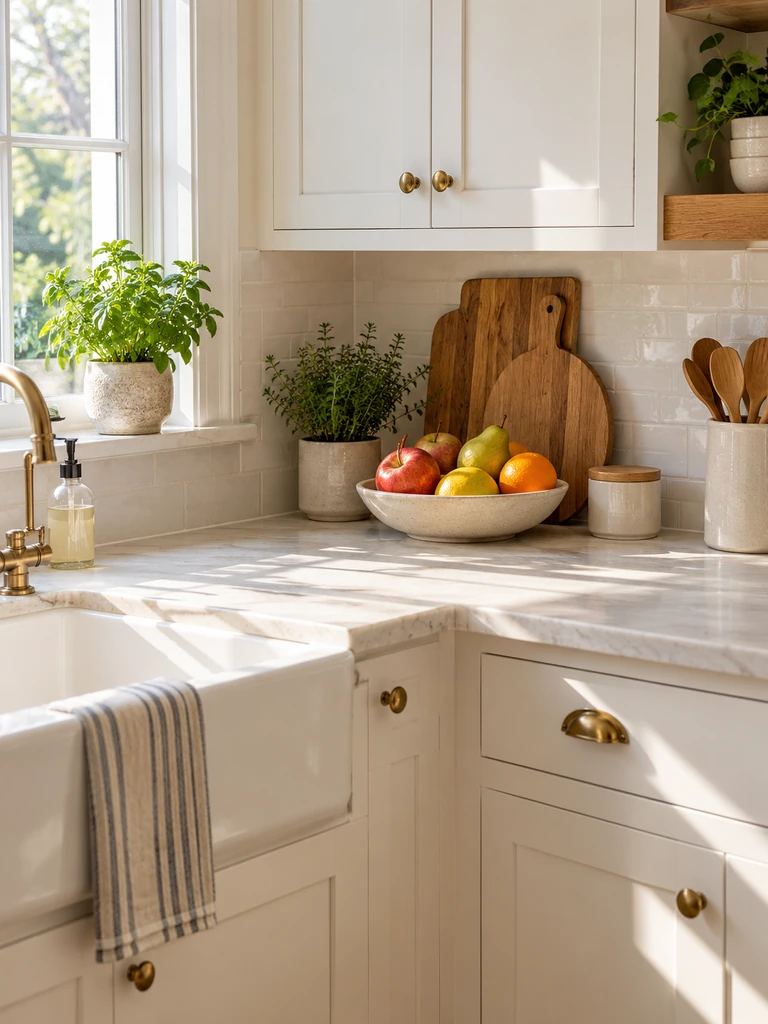
Quick Tip:
Keep only produce that can appropriately be stored at room temperature in your countertop bowl. Use a wide, shallow container rather than piling delicate fruit beneath heavier pieces.
A dedicated produce zone prevents fruit from spreading across multiple sections of a small counter. Position the bowl away from direct sunlight, stove heat, and sink splashes, then check its contents regularly. A modest amount of visible produce feels organized while making it easier to notice what should be eaten first.
Spice Drawer Transfer
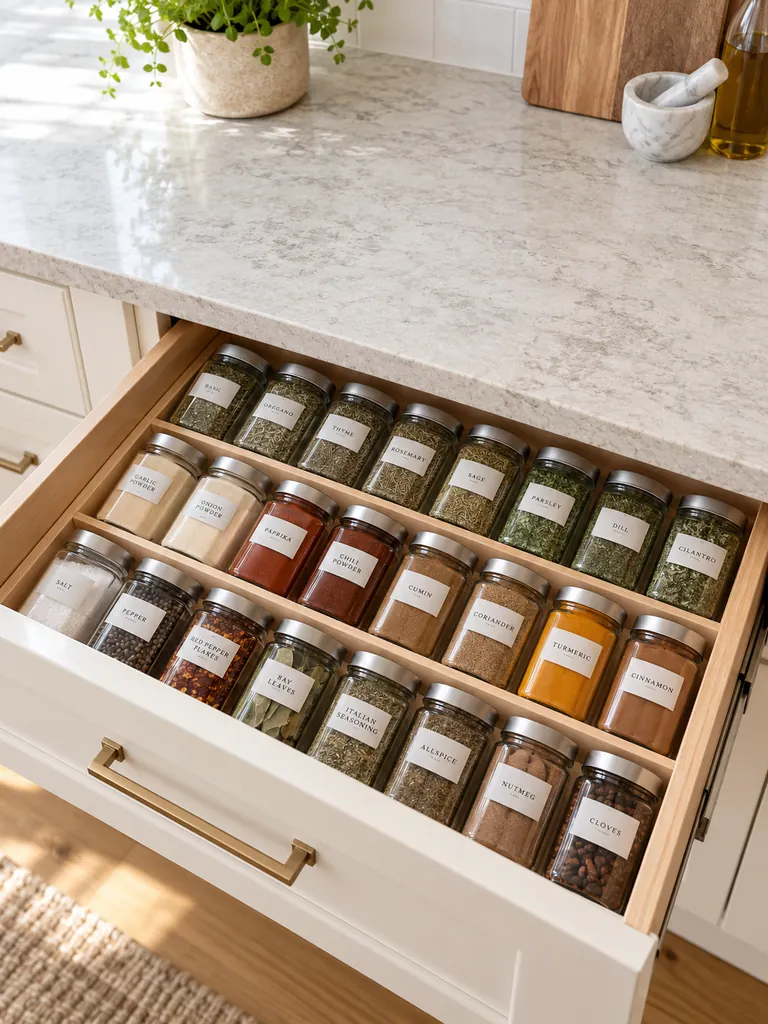
BEFORE:
Frequently used spice jars collect beside the stove because they seem convenient there. The growing row consumes preparation space, gathers cooking residue, and makes individual labels harder to scan.
AFTER:
Spices move into a nearby drawer with labels facing upward in a shallow organizer. The counter becomes clearer while seasonings remain within easy reach during cooking.
Moving spices off the countertop is especially useful when every inch of work surface matters. Arrange jars alphabetically or by cooking frequency, and keep the drawer away from excessive heat where possible. Among practical Small Kitchen Counter Organization Ideas, removing an entire loose category often creates one of the most noticeable improvements.
For more ways to make cabinets, drawers, and overlooked spaces work harder, explore these small kitchen storage ideas for keeping everyday kitchen clutter under control.
Paper Towel Station

- Choose a holder with a stable base or use an under-cabinet model when counter space is extremely limited.
- Position it near the cleanup zone without crowding the sink.
- Keep the roll away from direct water splashes and cooking flames.
- Avoid storing extra paper towel rolls beside the holder.
- Use the same location consistently so the counter stays organized.
A dedicated paper towel spot prevents the roll from moving around the kitchen and occupying different work zones. For very narrow counters, mounting the holder underneath an upper cabinet can recover even more surface area. Prioritize easy one-handed access without placing it where cooking heat or moisture could create problems.
Knife Storage Block
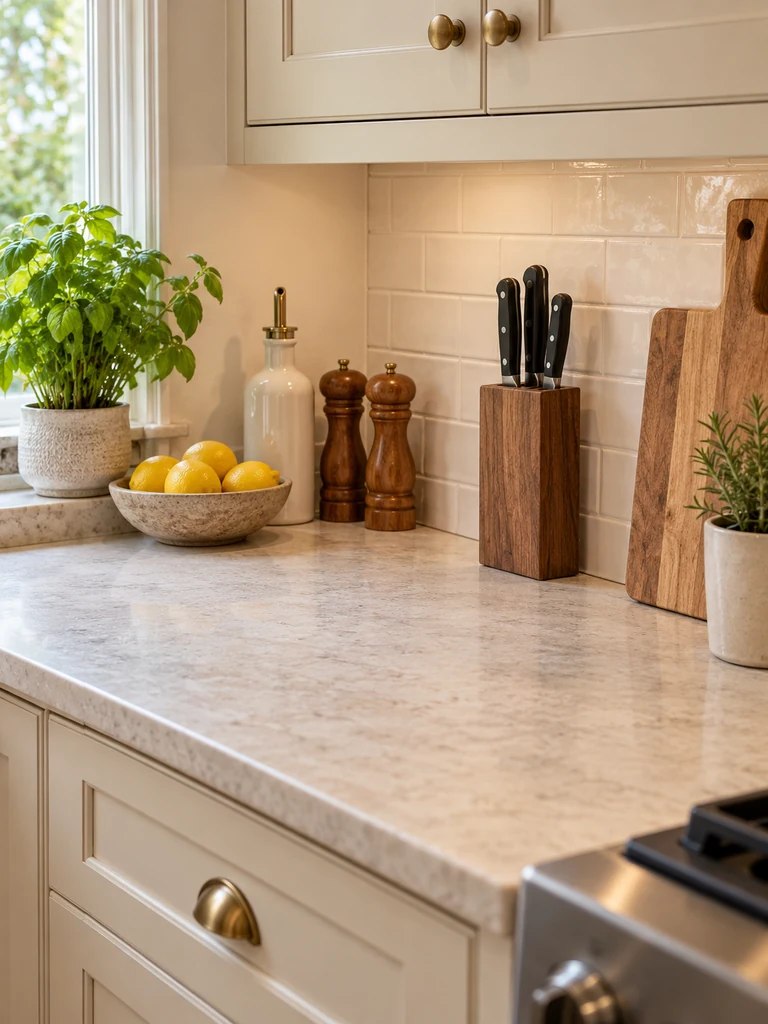
| Detail | Large Knife Block | Compact Knife Storage |
|---|---|---|
| Footprint | Takes more counter depth | Uses less surface |
| Capacity | Often includes unused slots | Holds an edited collection |
| Appearance | Visually heavier | Cleaner and simpler |
| Best For | Larger counters | Compact kitchens |
Knife storage should prioritize safety while matching the number of knives you actually use. A slim block can work when drawer space is unavailable, provided it stays stable and away from counter edges. Keep only essential knives in the countertop setup rather than allowing an oversized block to consume valuable preparation space.
Bread Storage Corner
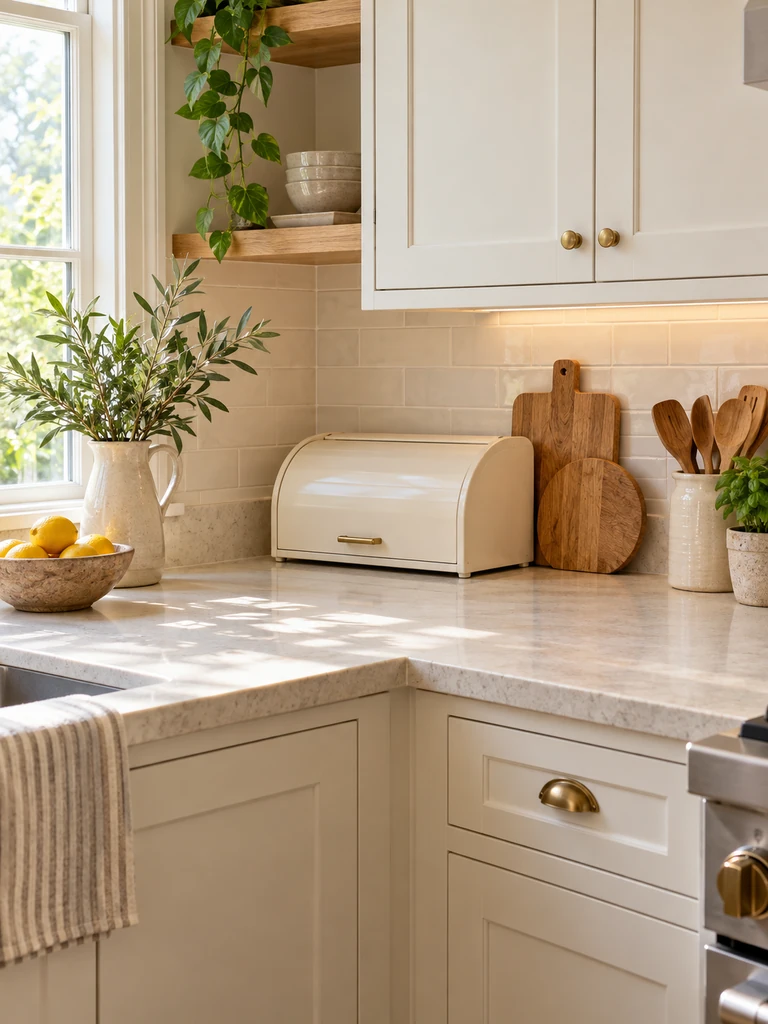
DO:
- Assign one dry counter corner for bread and baked goods that are appropriate for room-temperature storage.
- Choose a compact bread box sized for your household’s normal supply.
- Keep the area away from sink moisture and direct stove heat.
- Remove empty packaging and stale items regularly.
DON’T:
- Let several bread bags spread across the preparation zone.
- Buy an oversized box simply to fill an empty corner.
- Stack unrelated snacks on top of the bread container.
- Allow crumbs to collect underneath or behind it.
A defined bread corner controls bulky packaging that can quickly make a small counter appear messy. Choose a container that suits the bread you normally keep and follow appropriate storage guidance for each product. Keeping the category contained also makes it easier to spot duplicates before buying more.
If groceries are difficult to organize because your kitchen lacks dedicated pantry space, explore these small kitchen ideas without a pantry for practical ways to store food in a compact kitchen.
Charging Station Box

Best For: Phones, earbuds, and small devices
Works In: Counter areas away from water and heat
Difficulty: Beginner
Result: Fewer loose cables across the kitchen
Loose charging cables can make an otherwise organized counter look messy within minutes. Use a ventilated cable-management box or compact charging station to contain compatible cords and adapters, positioning it well away from the sink and cooking area. Avoid tightly covering power equipment that requires ventilation, and follow the device manufacturer’s safety guidance.
Recipe Stand Spot
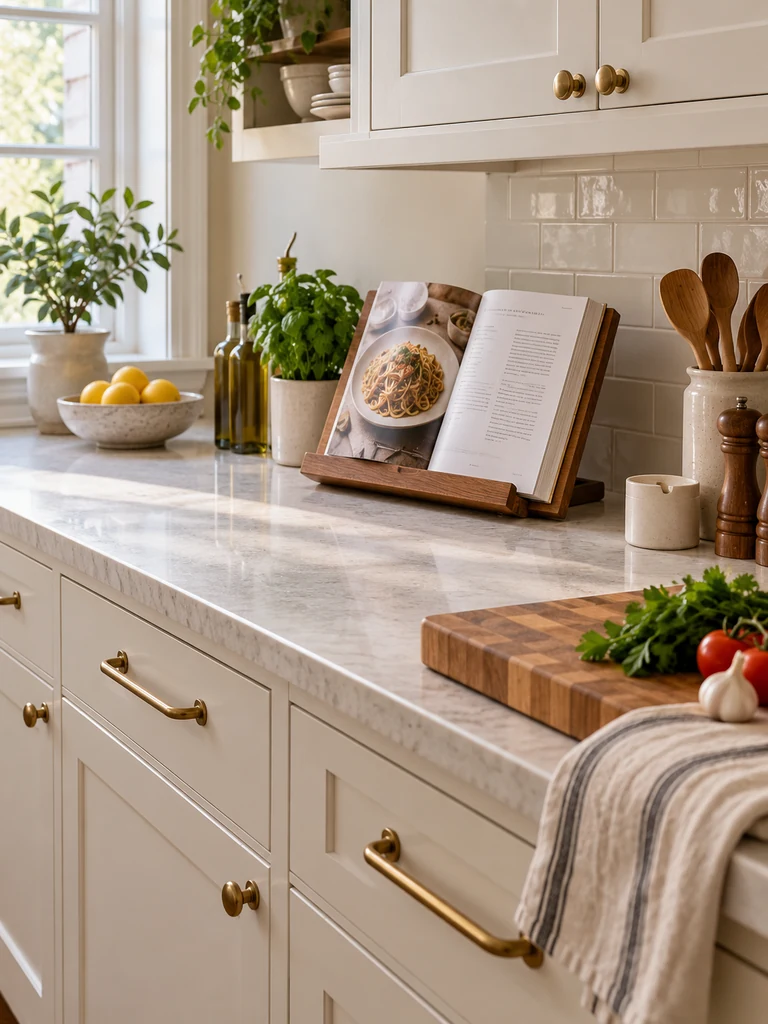
A recipe stand deserves a defined location rather than moving between the sink, stove, and food preparation area. Position it where a cookbook or tablet remains easy to read without reducing your main workspace. Keep enough distance from water, splattering oil, steam, and direct cooking heat.
I’ve found that a dedicated recipe spot also reduces the temptation to place phones or books directly beside ingredients. Choose a foldable stand if counter space is especially limited, then store it after cooking. When open, it should support the recipe securely without interfering with normal kitchen movement.
Under-Cabinet Hanging Rail

- Install a rail only on a suitable surface and follow the mounting hardware’s weight limits.
- Hang a small number of lightweight, frequently used tools rather than every available utensil.
- Keep the rail clear of open flames, hot burners, and areas where hanging objects could interfere with cooking.
- Space hooks so tools can be removed individually without knocking neighboring items together.
- Leave the counter directly below as open as practical.
Moving selected tools upward can recover useful countertop space while keeping daily essentials within reach. The strongest setups remain edited rather than overloaded. Choose items that genuinely benefit from hanging storage, and make sure the rail does not create head-level obstacles or interfere with cabinet doors and nearby appliances.
Countertop Lazy Susan
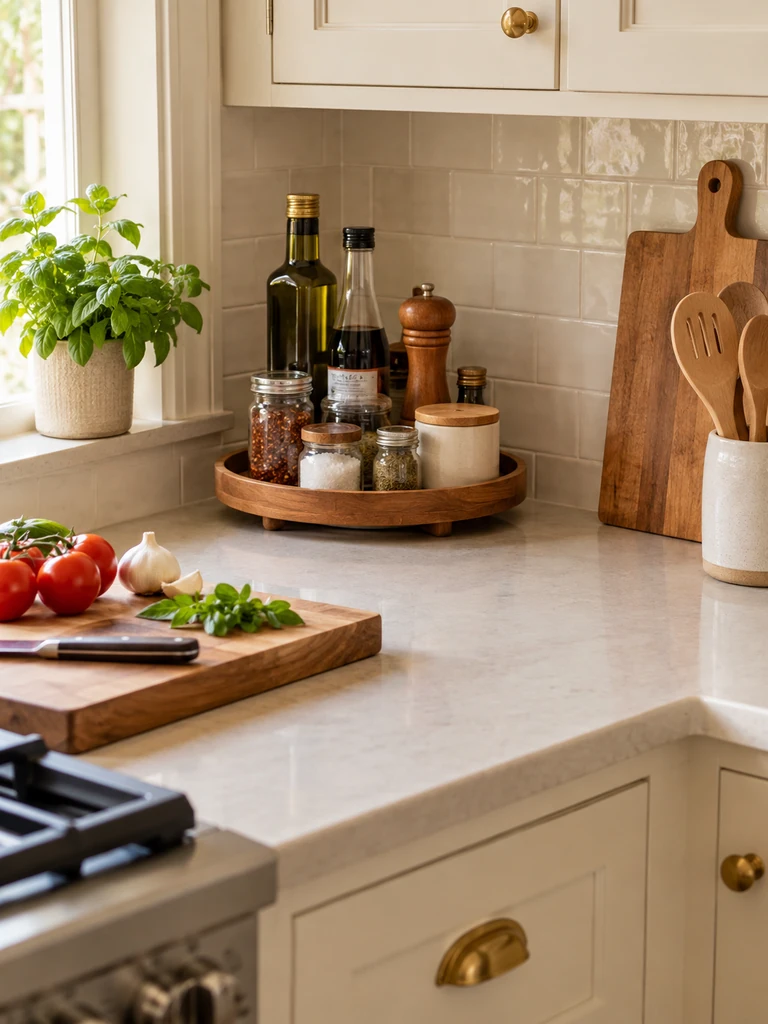
Best For: Oils, condiments, and frequently used jars
Works In: Counter corners and beside cooking zones
Difficulty: Beginner
Result: Easier access within one controlled footprint
A compact turntable keeps several daily essentials accessible without creating scattered rows of bottles. Choose one with a raised edge and rotate it before buying to check stability. Keep the collection edited, wipe spills promptly, and position cooking oils according to their storage requirements rather than automatically placing them beside heat.
Decor Limit Rule
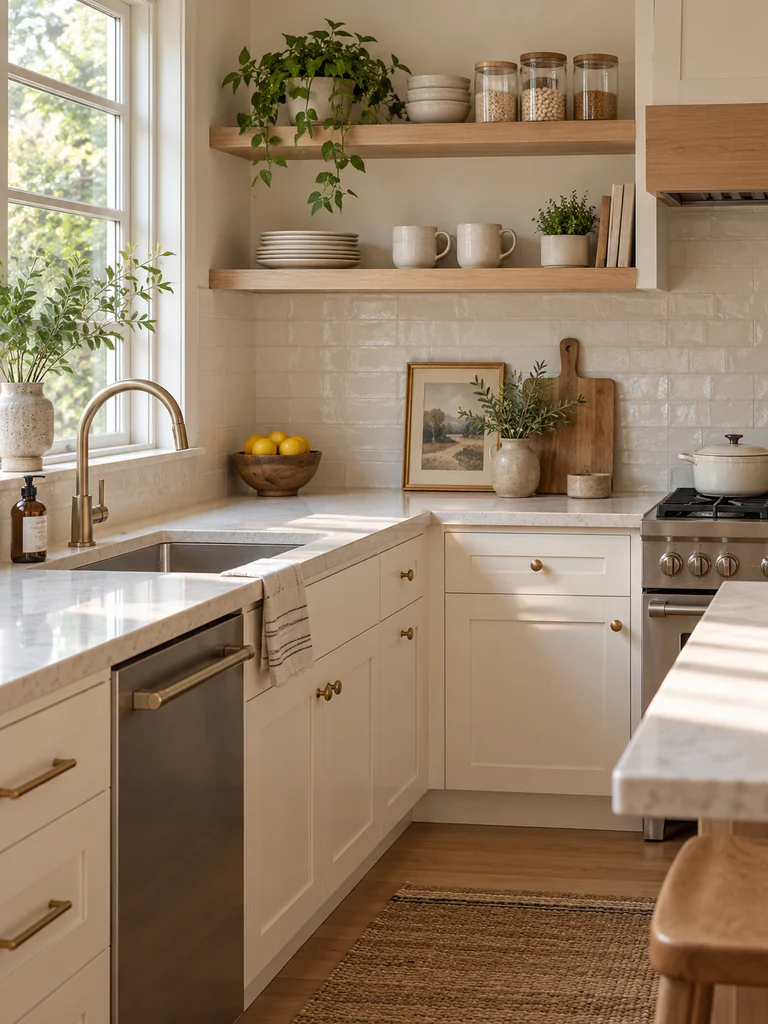
Decor can make a small kitchen feel welcoming, but the counter should remain a working surface first. Set a simple limit, such as one decorative object or one small grouping in a low-use corner. A vase, framed print, or small plant can provide personality without competing with preparation space.
I’ve noticed that counters often begin feeling cluttered when practical items and decorative pieces receive equal priority. Keep decor away from the sink, stove, and primary chopping area. Seasonal pieces should replace existing decor rather than being added on top of it, preserving the clear surfaces that make a compact kitchen feel calmer.
nce your counters are under control, explore these kitchen decor ideas for adding personality and warmth without sacrificing the clear surfaces you worked to create.
Nightly Counter Reset
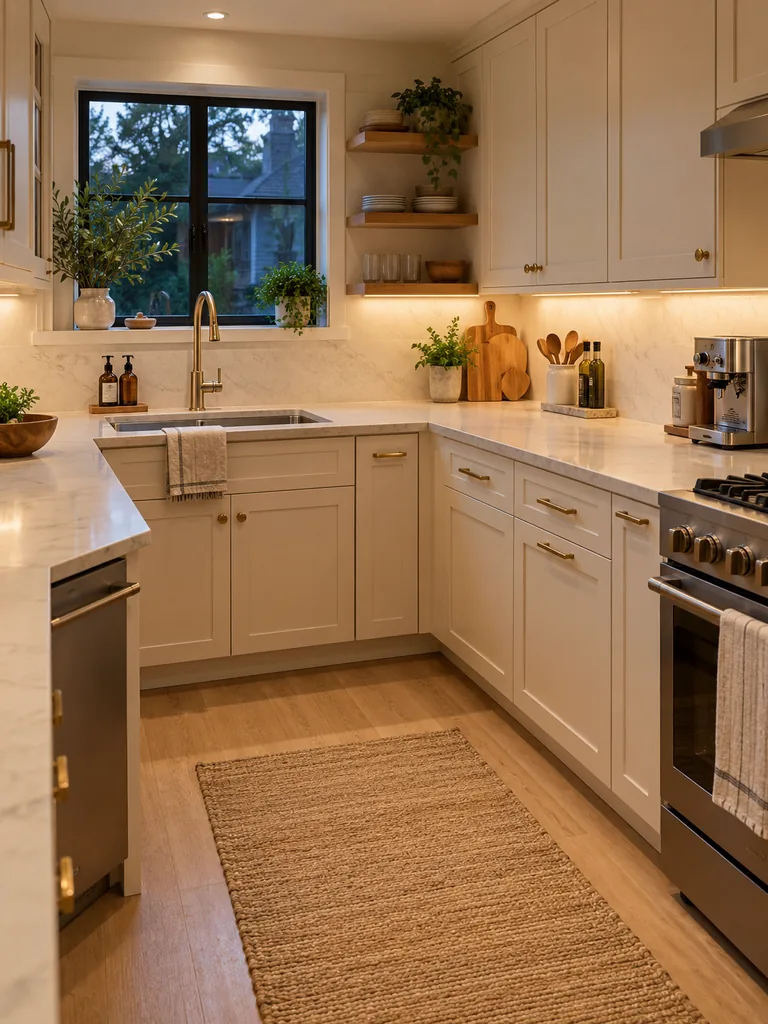
- Return cooking oils, spices, and utensils to their assigned storage zones.
- Put away appliances that do not earn permanent counter space.
- Remove mail, packaging, cups, and other objects that migrated into the kitchen.
- Wipe the main preparation surface and clean underneath movable countertop organizers.
- Check that tomorrow’s daily essentials remain grouped and ready to use.
A short reset prevents small amounts of clutter from becoming tomorrow’s bigger cleanup job. Once every item has a defined home, the routine can become much faster. Among useful Small Kitchen Counter Organization Ideas, this daily habit is what helps the earlier organizing changes continue working long after the initial cleanup.
Conclusion
An organized counter gives you more than a cleaner-looking kitchen. It creates usable preparation space, makes everyday essentials easier to find, and reduces the clutter you have to move whenever you cook. These Small Kitchen Counter Organization Ideas strategies show that trays, vertical storage, defined zones, and simple daily habits can make limited surfaces work harder. I’ve noticed that maintaining clear counters becomes much easier once every item has a specific home. Choose a few ideas that solve your biggest problem first, save this post on Pinterest for later, and share it with someone who could use a more organized kitchen.