

A beautiful bedroom does not require expensive furniture or a complete renovation. These small bedroom ideas on a budget will help you refresh a compact space with practical DIY projects, reused decor, affordable materials, and smarter spending.
The goal is to improve how the room looks and functions without buying unnecessary pieces. In my experience, rearranging furniture and updating one strong focal point often creates more impact than filling the room with new accessories. You will learn how to restyle existing belongings, make simple headboards, improve lighting, refresh furniture, organize overlooked areas, and plan a focused weekend update. Start with the idea that solves your biggest problem, then build a bedroom that feels personal, tidy, and thoughtfully finished.
Table of Contents
Bedroom Budget Plan
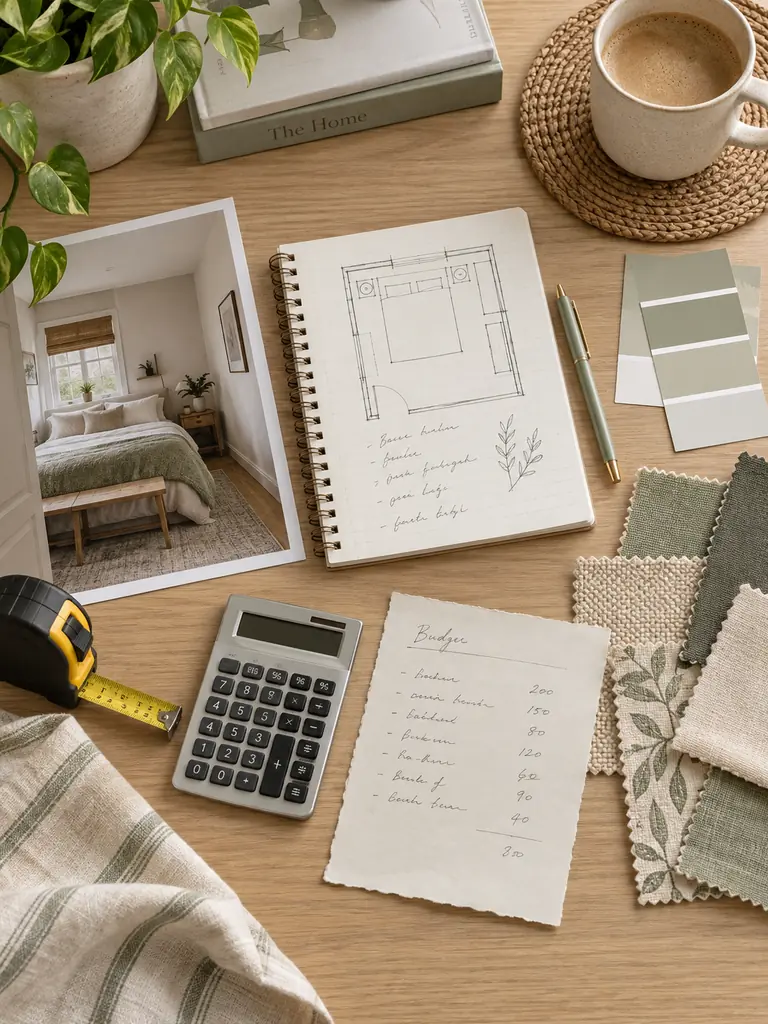
A clear spending plan protects the project from costly impulse purchases. List what genuinely needs improvement, then separate functional problems from decorative wishes. Measure the room, inspect existing furniture, and set one total amount you can comfortably spend without relying on discounts that may disappear.
For practical small bedroom ideas on a budget, direct most of the money toward the change with the biggest daily benefit. Reserve smaller amounts for paint, textiles, lighting, storage, and accessories. Keep ten percent unassigned for unexpected supplies, delivery charges, or minor repairs discovered during the update.
Furniture Layout Reset

- Start with the room empty of loose decor so you can judge furniture proportions clearly.
- Mark the bed, dresser, and desk dimensions on the floor with removable painter’s tape.
- Keep the route between the door, bed, wardrobe, and window free from narrow turns.
- Place the largest piece first, then position smaller furniture around daily movement.
- Test drawers, doors, and windows before deciding that the new arrangement works.
Rearranging existing furniture can improve the bedroom without spending anything. In my experience, moving one bulky piece away from the doorway often creates the strongest visual change. Photograph each layout before moving again, since pictures make blocked paths, unbalanced corners, and crowded surfaces easier to notice than standing inside the room.
After improving the furniture layout, these practical ways to Maximize Storage In a Small Bedroom can help you use the remaining space without making the room feel crowded.
Existing Decor Restyle
Quick Tip:
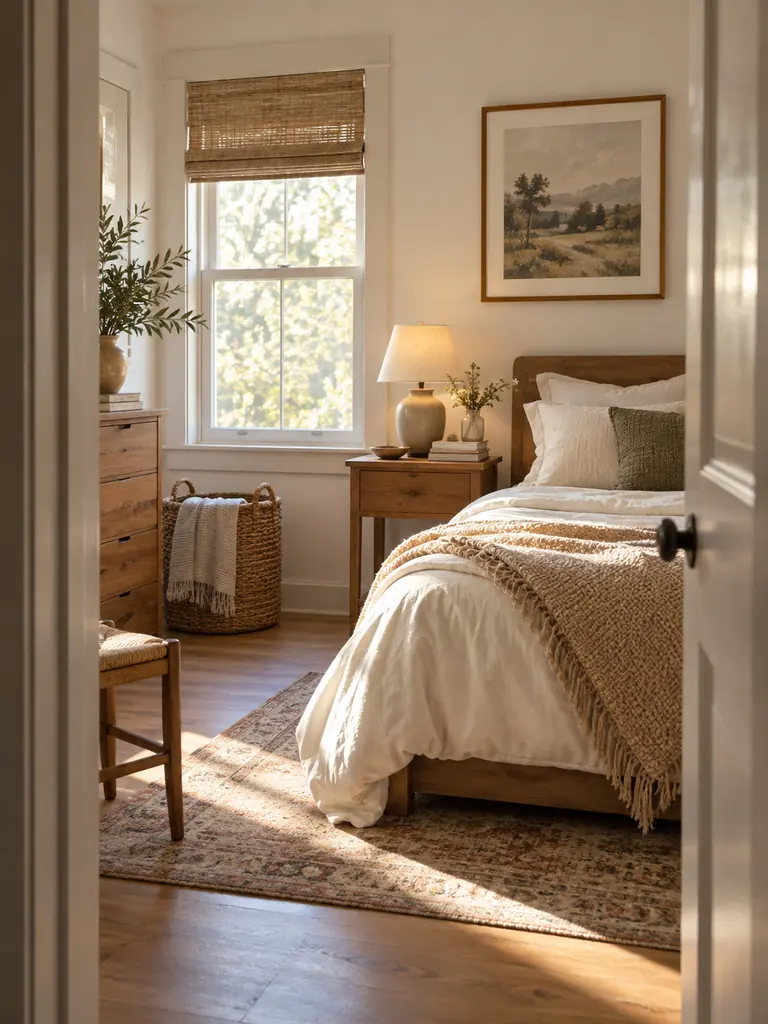
Shop your own home before visiting a store. Gather suitable lamps, baskets, artwork, trays, books, and textiles in one place, then test each item in the bedroom rather than moving everything at once.
Restyling works best when the borrowed pieces share a color, material, or purpose. Move a table lamp from an unused corner, place books beneath a small object, or repurpose a tray for bedside essentials. Return anything that crowds the room, blocks a routine, or only fills an empty surface.
Painted Headboard Shape

Before:
The plain wall behind the bed lacks a focal point, but a large upholstered headboard would consume both money and space. Small decorations scattered above the pillows make the area feel unfinished.
After:
A painted arch or rectangle defines the bed without adding furniture depth. One controlled color creates a strong visual feature while keeping the floor and wall physically open.
Test the shape with painter’s tape before applying color, then check its width from across the room. Use a sample pot when the painted area is small and protect bedding and flooring carefully. For cleaner edges, remove the tape while the final coat remains slightly damp.
Fabric Headboard Panel

- Measure the mattress width and decide how high the finished panel should appear above the pillows.
- Cut lightweight plywood or rigid upholstery board to the required size, or ask a hardware store to cut it.
- Layer thin foam and batting over the front, then wrap durable fabric around every edge.
- Staple the material securely on the back while keeping the front smooth and evenly tensioned.
- Mount the panel with fixings suitable for its total weight and the wall material.
A homemade panel offers a softer finish for less than many ready-made headboards, but safety matters. Use low-odor materials, cover sharp edges, and confirm the mounting method before assembly. Removable covers are useful in dusty rooms, while tightly woven fabric generally handles regular cleaning better than delicate velvet or loose boucle.
Thrifted Nightstand Makeover
| Unchecked Purchase | Careful Makeover |
|---|---|
| Loose joints remain unstable | Frame is tightened before painting |
| Damage is hidden under color | Cracks and rough areas are repaired |
| Old hardware feels mismatched | One updated knob creates cohesion |
| Paint chips quickly | Surface is cleaned, prepared, and sealed |
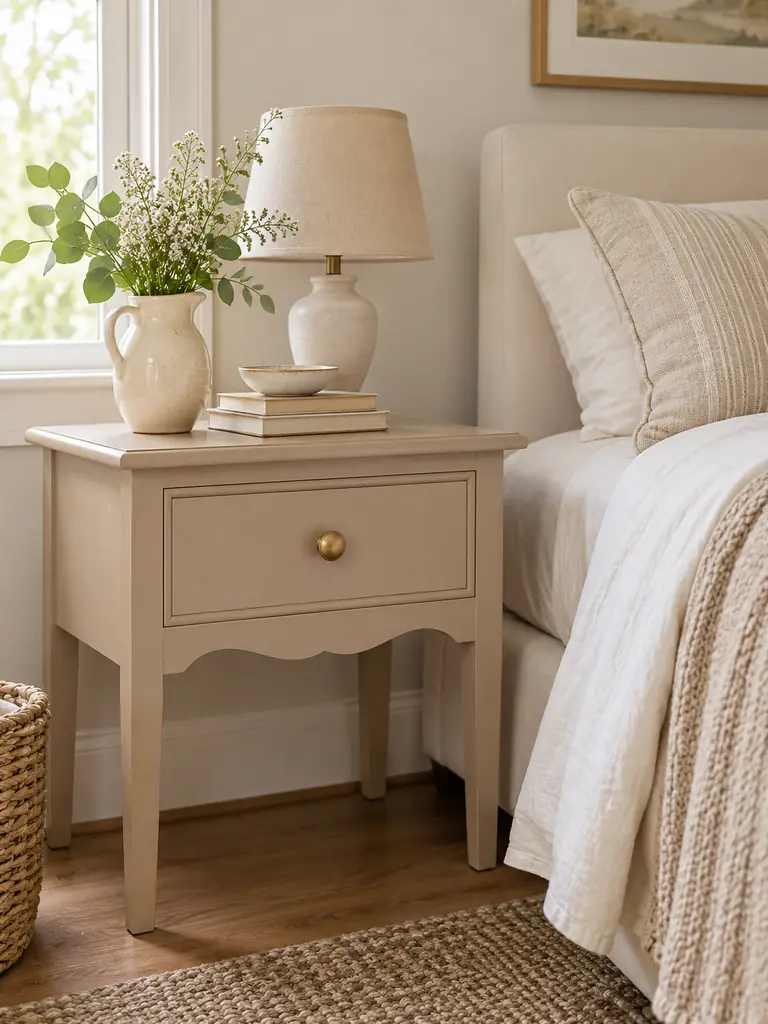
A secondhand table can provide better materials and character than a similarly priced new piece. Check for odors, pests, water damage, unstable legs, and sticking drawers before buying. Clean it thoroughly, repair structural issues first, and use a finish designed for the existing surface rather than relying on paint alone.
Wooden Crate Table
Do:
- Choose a solid crate with smooth, closely joined boards.
- Sand every edge and corner before placing it beside the bed.
- Seal or paint the wood with a low-odor indoor product.
- Add felt pads underneath to protect the flooring.
Don’t:
- Use a cracked crate that shifts under light pressure.
- Overload the top with a heavy lamp or stacked objects.
- Leave splinters, exposed nails, or rough handles untreated.
- Stack crates without securely connecting them.
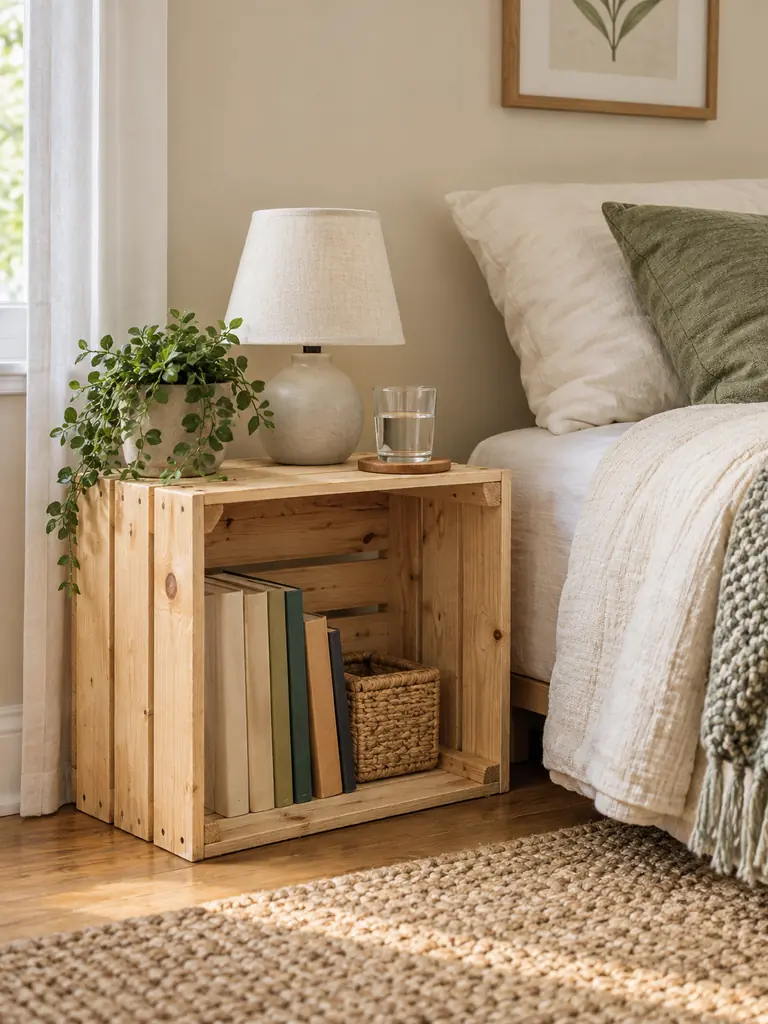
A crate table provides an inexpensive surface and one useful storage compartment within a small footprint. Turn the opening toward the bed for easy access or outward for a cleaner view. Confirm that the finished height works with the mattress, and never rely on a lightweight crate as seating or a step.
Reversible Bedding Update
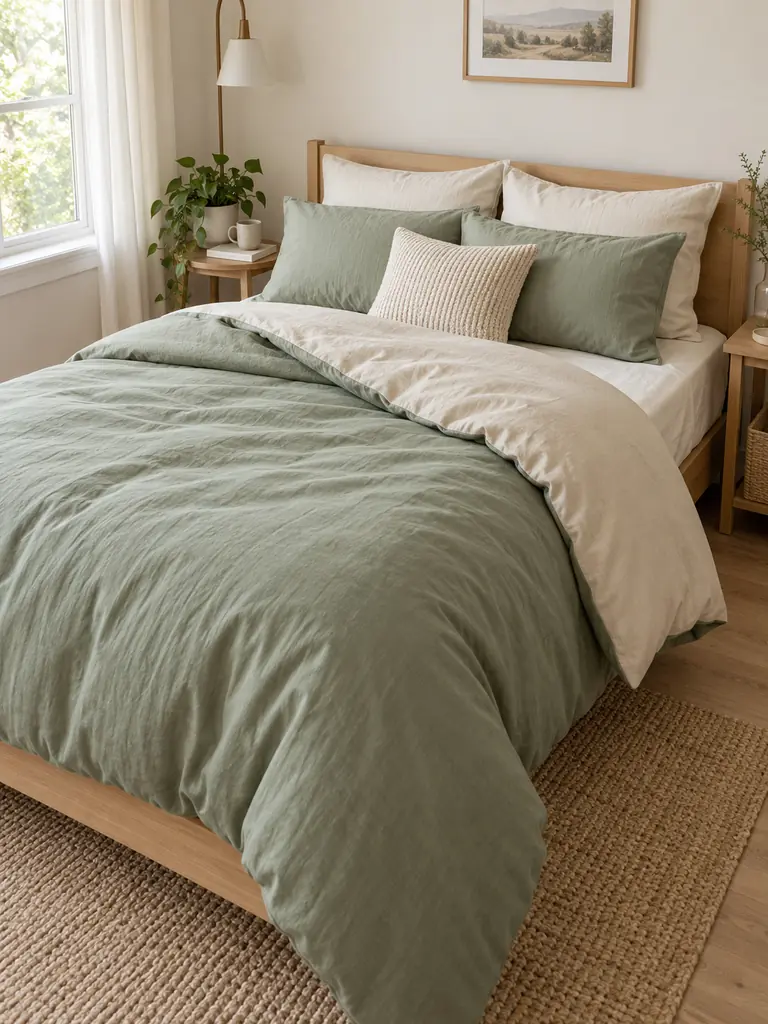
Cost: Low to moderate
Time: About 10 minutes
Best For: Changing the room without storing extra bedding
Result: Two coordinated looks from one purchase
Reversible bedding stretches the decorating budget because one cover supports two color schemes. Check that both sides use colors you would genuinely keep visible, and compare fabric quality, washing instructions, closure type, and exact sizing before buying. Select breathable material suited to your climate rather than choosing pattern alone.
Coordinated Cushion Covers

Fresh covers update cushions without paying for new inserts or finding space to store the old ones. Measure each insert across the fullest points, check the label size, and select washable covers with secure zippers. Limit the bed to two decorative cushions so the arrangement remains manageable each morning.
Choose one solid color and one restrained texture instead of several competing prints. Pull shades from the bedding, curtains, or artwork to make separate purchases feel connected. I’ve noticed that slightly full inserts create a neater finish, but forcing an oversized insert inside can strain seams and distort the cover.
DIY Bedside Ledge
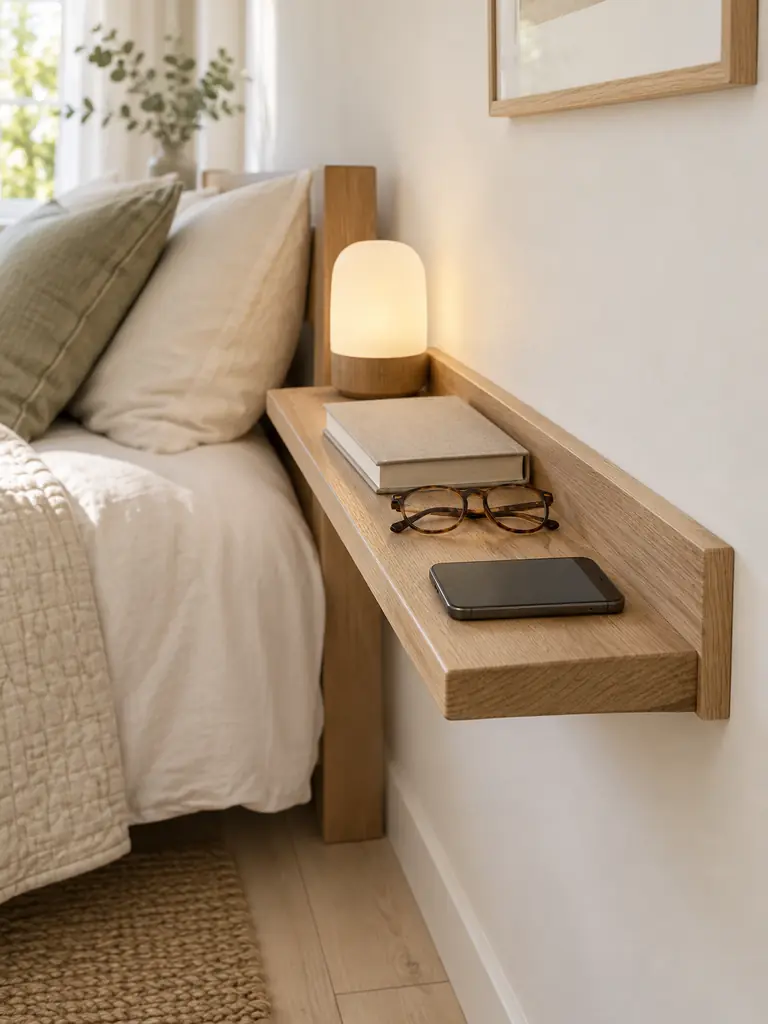
- Measure the items you use nightly before deciding the ledge width and depth.
- Choose smooth solid wood or sturdy plywood that will not bend under the intended weight.
- Sand every edge and apply a low-odor finish suitable for indoor furniture.
- Mount the ledge into appropriate wall anchors, following the hardware’s weight rating.
- Keep drinks away from phones, chargers, and electrical connections.
A shallow ledge provides essential bedside space without the cost or footprint of another table. Position it close enough to reach comfortably but away from pillows and bedding. Before installation, check for hidden wiring or pipes and confirm that the ledge will not obstruct drawers, outlets, or walking routes.
Printable Art Grid

Quick Tip:
Print every design in the same size and limit the collection to one color family. Lay the complete arrangement on the floor first, then photograph it before transferring measurements to the wall.
A printable grid fills an awkward blank wall without the cost of original artwork. Use frames you already own, thrifted matching sets, or lightweight poster hangers. Check image licensing before downloading, select high-resolution files, and print one test page to confirm the colors before paying for the entire collection.
Washi Tape Frames

Before:
Loose postcards and prints collect inside drawers or appear unfinished when taped randomly to the wall. Traditional frames may cost more than the artwork and require additional wall fixings.
After:
Straight washi tape borders give lightweight paper pieces a deliberate framed appearance. Coordinated colors create structure while keeping the display inexpensive, slim, and easy to change.
Test the tape on a hidden painted area before creating the display, since adhesion varies by product and wall finish. Use a level and ruler for clean lines, and keep spacing consistent between prints. Remove tape slowly at a low angle to reduce the risk of lifting paint or leaving residue.
Peel-and-Stick Accent
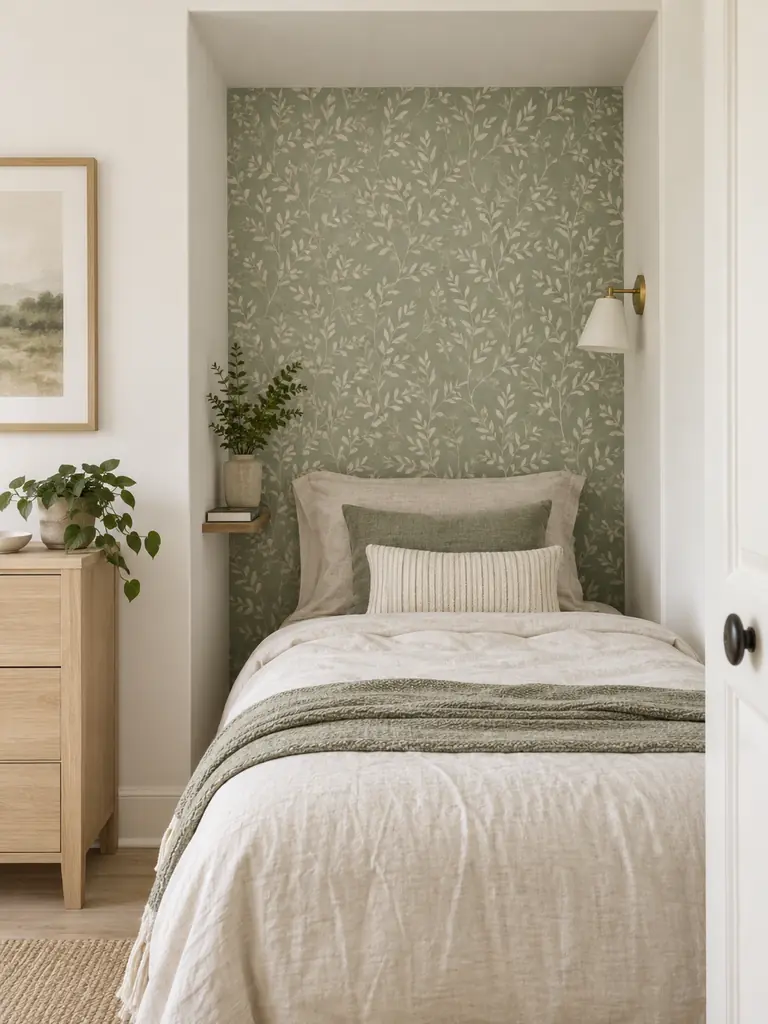
- Choose a small wall section, furniture panel, or alcove instead of covering the entire room.
- Order a sample and observe it in daylight and evening lighting before purchasing more.
- Clean and dry the surface according to the product instructions.
- Mark a straight starting line, then apply each panel slowly while smoothing trapped air outward.
- Save the label and leftover material for future repairs or removal guidance.
A limited application reduces cost and prevents pattern from overwhelming the compact bedroom. Peel-and-stick products perform differently on textured, damp, freshly painted, or damaged surfaces, so confirm compatibility first. Renters should request permission where required and test a discreet area before covering anything highly visible.
Clip-On Reading Light
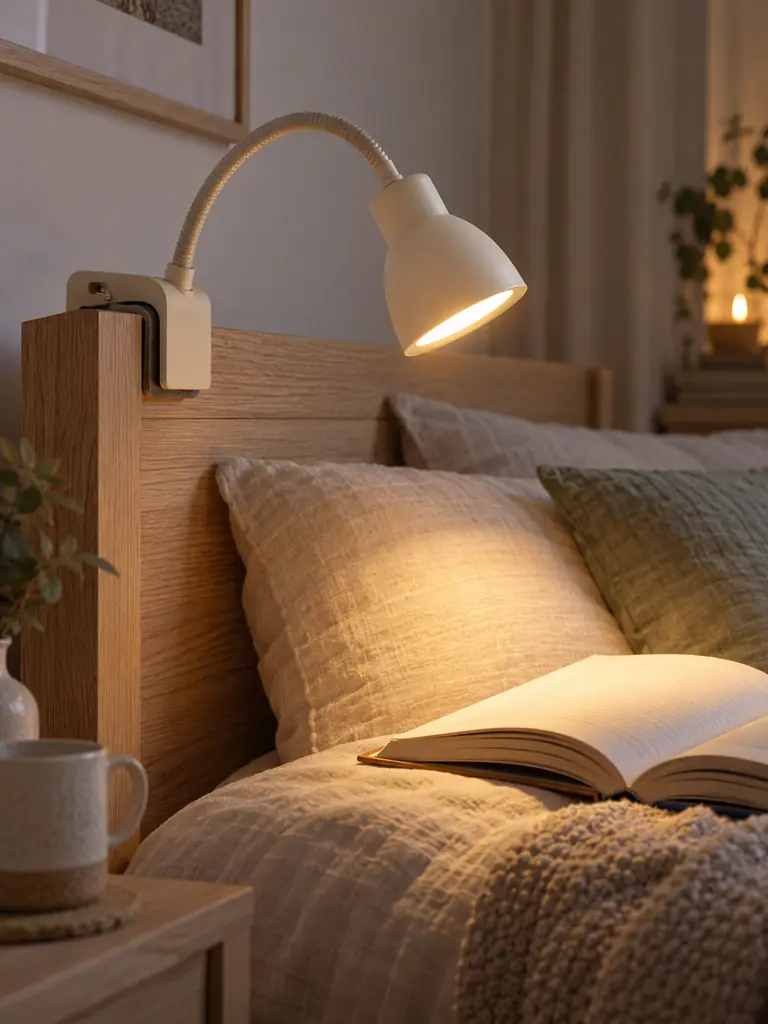
| Table Lamp | Clip-On Light |
|---|---|
| Requires a bedside surface | Attaches to existing furniture |
| Uses valuable table space | Leaves essentials within reach |
| Light direction may be fixed | Beam adjusts toward the book |
| Adds another furniture object | Maintains a lighter visual setup |
A clip-on lamp works well where a nightstand is narrow or missing. Check the clamp opening, grip padding, cord length, bulb type, and fixture weight before buying. Attach it only to a sturdy surface, keep heat away from fabric, and route the cable where it cannot catch on bedding.
Secondhand Mirror Upgrade
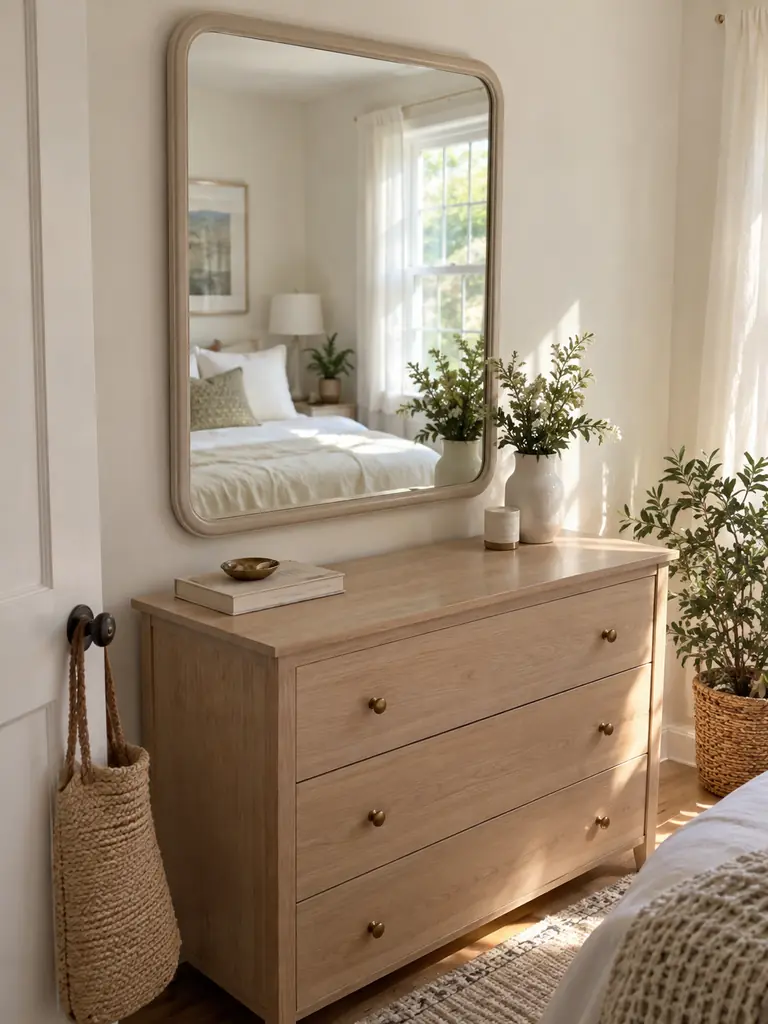
Do:
- Inspect the glass for deep scratches, cracks, dark spots, and loose backing.
- Clean and tighten the frame before applying paint or decorative trim.
- Select a finish that coordinates with existing furniture and hardware.
- Use mounting hardware rated for the mirror’s full weight.
Don’t:
- Buy damaged glass simply because the frame is attractive.
- Paint over dirt, peeling finish, or unstable joints.
- Lean a heavy mirror where it can easily tip.
- Position it where direct sunlight produces strong glare.
A secondhand mirror can brighten the room while serving as useful wall decor. I’ve seen simple frame repairs produce a stronger result than elaborate embellishments. Reflect an open, tidy area rather than a crowded surface, and secure the mirror properly, especially in homes with children, pets, or frequent movement.
Budget Curtain Lengthening
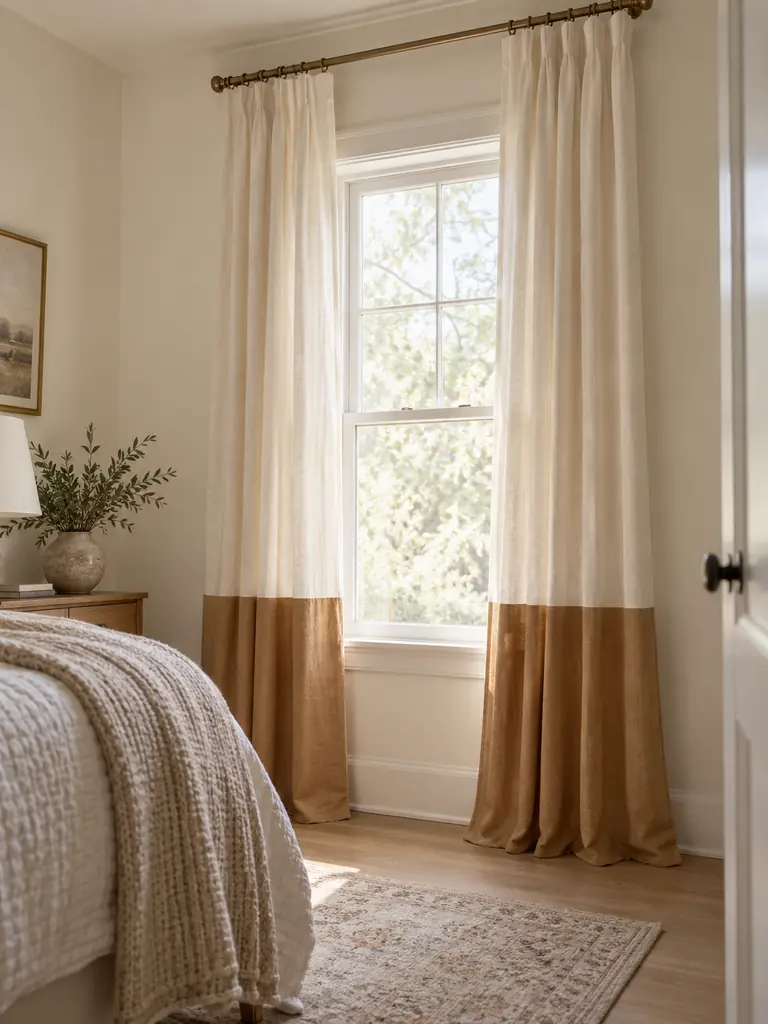
Cost: Low
Time: One to two hours
Skill Level: Beginner sewing or iron-on hemming
Result: Taller-looking windows and reused curtain panels
Lengthening existing curtains can cost less than replacing panels that are still in good condition. Measure the missing length while the curtains hang, then add matching or intentionally contrasting fabric with enough allowance for a neat seam. Wash both materials first to reduce uneven shrinkage after the finished panels are cleaned.
Repurposed Ladder Rack
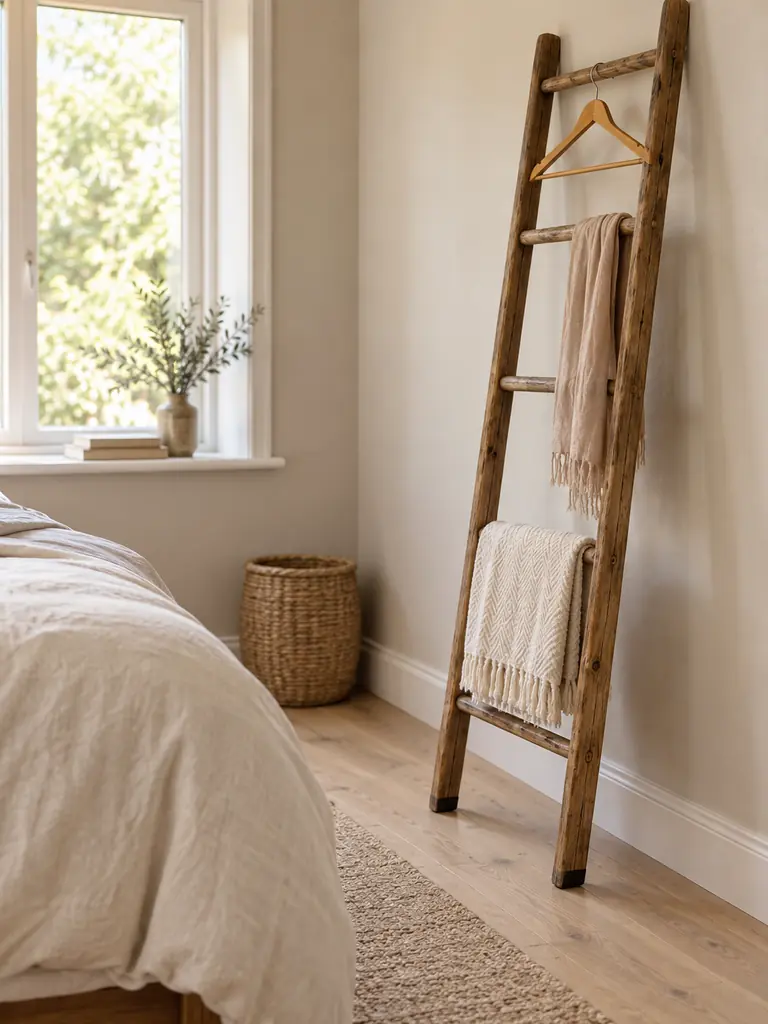
An old ladder can become vertical storage without requiring a wide cabinet or freestanding rail. Choose a solid piece with intact rungs, sand rough wood, remove protruding hardware, and clean it thoroughly. Position it where hanging textiles will not interfere with the bed, door, window, or walkway.
Keep the display restrained and use the rack only for lightweight items such as scarves, throws, or tomorrow’s outfit. Add protective pads where wood touches the wall and floor, then secure the ladder against slipping or tipping. Never climb it after converting it into bedroom storage or decor.
Pegboard Bedside Organizer

- Measure the available wall section and keep the board within comfortable reach from the bed.
- Choose hooks, cups, and shelves designed for the pegboard’s hole spacing and thickness.
- Assign each attachment to one specific category, such as electronics, glasses, or notes.
- Keep heavy books, glass containers, and liquids off small unsupported accessories.
- Secure the board with fixings appropriate for the wall material and expected load.
A pegboard adapts as routines change, making it useful for bedrooms with limited drawer space. Arrange frequently used items between shoulder and eye level, then leave several holes empty for future needs. Avoid filling the entire board, since too many exposed objects can replace surface clutter with wall clutter.
If built-in storage is limited, these practical ways to Organize a Bedroom Without a Closet can help you create dedicated places for clothing, shoes, and accessories.
Hidden Box Storage
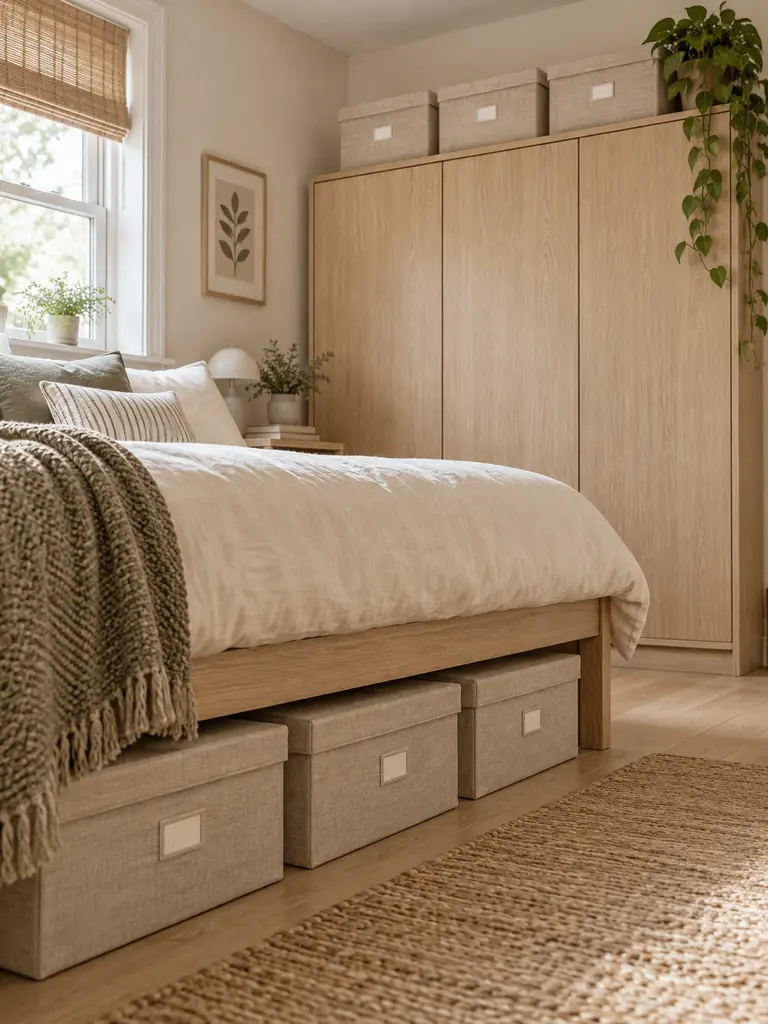
Quick Tip:
Reuse sturdy boxes only after confirming they are clean, dry, and undamaged. Cover them with the same paper or fabric, then label each container by category so matching exteriors do not make the contents difficult to identify.
Covered boxes can organize accessories, documents, spare linens, or seasonal items for less than decorative storage bins. Measure shelves and under-bed clearance before choosing box sizes, and avoid making loaded containers too heavy to lift safely. Keep frequently used belongings near the front and archive items farther back.
Dresser Hardware Refresh
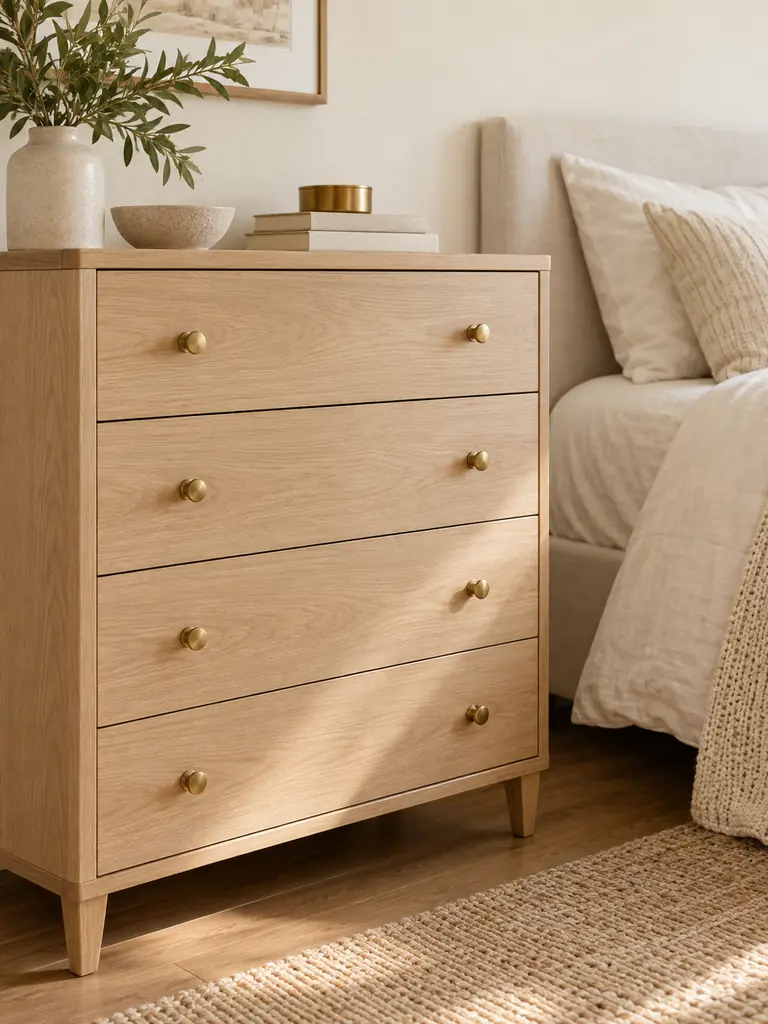
Before:
Worn, mismatched, or dated handles make an otherwise functional dresser feel neglected. Replacing the whole piece would cost more and create unnecessary waste.
After:
Matching knobs or pulls give the drawers a cleaner, more consistent appearance. The furniture remains familiar and functional while gaining a noticeable update for a relatively small amount.
Measure the distance between existing screw holes before shopping, especially when replacing pulls rather than single knobs. Keep the original hardware in a labeled bag if you rent or may resell the dresser. Tighten each new piece gently and evenly, since overtightening can damage wood, veneer, or drawer fronts.
Furniture Finish Update
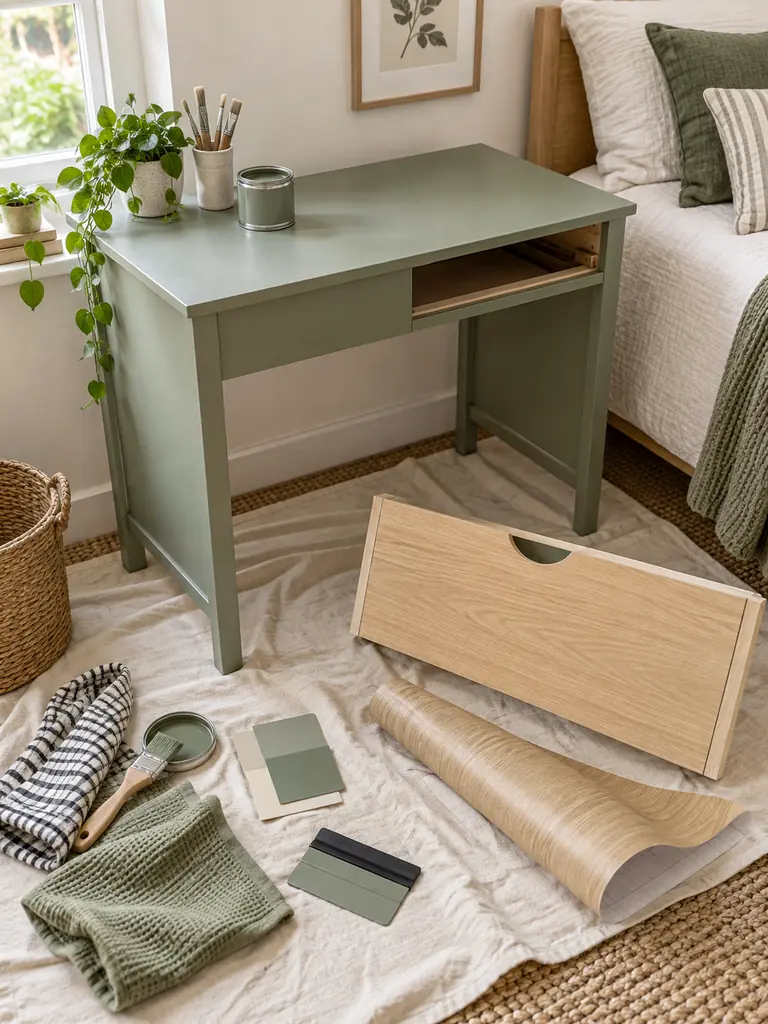
- Identify whether the surface is solid wood, laminate, veneer, or previously painted.
- Clean away grease, dust, polish, and residue using a product suitable for that material.
- Repair loose edges or scratches, then prepare the surface according to the chosen finish.
- Test paint or removable film on a hidden section and allow enough time to assess adhesion.
- Apply the finish slowly, protect surrounding areas, and follow all drying or curing instructions.
A finish update can connect mismatched furniture without replacing serviceable pieces. Paint works well for a lasting change, while removable film suits smooth surfaces and temporary projects. Ventilate the room, use low-odor products where possible, and avoid placing belongings on the furniture until the finish has cured completely.
Handmade Textile Details
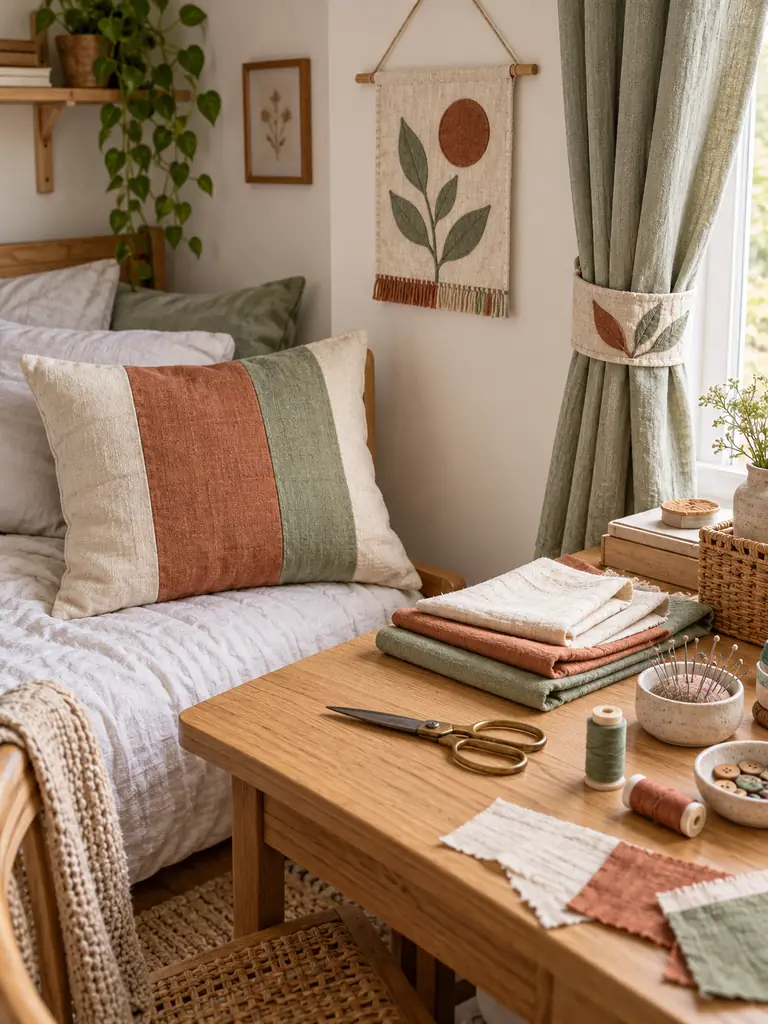
| Buying New Decor | Making Small Textiles |
|---|---|
| Requires separate purchases | Uses remnants or unused fabric |
| May introduce mismatched colors | Repeats one coordinated palette |
| Creates additional stored items | Updates existing cushions or curtains |
| Offers fixed measurements | Can be sized for the exact space |
Small handmade pieces personalize the room without consuming much fabric or storage. Start with a no-zip envelope cushion cover or a simple curtain tie before attempting detailed sewing. Wash and press reused fabric first, reinforce stressed seams, and avoid hanging textiles close to open flames, heaters, or hot light fixtures.
Weekend Bedroom Reset
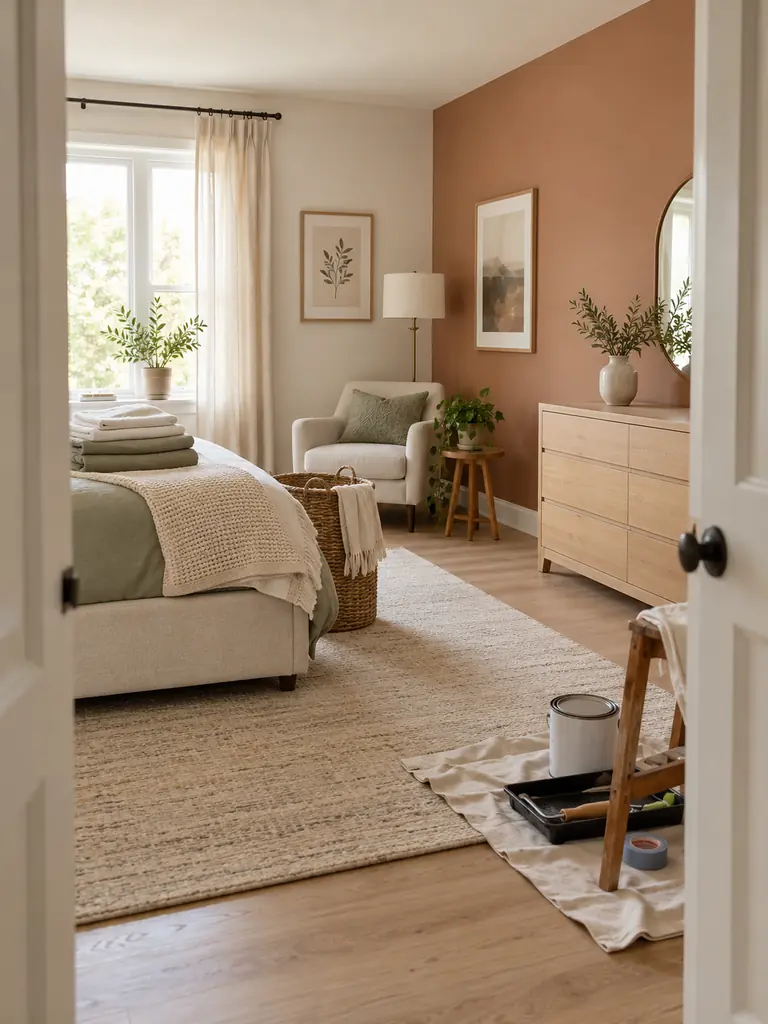
Do:
- Clean and declutter the room before beginning decorative work.
- Complete the furniture layout on the first morning.
- Choose one manageable DIY project with supplies already available.
- Reserve the final hours for styling, cleanup, and returning essentials.
Don’t:
- Begin several painting or furniture projects at the same time.
- Purchase accessories before reviewing what you already own.
- Ignore drying, curing, or ventilation times.
- Fill newly cleared surfaces with decorative objects.
A weekend plan keeps small bedroom ideas on a budget focused and achievable. Assign each task a time limit, prepare tools in advance, and stop adding projects once the schedule is full. By Sunday evening, the room should be clean, functional, and ready to use rather than filled with unfinished work.
Once the affordable updates are complete, follow these simple routines to Keep a Small Bedroom Organized and prevent clutter from covering the newly refreshed surfaces.
Final Spending Review
Time: About 20 minutes
Difficulty: Easy
Best For: Preventing overspending and duplicate purchases
Result: A finished bedroom with a controlled total cost
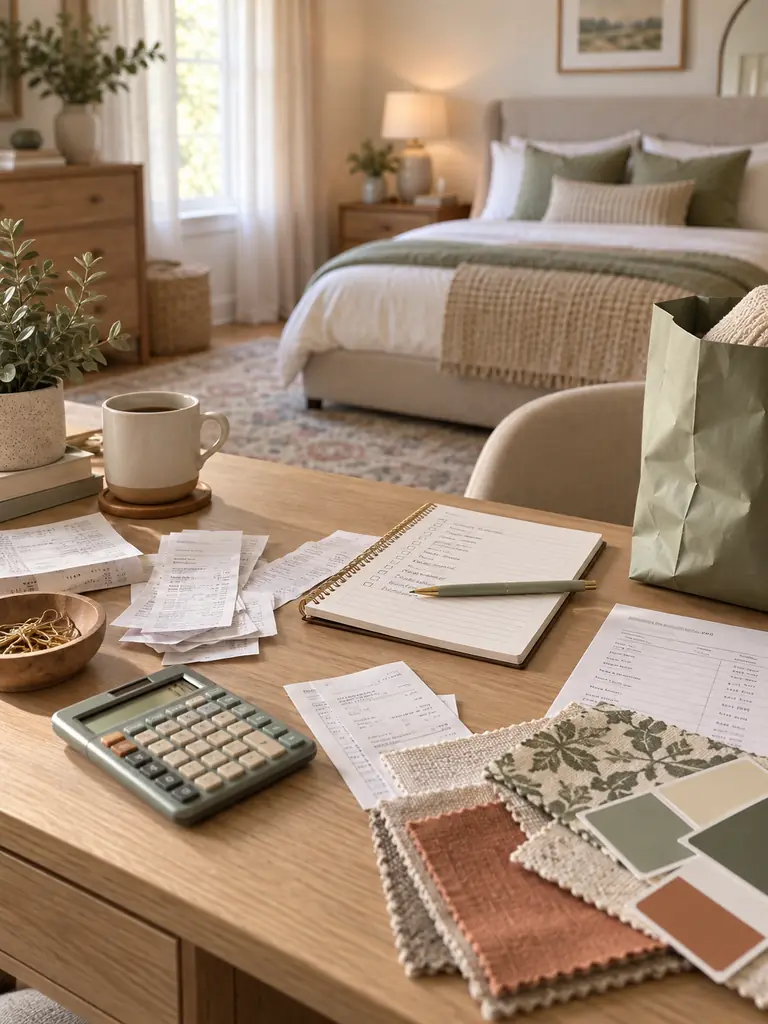
Compare every receipt with the original plan and calculate the full cost, including tools, delivery, and unused supplies. Return eligible items that do not improve function or appearance, then store leftover materials for repairs. Record successful paint colors, measurements, and product details so future updates require fewer repeated purchases.
Conclusion
Creating a bedroom you love is possible without stretching your budget or replacing everything you own. These small bedroom ideas on a budget show how planning, rearranging, repurposing, and completing a few careful DIY projects can produce a polished result. Start with one affordable change, track every expense, and review the room before buying more. I’ve seen how a fresh layout or updated furniture detail can shift the entire atmosphere. Save this post on Pinterest for your next bedroom refresh, try the ideas that suit your space, and share it with someone decorating on a budget. Choose your first project and begin today.