
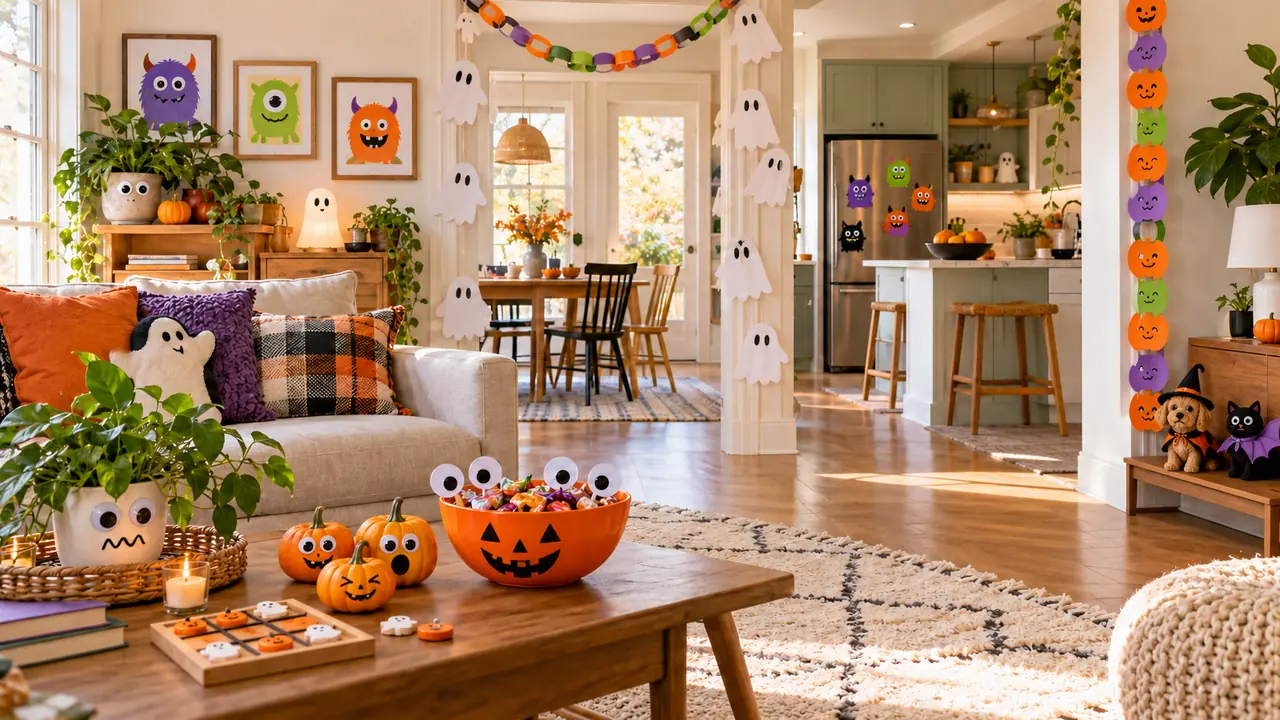
Halloween decorating should feel fun, not like another complicated project filling your home with clutter. These Simple Halloween Decor ideas use cheerful colors, removable details, familiar objects, and beginner-friendly projects to make ordinary rooms feel festive without demanding expensive supplies or permanent changes.
Inside, you will find practical inspiration for doorways, bookshelves, kitchens, dining areas, windows, and overlooked everyday items. Each project explains how to create the effect while keeping switches, pathways, food surfaces, furniture, and storage functional. In my experience, playful seasonal decorating works best when one clever detail becomes the focus instead of several unrelated objects competing for attention. Choose a few ideas that suit your household, then adapt their colors and materials to what you already own.
Table of Contents
Candy Color Blueprint

A playful color plan keeps cheerful decorations from looking random or overly busy. Use orange as the dominant shade, lilac for softness, lime as a lively accent, and black for outlines. Repeat each color in small amounts across nearby rooms rather than placing every shade on one surface.
Start with items already visible, such as cushions, bowls, paper details, and storage boxes. In my experience, black works best as the smallest portion because it gives brighter colors definition without overpowering them. This controlled recipe makes simple Halloween decor feel connected, intentional, and easy to expand.
Peekaboo Door Ghosts
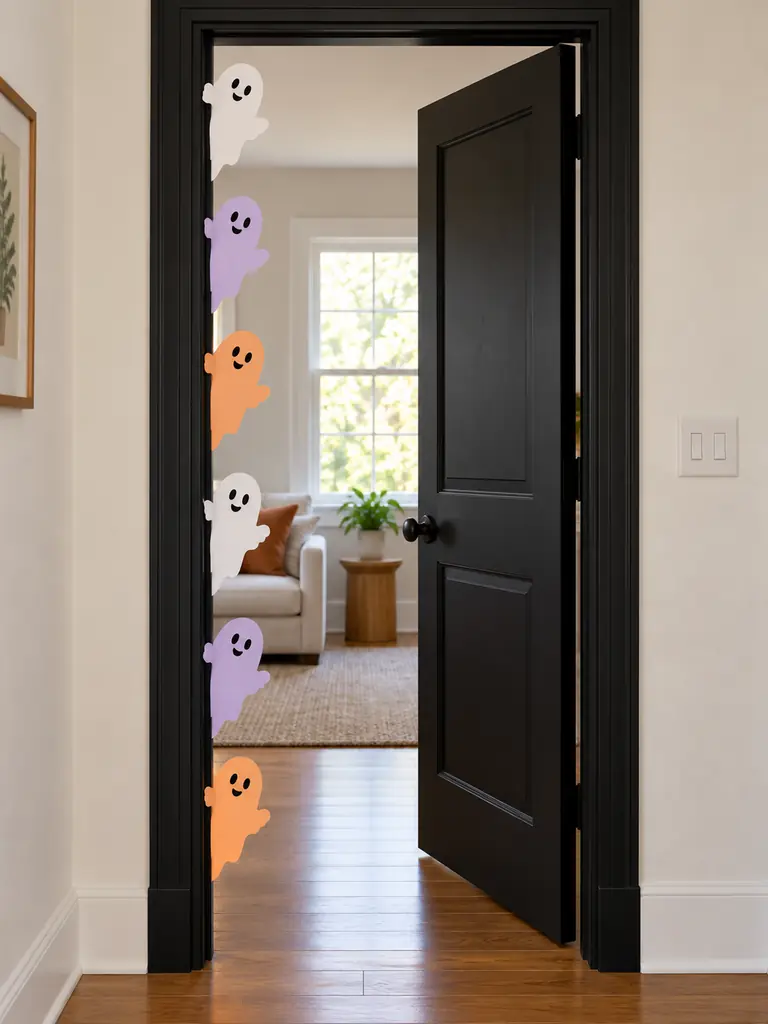
- Create three to five ghost shapes in slightly different sizes so the arrangement feels animated.
- Use lightweight white cardstock, removable wall material, or washable fabric.
- Position each ghost partly behind the inner doorframe instead of covering the doorway.
- Keep handles, hinges, locks, and switches completely accessible.
- Test the adhesive on a hidden painted area before completing the display.
A staggered group creates a funny surprise as guests enter the room, yet it uses no floor or tabletop space. Turn the faces in different directions and vary the visible portion of each ghost. Remove any shape that catches on clothing, blocks movement, or begins lifting at the edges.
Build a complete seasonal welcome around the doorway with this practical Halloween Entryway Decor guide for storage, seating, lighting, and everyday organization.
Pumpkin Face Stickers
Quick Tip:
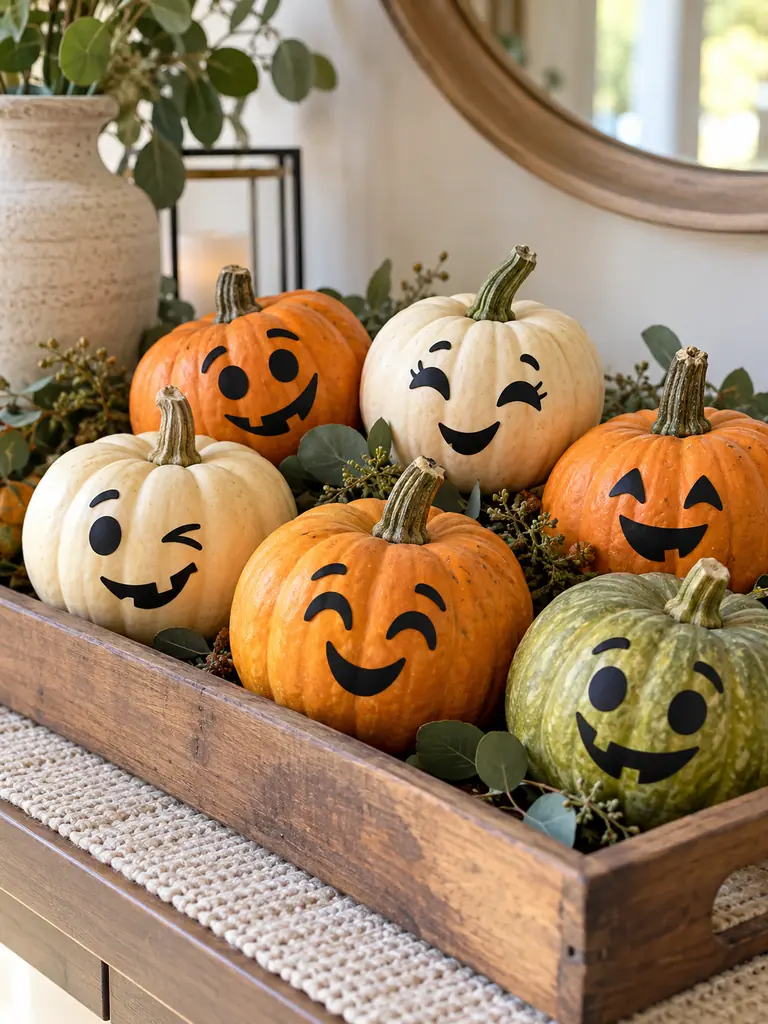
Cut facial features from removable vinyl in several expressions before attaching anything. Test one small piece underneath a pumpkin first, especially on delicate painted, waxed, or textured finishes.
Sticker faces give plain pumpkins character without carving tools, wet paint, or complicated cleanup. Combine wide eyes, crooked smiles, and tiny eyebrows so each pumpkin looks different, then gather them into one contained group. Store the vinyl shapes on backing paper afterward if you want to reuse them next season.
Googly Eye Houseplants
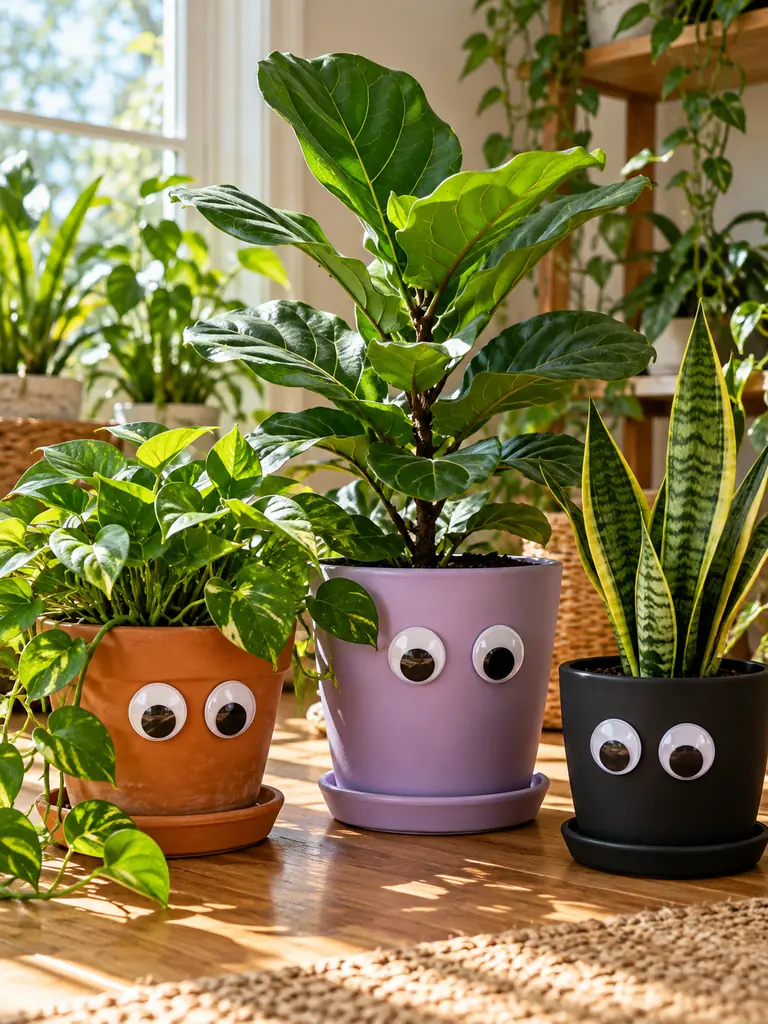
BEFORE: Plant pots blend quietly into the room and contribute greenery without any seasonal personality. Attaching craft materials directly to leaves could damage delicate surfaces or interfere with healthy growth.
AFTER: Removable eyes sit on clean plant pots, creating funny faces beneath the foliage. The leaves, drainage holes, soil, and saucers remain completely untouched.
Houseplants already have expressive shapes, so a pair of oversized eyes can produce an amusing result with very little material. Choose adhesive suitable for the pot finish and remove it slowly after the season. Place the eyes above the saucer line where watering splashes are less likely to loosen them.
Monster Tissue Cover

- Measure the tissue box, including the opening and any raised edges.
- Cut a removable paper sleeve that slides over the original packaging without sticking to it.
- Add large eyes near the top and paper teeth around the opening.
- Keep the tissue path wide enough for sheets to pull out without tearing.
- Replace the sleeve if it becomes damp, stained, or crushed.
A tissue box sits in plain view in many living rooms, bathrooms, and bedrooms, making it an easy object to restyle. Using a separate sleeve keeps glue away from the packaging and allows quick refills. Coordinate the paper color with nearby accents so the monster feels playful rather than visually disconnected.
For more creative projects made from everyday supplies, explore these Cheap Halloween Decorations that deliver a polished result without requiring a large budget.
Candy Corn Book Wraps
| Detail | Permanent Covers | Reusable Paper Sleeves |
|---|---|---|
| Book protection | Adhesive may mark covers | No direct glue required |
| Seasonal colors | Difficult to change | Easy to replace or store |
| Reuse | Limited to one book | Fits similarly sized books |
| Appearance | Can show uneven edges | Creates a cleaner stacked pattern |
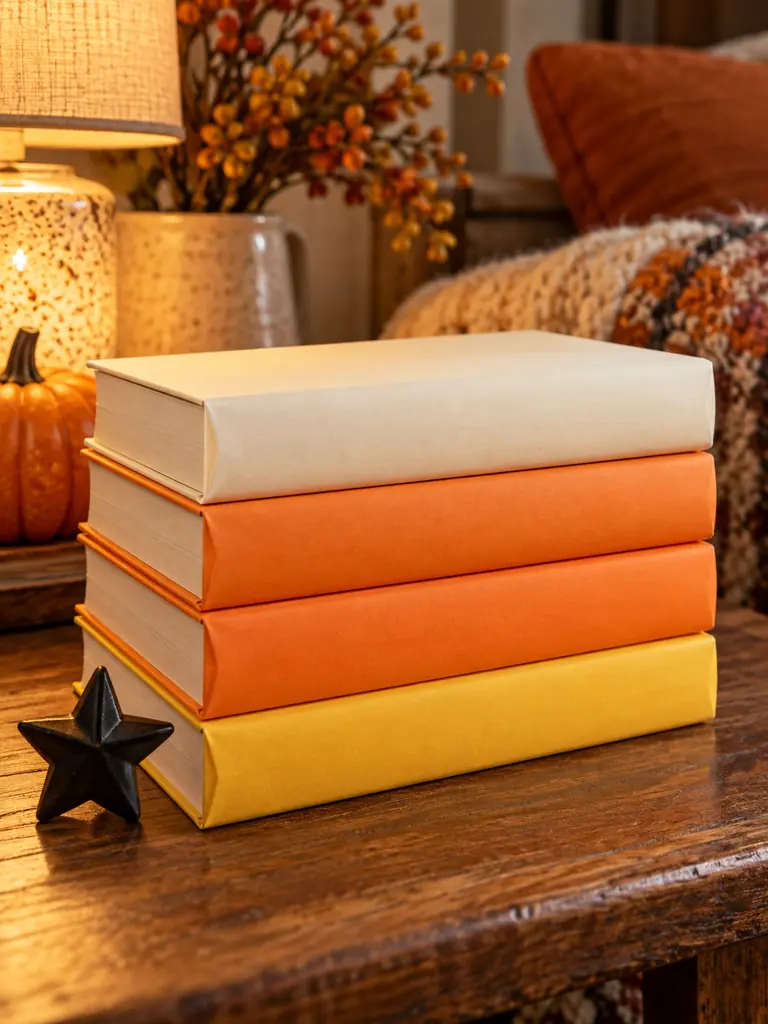
Cream, orange, and yellow sleeves turn ordinary books into a bold color block without relying on printed Halloween graphics. Wrap only decorative or rarely handled volumes, keep titles recorded separately, and align the color sections across the spines. The finished stack works well beneath a small lamp or lightweight ornament.
Spider Leg Table Socks

DO
- Measure each furniture leg before cutting the striped fabric.
- Use stretch material that fits snugly without adhesive.
- Stop the sleeve above floor protectors and moving joints.
- Match the stripe direction across all visible legs.
DON’T
- Cover casters, folding mechanisms, or adjustable feet.
- Use loose fabric that can slip onto the floor.
- Add decorations to unstable or frequently moved furniture.
- Position hanging details where pets may pull them.
Striped sleeves create a surprising creature-like effect while leaving valuable surfaces available for everyday use. Limit them to one small table or a pair of dining chairs so the joke remains easy to notice. Check the fit regularly, especially before guests arrive, and remove any sleeve that begins sliding downward.
Pumpkin Tic-Tac-Toe

Cost: Low with unfinished wooden tokens and leftover paint
Time: About 30 minutes plus drying time
Skill Level: Beginner-friendly
Best For: Coffee tables, family rooms, and children’s activity corners
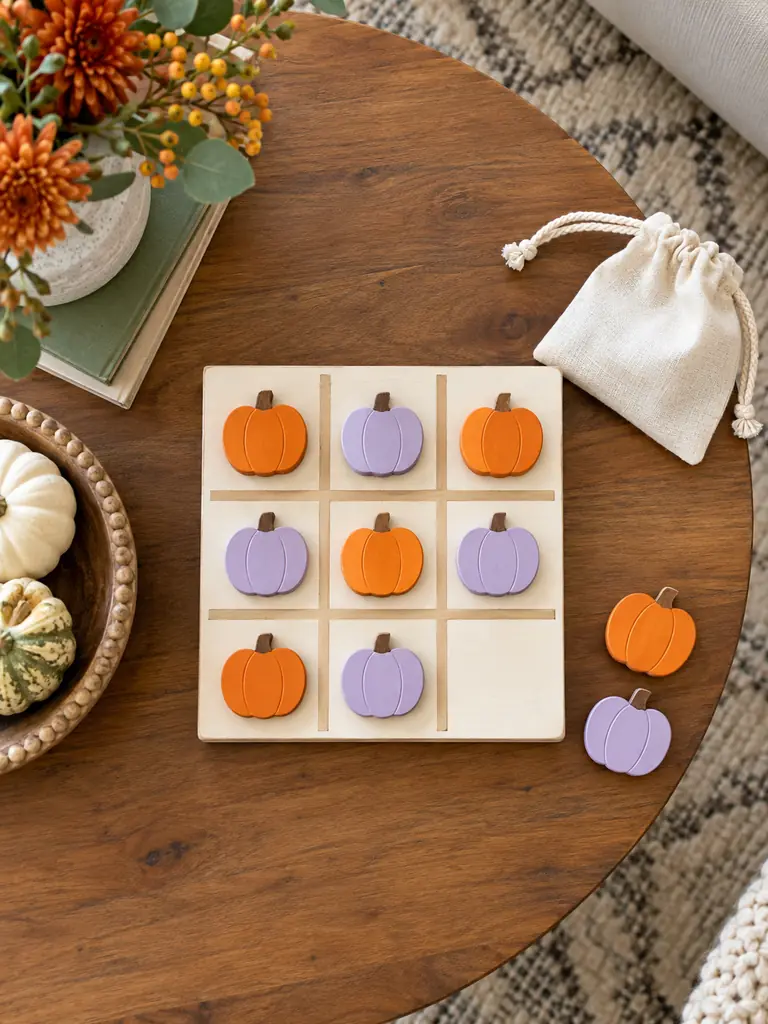
Interactive decor gives guests something to do instead of serving only as a display. Paint one token set orange and the other lime or lilac, then seal every piece with a suitable finish. Store the tokens in a small drawstring pouch beneath the board so the arrangement remains complete and tidy.
Build a comfortable family gathering space around the activity with these Cozy Halloween Living Room Decor Ideas for sofas, coffee tables, lighting, and fireplaces.
Eyeball Candy Bowl
A plain serving bowl becomes instantly amusing when removable eyes appear to watch anyone reaching for a treat. Choose a food-safe bowl with a smooth exterior, then arrange several eye shapes around the outside at varied heights. Keep every decorative material away from the rim and interior.
Fill the bowl with individually wrapped sweets and place it on a stable, easy-to-clean surface. Avoid tiny loose embellishments where young children may handle the display. Once the candy is gone, the same bowl can hold packaged snacks, napkins, or sealed favors without losing its playful seasonal role.
Mini Monster Magnets
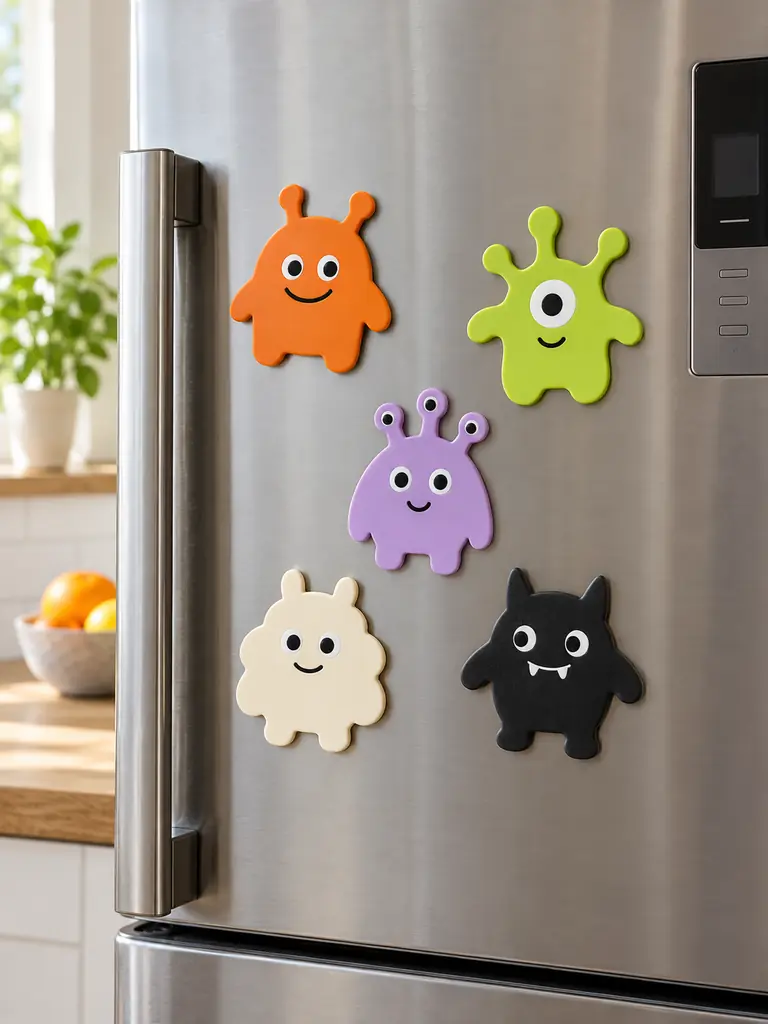
- Cut large character bodies from flexible magnetic sheets rather than attaching magnets to separate paper pieces.
- Build each face with simple eyes, eyebrows, teeth, and contrasting color blocks.
- Round sharp corners so the magnets remain comfortable to handle.
- Keep every piece large enough to reduce the risk of swallowing.
- Arrange the finished characters away from refrigerator controls and ventilation openings.
A small monster group can refresh a kitchen without occupying counters or shelves. Test the magnetic grip before adding decorative layers, since heavy materials may cause pieces to slide. In homes with toddlers or pets, place magnets well above their reach and inspect them regularly for loose components.
Witchy Mug Tags
Quick Tip:
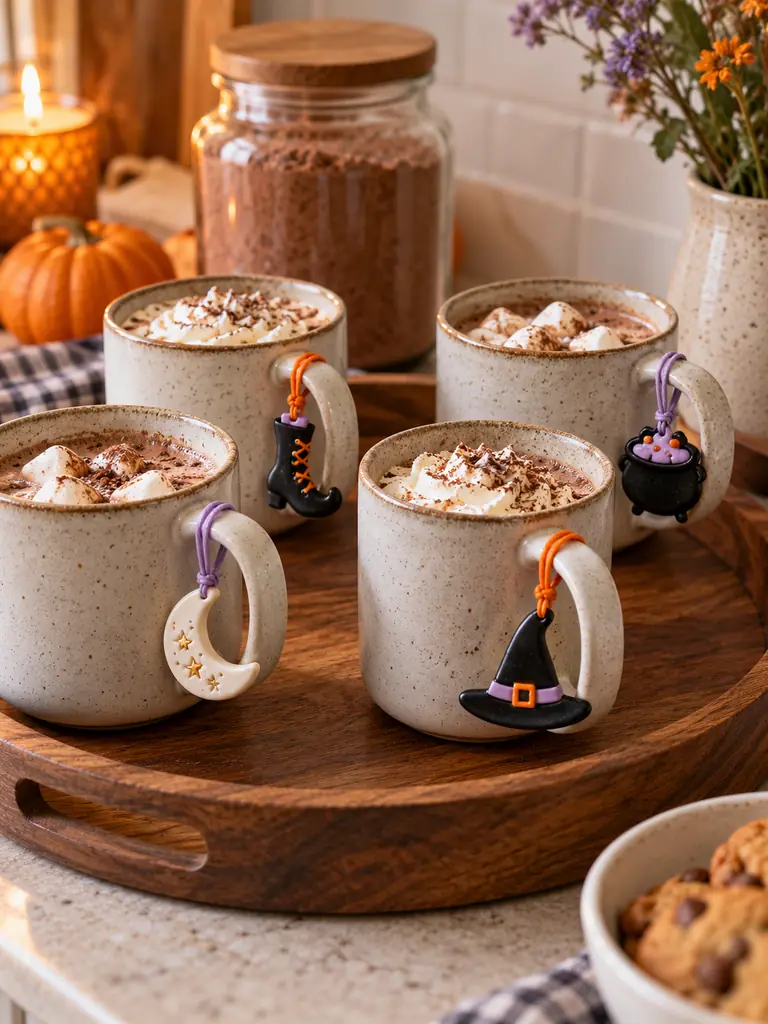
Use washable fabric, silicone loops, or laminated card rather than materials that absorb spills easily. Make every loop loose enough to remove before the mug is washed, heated, or placed in a microwave.
Small tags help everyday mugs join the seasonal palette without requiring another set of drinkware. Give each tag a distinct symbol, such as a hat, moon, boot, or cauldron, so guests can identify their cup. Store the cleaned tags inside the beverage tray once cocoa season ends.
Crooked Clock Numbers
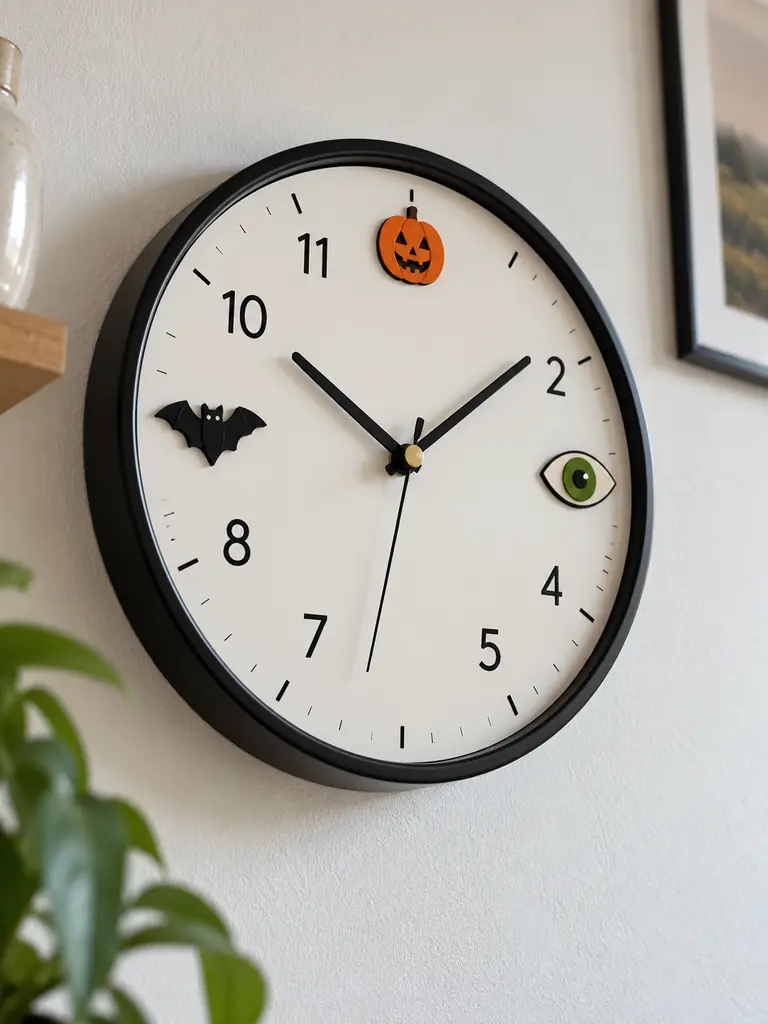
BEFORE: The wall clock remains practical but contributes nothing to the playful Halloween arrangement. Covering too much of its face, however, would make checking the time frustrating.
AFTER: A few removable symbols sit over selected numerals while the hands and main hour markers remain visible. Slightly tilted shapes create humor without interrupting normal use.
A clock makeover works because it alters an object people already notice throughout the day. Replace only three or four numbers with bats, pumpkins, or expressive eyes, and avoid adding thickness near the moving hands. Test visibility from across the room before deciding the design is finished.
Chairback Ghost Covers
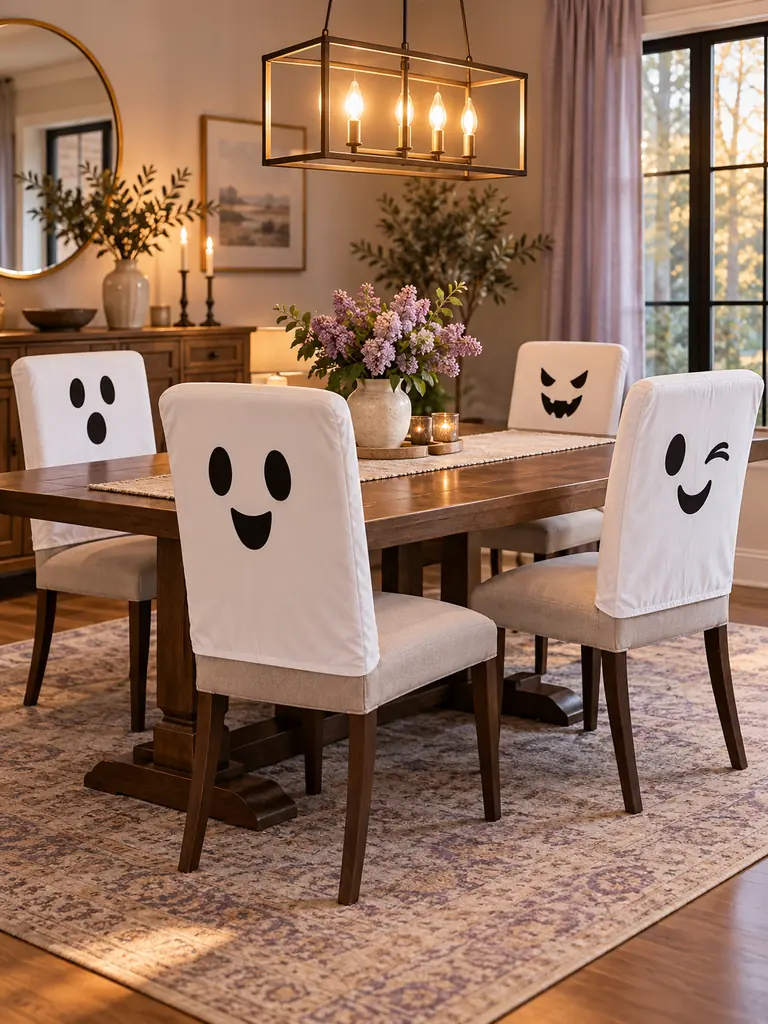
- Measure the chair back from its highest point to just above the seat.
- Cut two matching fabric panels and join the side edges, leaving the lower edge open.
- Add a simple removable face near the upper center.
- Slide the cover into place and confirm it cannot shift toward the seat.
- Remove each cover before laundering according to the fabric instructions.
Dining chairs gain an expressive seasonal identity while the table remains open for meals and daily tasks. Choose lightweight, opaque fabric that does not shed fibers or trail onto the floor. Keep ties, buttons, and dangling pieces out of the design when children will regularly use the seating area.
Continue the seasonal theme beyond the dining area with these Indoor Halloween Decor Ideas for shelves, windows, entryways, and shared family spaces.
Pumpkin Cabinet Knobs
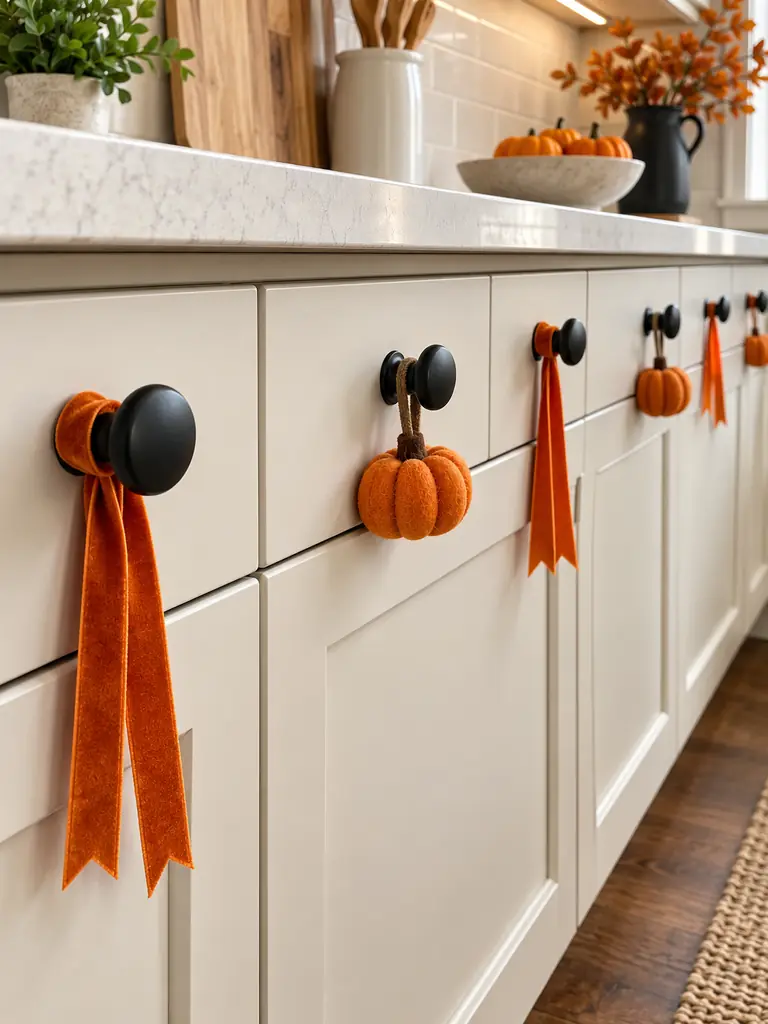
| Feature | Ribbon Loops | Removable Pumpkin Shapes |
|---|---|---|
| Best finish | Soft, colorful accent | Clear graphic detail |
| Installation | Tied around the knob stem | Secured without covering screws |
| Cleaning | Remove and hand wash | Wipe according to material |
| Ideal location | Frequently opened cabinets | Less-used doors and drawers |
Cabinet hardware offers a small decorating opportunity where counter space is limited. Keep every accent compact enough for fingers to grip the knob comfortably, and avoid blocking drawer movement. Select only a few doors within one zone, since decorating every handle can make a practical room feel unnecessarily busy.
Friendly Footprint Trail
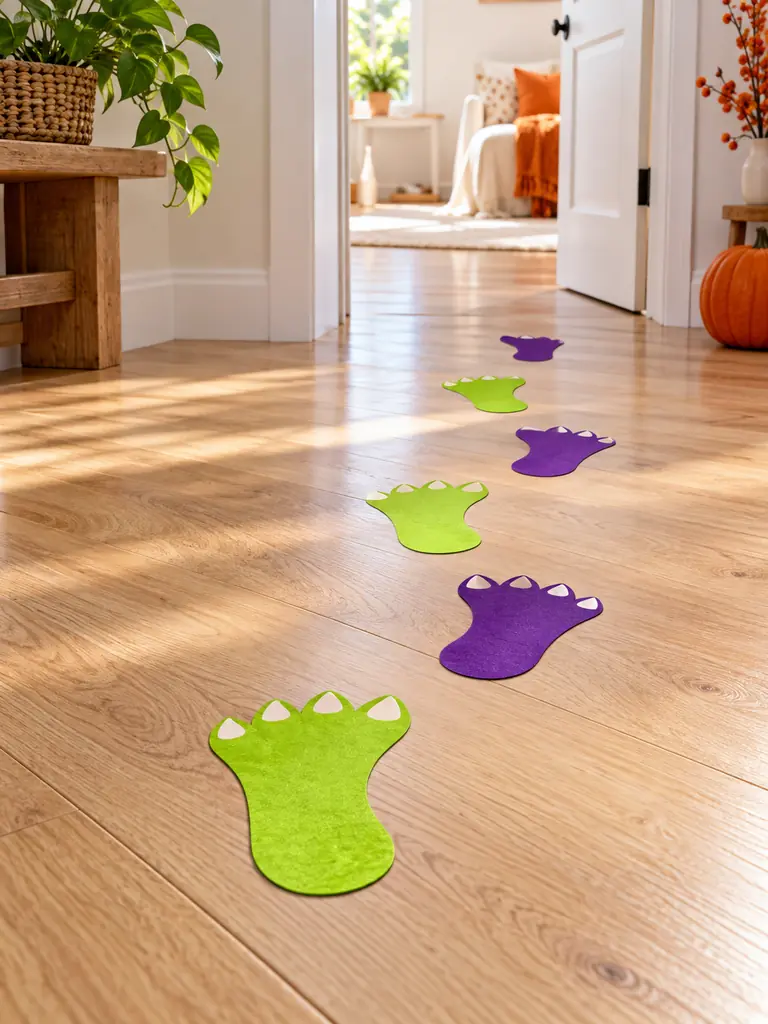
DO
- Use floor-safe removable material designed for the specific surface.
- Create a short route with consistent spacing between prints.
- Finish the trail at one clearly decorated focal area.
- Press every edge flat before allowing foot traffic.
DON’T
- Place prints on stairs, rugs, or wet flooring.
- Cover thresholds, floor vents, or safety markings.
- Use slippery laminated paper as a substitute.
- Extend the trail through narrow, crowded pathways.
A compact footprint path builds anticipation without requiring furniture or wall space. Choose one creature style and orient each print naturally toward the destination. Walk across the route in normal shoes before guests arrive, then remove any piece that shifts, curls, or creates even a minor tripping risk.
Paper Chain Countdown
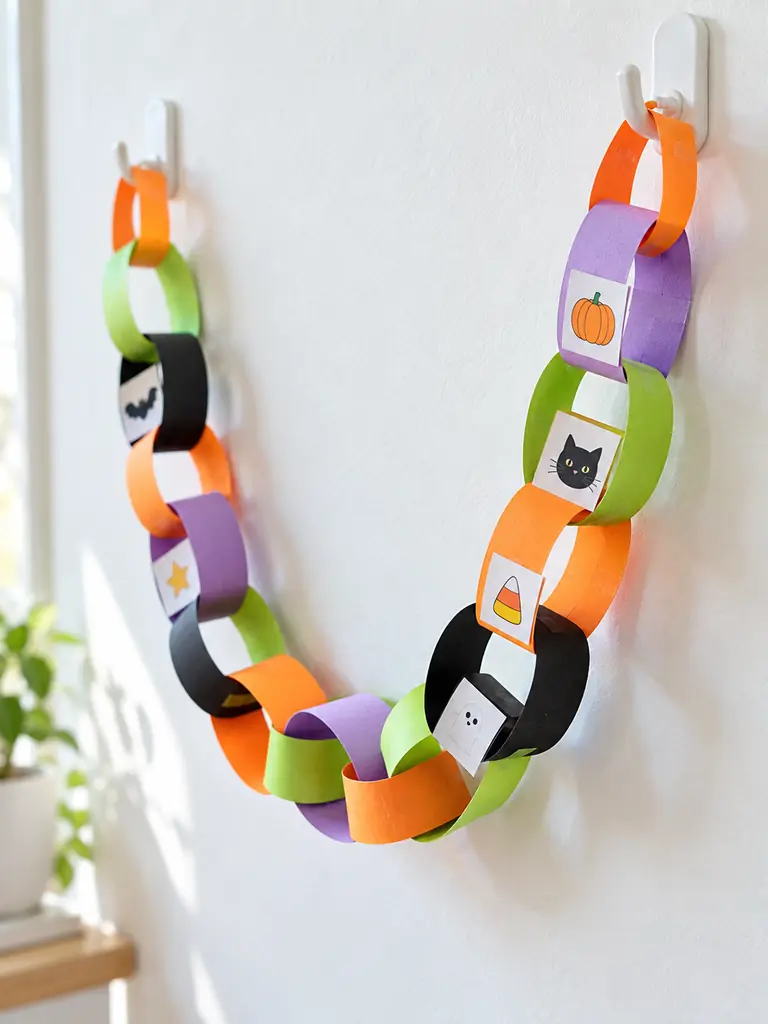
Cost: Very low with paper already available at home
Time: Around 20 to 30 minutes
Skill Level: Suitable for supervised beginners
Result: A decorative calendar that changes every day
A countdown gives the paper chain a purpose beyond filling an empty wall. Write a tiny activity inside each link, such as choosing a film or decorating a snack, before closing it with tape. Hang the chain from secure removable hooks where it will not obstruct doors, lights, or ventilation.
Pocket-Sized Monster Frames
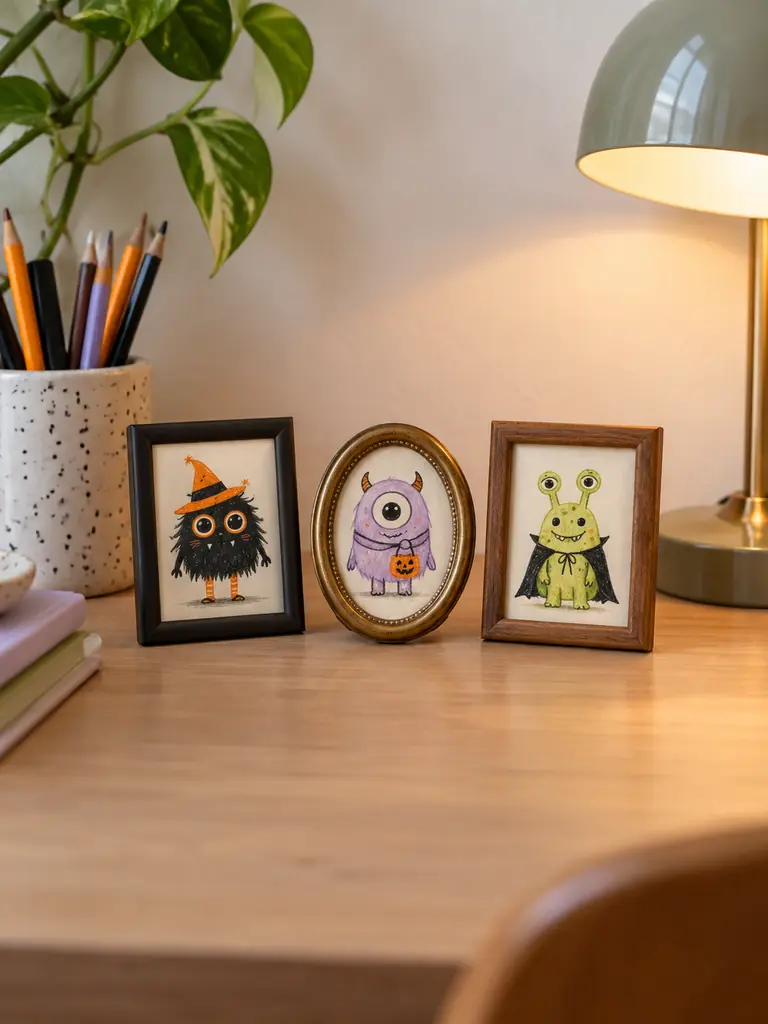
Tiny frames can bring personality to spaces that cannot hold larger decorations. Draw original creatures on thick paper using the article palette, giving each one a different expression, shape, and accessory. Select frames with stable backs, then crop the artwork carefully so important details remain visible.
Group two or three frames on a desk, shelf, or bedside table instead of scattering them throughout the home. Keep their heights slightly varied and leave open space around the cluster. Hand-drawn artwork makes the display feel personal, while the compact scale allows it to fit beside useful everyday objects.
For a more refined handmade display, explore these High-end DIY Halloween Decorations featuring polished finishes, structured forms, and carefully concealed joins.
Costume Animal Parade
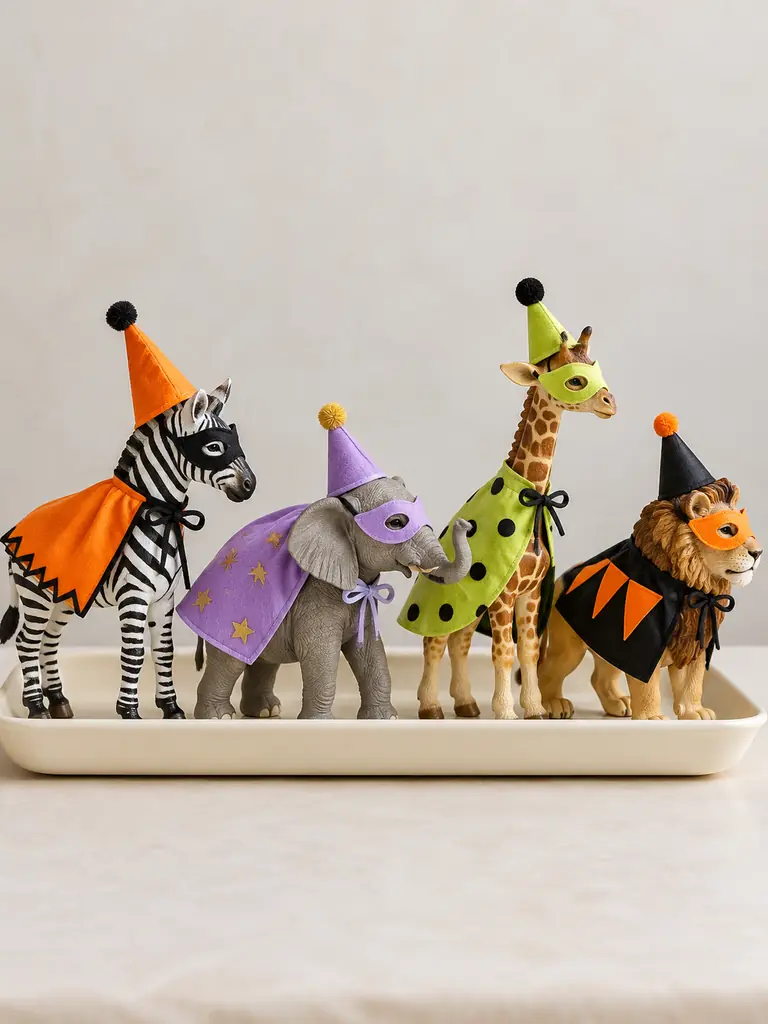
- Choose three to five sturdy toy animals that can stand without support.
- Cut lightweight hats, masks, or capes that fit without glue touching the toys.
- Give each animal a different costume while repeating the same limited color palette.
- Arrange the figures in a shallow tray or straight procession.
- Store loose costume pieces in a labeled envelope after the season.
Familiar toys gain a humorous seasonal role without being permanently altered. A contained parade works especially well on a low shelf where every costume remains visible. Avoid tiny accessories in homes with young children or pets, and keep valuable collectible figures separate from materials that could scratch or stain them.
Halloween Puzzle Tray

Quick Tip:
Choose puzzle pieces or magnetic shapes that are large enough for the intended users and easy to count afterward. Photograph the completed arrangement so everyone knows how the tray should look when it is reset.
Interactive pieces invite family members to rearrange the display while keeping the activity inside a defined boundary. Select a shallow tray with raised edges and a washable base, then reserve one nearby pouch for unused shapes. Move the tray away from drinks and meals so small components remain clean, dry, and complete.
Silly Switch Plate Faces

BEFORE: Light switches remain unnoticed, even when surrounding walls carry playful seasonal accents. Placing stickers directly over moving parts or electrical openings could make them difficult or unsafe to use.
AFTER: Removable eyebrows and eyes sit on the wall around the plate, turning the switch into a nose or mouth. Screws, edges, controls, and openings remain uncovered.
These tiny expressions reward close attention and require almost no decorating space. Wipe the surrounding wall gently before applying materials approved for its finish, then test the switch several times. Keep the design flat and simple, particularly in busy hallways where raised pieces may catch on hands or clothing.
Bat Bookmark Scatter
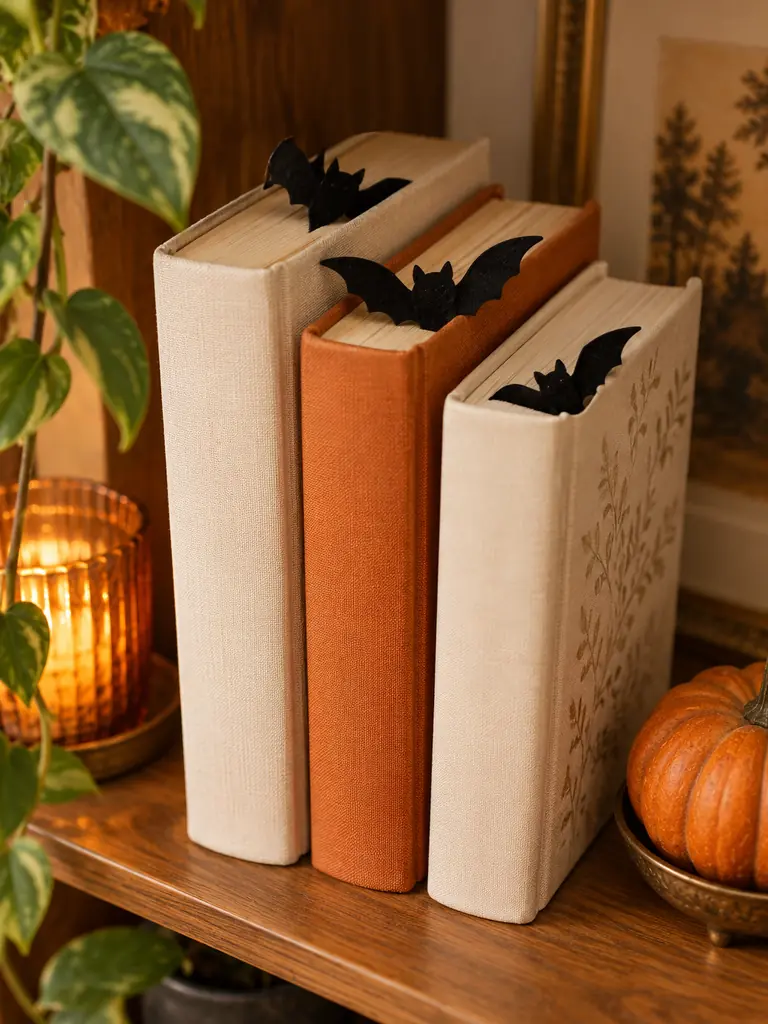
- Draw one compact bat template with wings wide enough to remain visible above a page.
- Trace the shape onto flexible black cardstock or washable felt.
- Cut smooth edges and avoid pointed details that can tear paper.
- Slide one marker into each selected book without forcing the binding.
- Angle the wings differently across the display.
Bookmarks introduce small Halloween details to bookshelves without covering titles or adding separate ornaments. Use them only in sturdy, replaceable books rather than valuable editions, and avoid overfilling tightly packed shelves. After the season, store the flat shapes inside an envelope so their wings remain smooth for another year.
Window Sill Creature Row
| Detail | Mixed Decorations | Coordinated Creature Row |
|---|---|---|
| Color use | Many unrelated shades | One repeated palette |
| Visual order | Scattered across the sill | Evenly spaced figures |
| Window access | Handles may be obstructed | Controls remain reachable |
| Cleaning | Multiple loose arrangements | One easy-to-remove group |
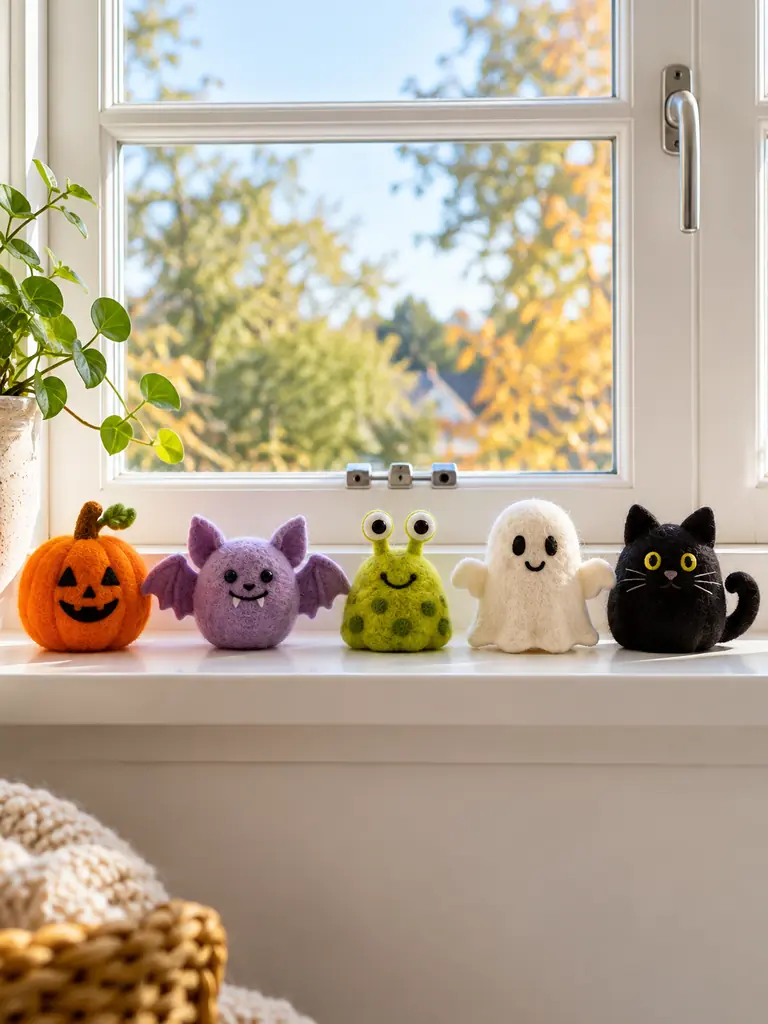
Small handmade characters can give an overlooked sill a cheerful focal point without hiding the outdoor view. Choose stable, lightweight figures that will not scratch the surface, and keep them away from condensation. Leave enough room to open, lock, clean, and ventilate the window normally throughout the season.
Ten-Minute Decor Zones

DO
- Assign one visible focal point to each selected room.
- Use decorations already prepared and ready to place.
- Set a timer so each zone remains genuinely quick.
- Preserve useful surfaces after every update.
DON’T
- Spread unfinished craft supplies between several rooms.
- Decorate doors, drawers, or appliances that need frequent access.
- Repeat the same character on every surface.
- Continue adding pieces after the timer ends.
Short decorating sessions prevent a simple project from becoming an exhausting whole-house task. Start with the entry, then address one sofa area, kitchen corner, and dining surface. Photograph each finished zone before moving on, since the image often reveals crowding or repetition that is easy to miss in person.
Playful Cleanup Check

Time: Approximately 10 to 15 minutes
Difficulty: Easy but essential
Check Areas: Floors, switches, vents, doors, food surfaces, and seating
Result: A cheerful home that remains practical and safe
The final edit separates thoughtful seasonal styling from visual clutter. Walk through the home at adult and child eye levels, testing doors, drawers, lights, and pathways as you go. Remove loose parts, repeated characters, unstable displays, and anything that complicates cleaning. A smaller collection often delivers the clearest playful effect.
Conclusion
Playful decorating does not need to be expensive, time-consuming, or difficult to store afterward. These Simple Halloween Decor projects show how removable shapes, colorful paper, familiar household objects, and interactive displays can bring seasonal character into every room while preserving daily function. Begin with one quick project, then add another only where the home still feels open and organized. I have seen the smallest unexpected details receive the biggest reactions from guests. Save this post on Pinterest, try your favorite idea this week, and share the article with friends or family who enjoy cheerful Halloween styling.