

A memorable dinner table should feel dramatic the moment guests enter, yet remain comfortable once the meal begins. This Halloween tablescape guide brings those two goals together through rich colors, layered place settings, glowing reflections, and practical serving details.
You will find ideas for runners, plates, glassware, fruit, place cards, napkins, chair ribbons, overhead accents, and dessert displays. Each look can be adjusted for your table size, guest count, and existing dinnerware. In my experience, the strongest arrangements use a few repeated colors and leave enough open space for food, drinks, and conversation. These thoughtful details will help you create a polished seasonal table that photographs beautifully and functions smoothly throughout dinner.
Table of Contents
Table Function Map
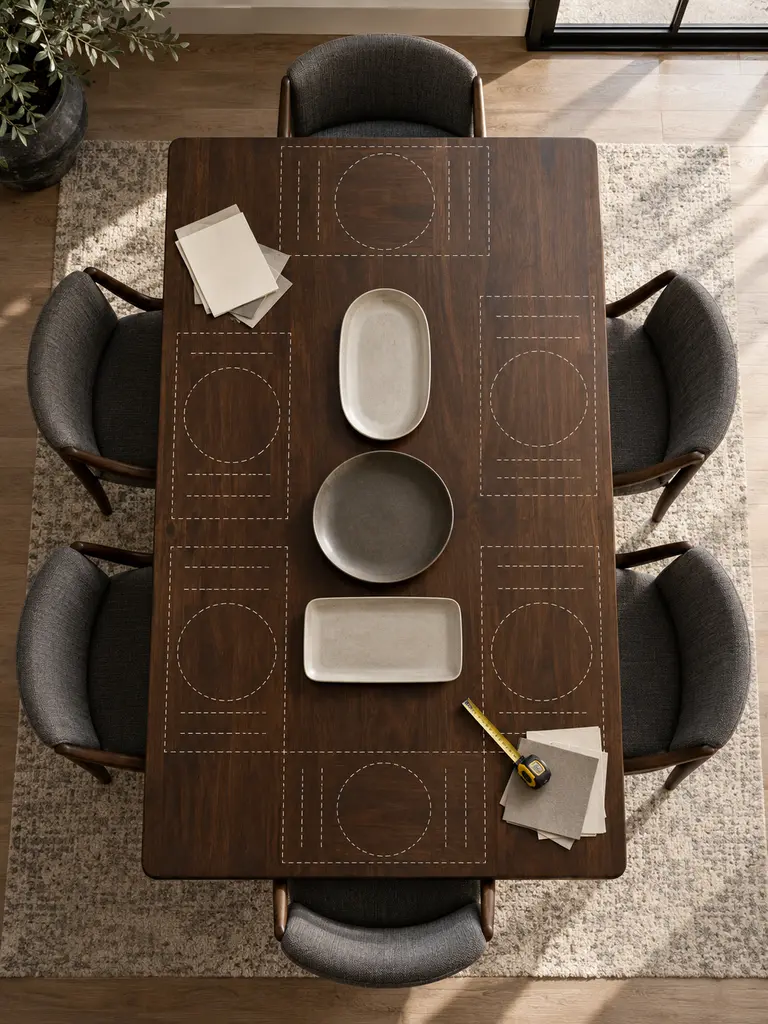
A striking table starts with practical decisions before decorative layers appear. Count every guest, chair, serving platter, water bottle, and shared condiment. Then place empty dishes where they will be used. This quick rehearsal reveals how much central space your Halloween tablescape can comfortably support.
Measure chair clearance and confirm that guests can sit without touching nearby furniture or hanging accents. Keep frequently passed dishes within easy reach, and leave a direct route from the kitchen. In my experience, planning these ordinary movements first produces a table that feels generous rather than crowded.
Ink Wash Runner
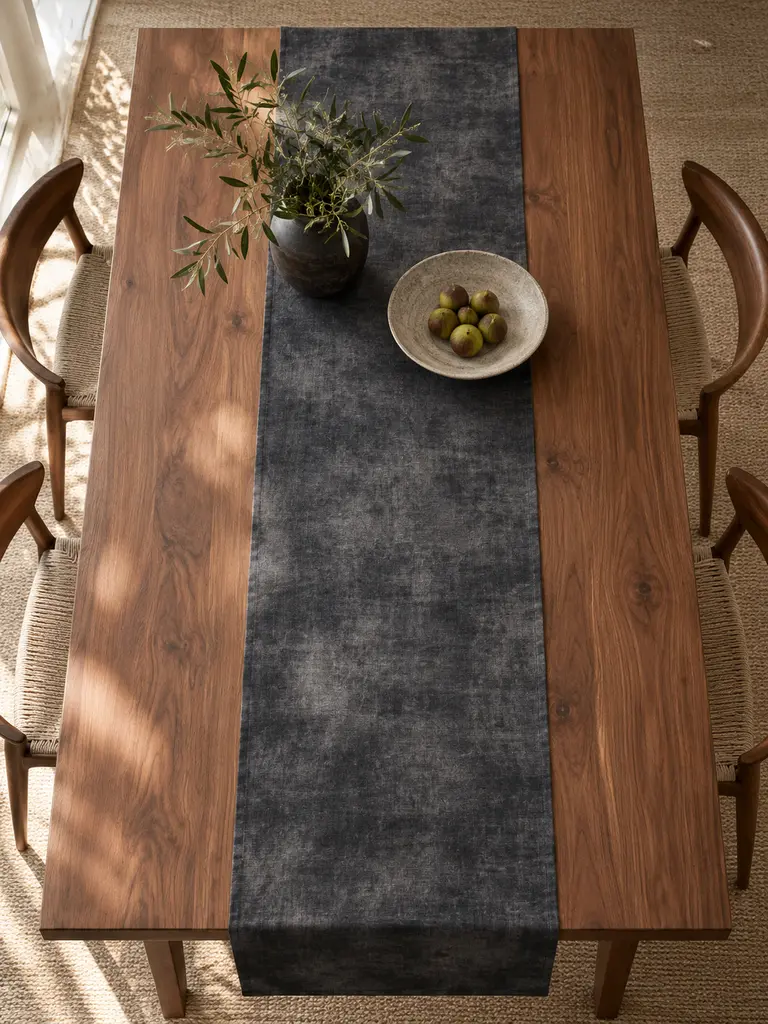
- Choose washable cotton or linen that lies flat without curling near place settings.
- Create subtle charcoal variation with fabric-safe dye, following the manufacturer’s washing and ventilation guidance.
- Keep both table ends partially visible so the runner looks intentional rather than oversized.
- Press the finished fabric before styling to remove creases that interrupt the mottled pattern.
- Add a nonslip underlay if the material shifts across a polished tabletop.
A smoky runner creates movement beneath solid plates and glassware without introducing a busy printed pattern. Its uneven charcoal tones also disguise minor marks during dinner. Keep the surrounding napkins simple, and repeat the runner’s darkest shade through only a few controlled details for a polished visual connection.
Moonlit Plate Layers

Quick Tip:
Build one complete place setting before arranging the entire table. Check that every plate remains easy to lift and that decorative details never touch uncovered food.
Deep charcoal dinner plates create a strong border beneath smaller ivory or pale gray dishes. Add one crescent detail through a removable place card, folded napkin, or food-safe side plate rather than repeating moon motifs everywhere. The light center keeps meals visible while the dark outer layer adds drama.
Thorned Charger Frames
BEFORE:
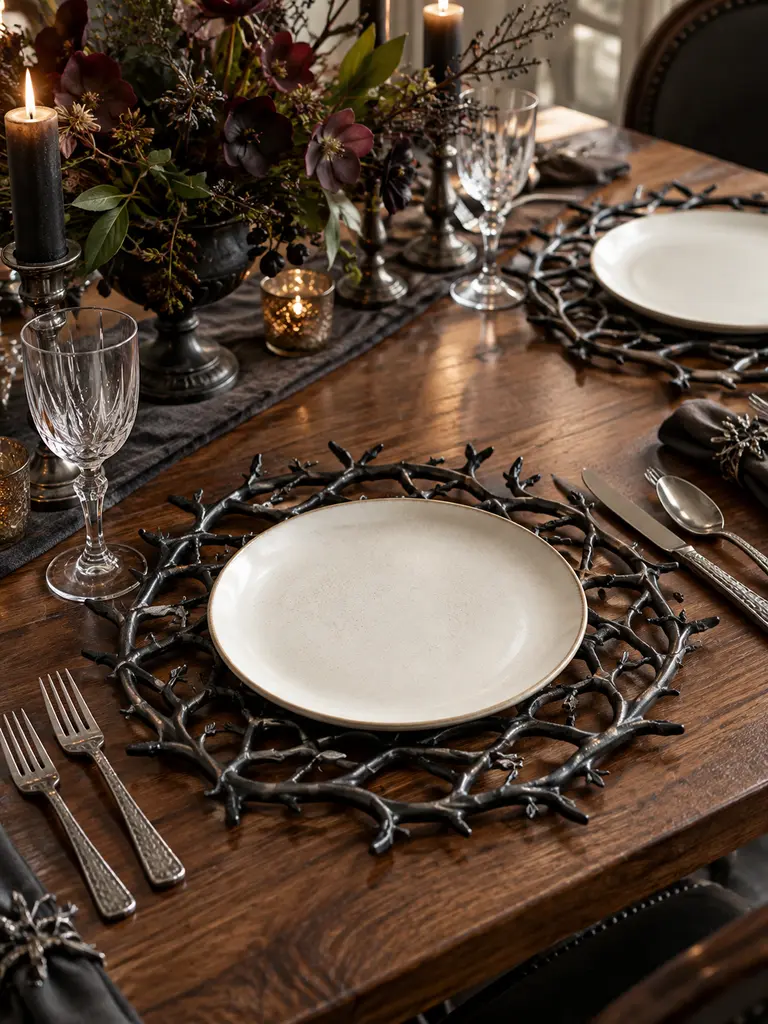
Plain chargers may support the plates but contribute little to the table’s overall shape. Oversized novelty designs can crowd cutlery, glasses, and neighboring settings.
AFTER:
Black branch-inspired frames create a controlled thorn-like outline beneath simple dinnerware. Their open construction adds gothic detail while allowing the tabletop or runner to remain visible.
Choose chargers with smooth sealed surfaces and no sharp points near hands or fabric. Center each plate carefully, then check that the outer edges stay within its assigned setting. A restrained silhouette works best because guests still need comfortable access to cutlery, glasses, and shared dishes throughout the meal.
Carry the same dark finishes beyond the dining table with these Expensive-looking Halloween Home Decor ideas for polished seasonal styling throughout the home.
Plum Glassware Line

- Select one glass shape and repeat it at every place setting for visual consistency.
- Place each glass above the knife with enough space for guests to lift it comfortably.
- Test the plum color under evening lighting to confirm drinks remain clearly visible.
- Wash and inspect every piece for chips, cracks, or cloudy residue before use.
Translucent plum glass catches warm light and introduces rich color without filling the table with extra ornaments. Clear water creates the strongest jewel-like effect, while darker drinks reduce transparency. I’ve noticed that repeating one tinted glass per guest looks more refined than mixing several unrelated colored vessels across the setting.
Wax Seal Place Cards

| Detail | Paper Name Card | Sealed Name Card |
|---|---|---|
| Finish | Simple and flat | Textured and formal |
| Color use | Printed ink | Paper plus one seal tone |
| Placement | Beside the plate | Above the napkin |
| Best effect | Casual meals | Dramatic seated dinners |
Use flexible faux seals or prepare real wax components separately so hot wax never reaches plates, linens, or finished furniture. Write names in clear lettering, then keep each card small enough to move easily when dinner begins. One oxblood or black seal provides sufficient detail without overwhelming the individual setting.
For more handmade details with refined finishes, explore these High-end DIY Halloween Decorations designed to look polished rather than overly crafty.
Pomegranate Center Trail
DO:
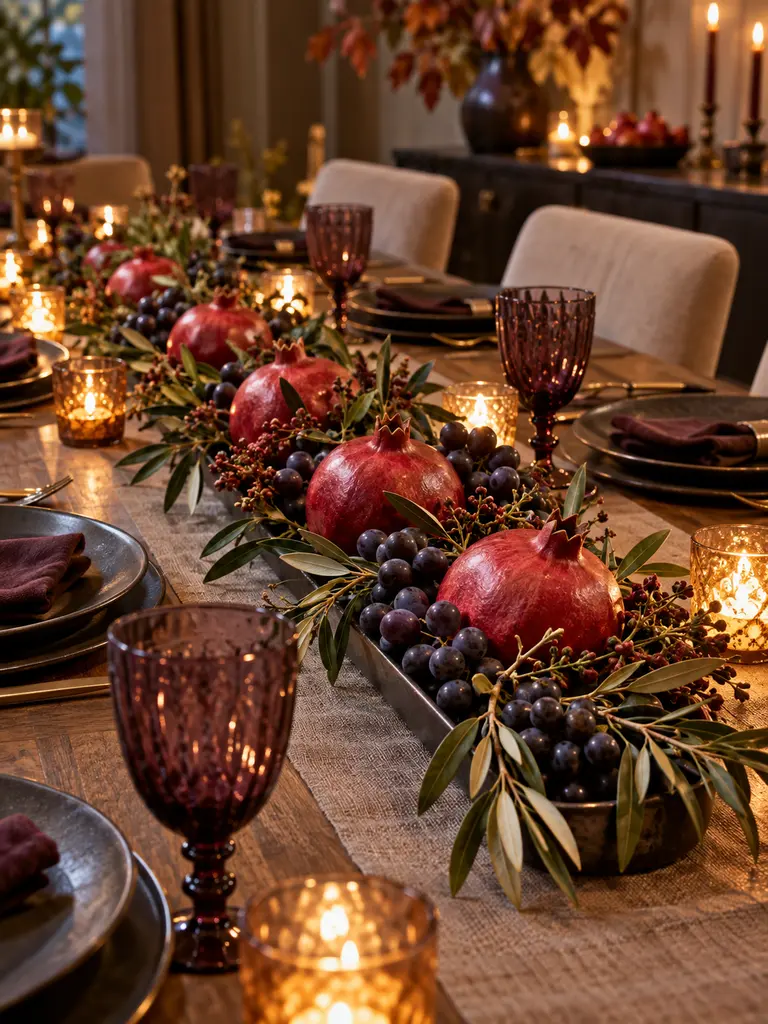
- Use whole, firm fruit without broken skin or leaking juice.
- Create an uneven line with open spaces between fruit clusters.
- Add only clean, food-safe foliage or clearly separated decorative stems.
- Keep the arrangement low enough for guests to see one another.
DON’T:
- Place loose berries where they can roll beneath plates or chairs.
- Let fruit touch candle housings, wax, or electrical components.
- Combine too many fruit varieties and competing colors.
- Leave perishable produce on the table overnight.
Pomegranates bring deep ruby color and natural variation to a dark dining scheme. Pair them with small grape clusters and sparse olive or eucalyptus-style foliage, then protect delicate surfaces with a narrow tray underneath. The arrangement feels abundant, but its low height preserves conversation and keeps serving dishes easy to pass.
Floating Moon Centerpiece

Cost: Low to moderate, depending on the crescent material
Time: About 30 minutes after the support is installed
Best For: Small tables with limited centerpiece space
Difficulty: Intermediate because secure overhead mounting is essential
An overhead crescent creates drama without occupying space needed for food and glassware. Use an extremely lightweight form, transparent line rated above its weight, and a properly installed ceiling support. Keep it well above seated head height, away from lights and fans, and confirm that it cannot swing toward guests.
Pewter Cutlery Details
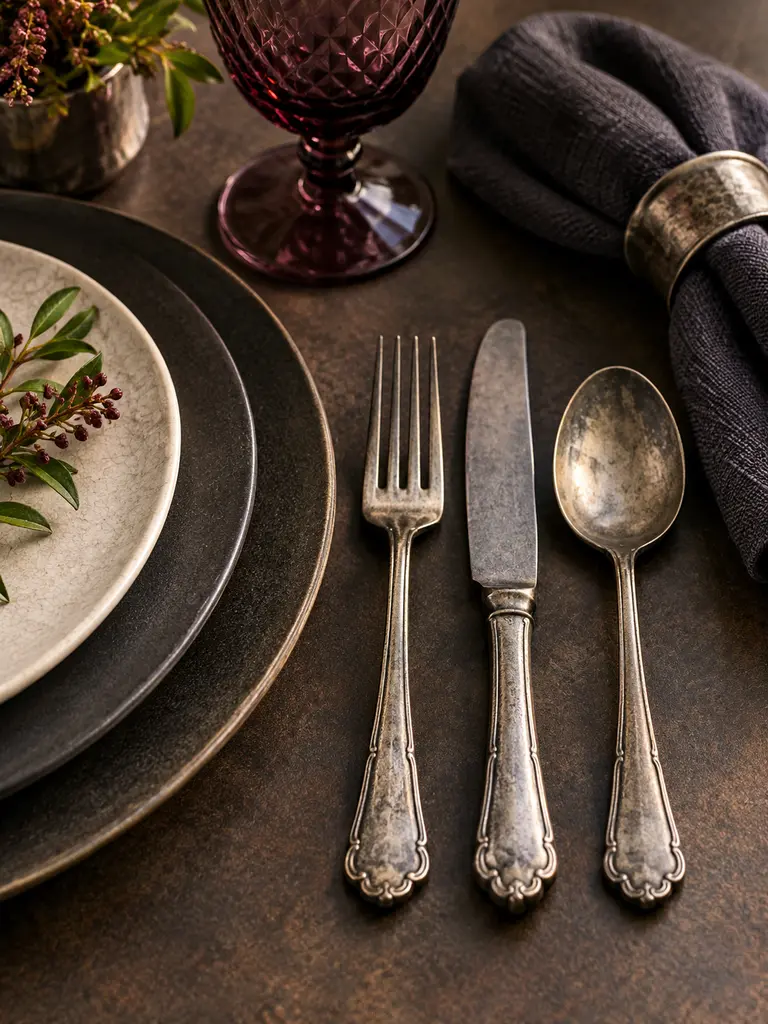
Aged silver tones bring a cool, refined contrast to plum glassware, dark linens, and warm candlelight. Select one pewter-style finish for forks, knives, spoons, and serving utensils. Avoid mixing bright chrome, yellow gold, and copper because too many metals weaken the controlled color story.
Before dinner, verify that every utensil is food-safe, clean, and free from damaged coatings. Position pieces according to the planned courses instead of adding extras purely for appearance. A small pewter salt cellar can repeat the finish once at the table center without making the setting feel excessively formal.
Raven Napkin Fold
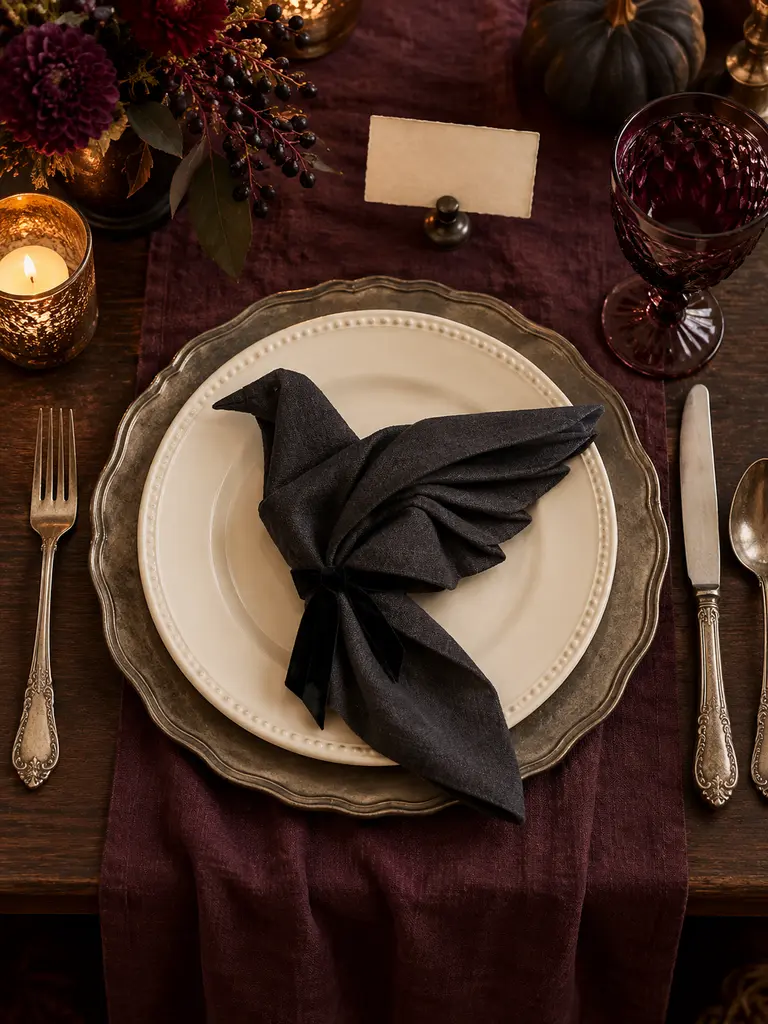
- Choose square cloth napkins in charcoal, black, or deep plum with enough structure to hold a crisp fold.
- Press each napkin before shaping so the finished edges appear neat.
- Fold two angled sides outward to suggest wings without creating excessive height.
- Secure the center underneath with a small fabric tie rather than a bulky ring.
- Place the fold above the plate if space beside the cutlery is limited.
A winged silhouette gives each setting character without relying on printed Halloween patterns. Complete every napkin with the same fold and angle so the table remains orderly. Guests should be able to release the tie quickly and use the cloth normally, so avoid pins, wire, glue, or difficult knots.
Apothecary Water Carafes
Quick Tip:
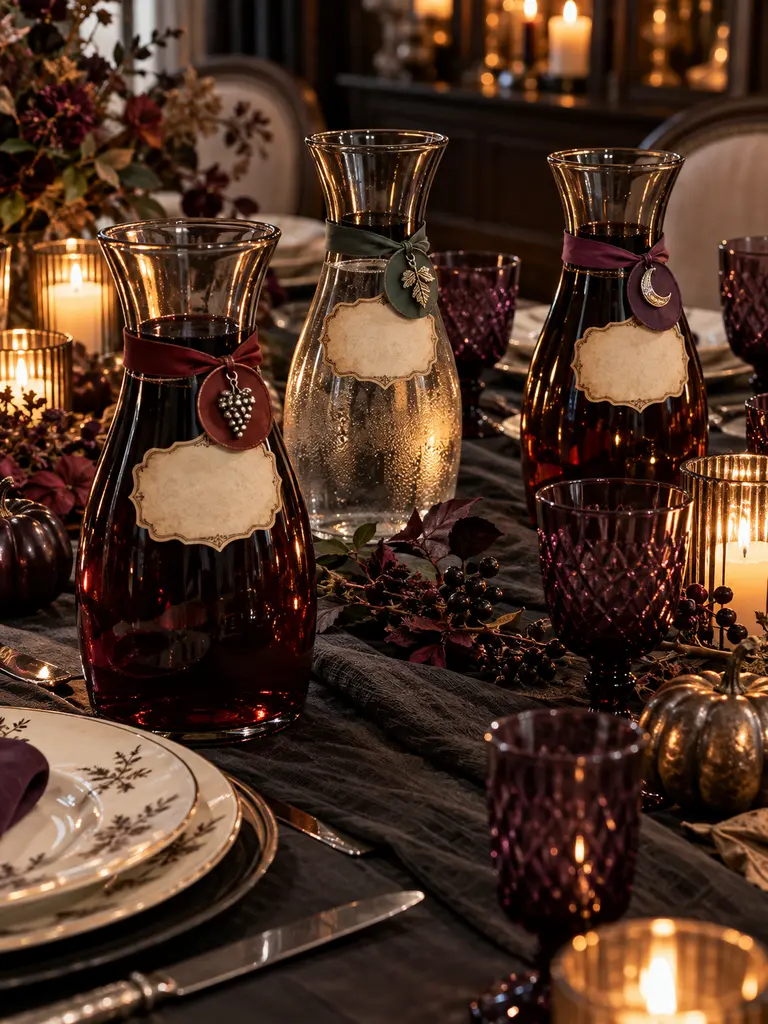
Keep decorative labels away from bottle rims and drinking surfaces. Write the actual contents clearly, especially when serving several beverages or accommodating children and guests with dietary restrictions.
Dark glass bottles can resemble old apothecary vessels while remaining useful for water, juice, or another clearly identified drink. Choose food-safe containers with secure bases and washable interiors. Removable parchment labels add atmosphere, but readable contents matter more than decorative wording when guests are serving themselves at the table.
Shadowed Chair Ribbons
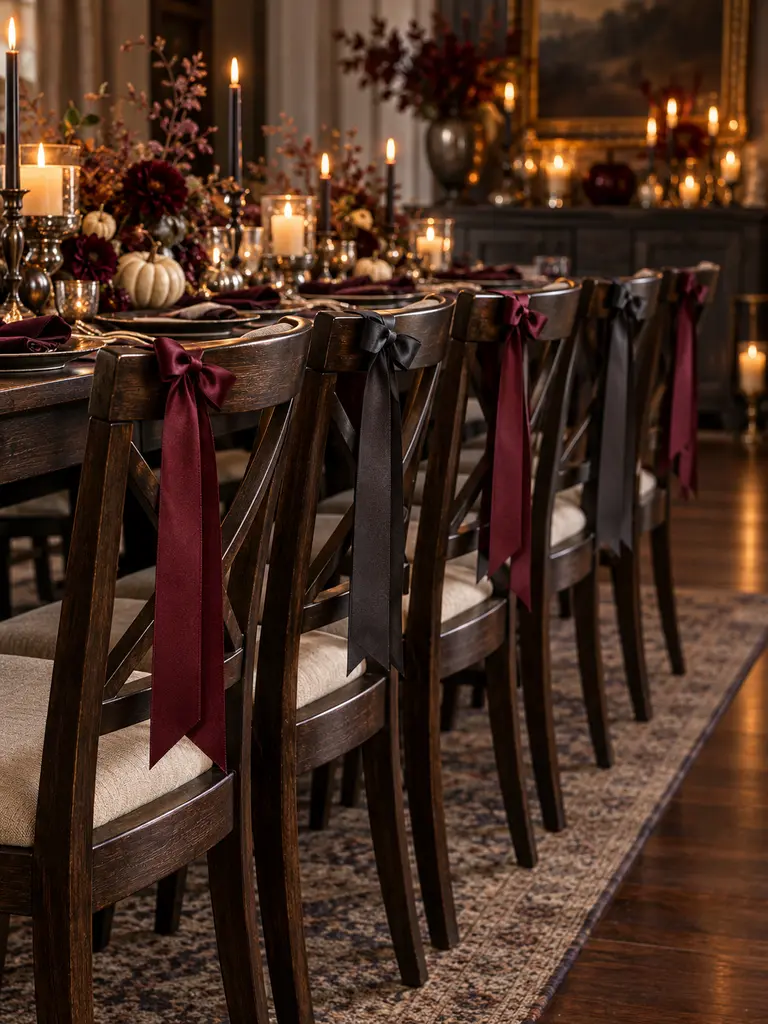
BEFORE:
Bare chair backs may feel disconnected from an elaborate table arrangement. Large covers, however, can hide attractive furniture and make seats warmer or less comfortable.
AFTER:
Narrow charcoal and oxblood ribbons introduce vertical color with minimal material. Controlled tails frame each chair while leaving the backrest, seat, and surrounding walkway accessible.
Tie ribbons around a stable upper rail using a simple removable knot. Cut every tail to the same safe length, keeping fabric above the floor and away from wheels, pets, or children. Repeat colors already present on the tabletop so the chairs support the design rather than competing with it.
Continue the atmosphere beyond the dining area with these Spooky Indoor Halloween Decor Ideas for walls, shelves, windows, and nearby gathering spaces.
Candlelight Reflection Strip
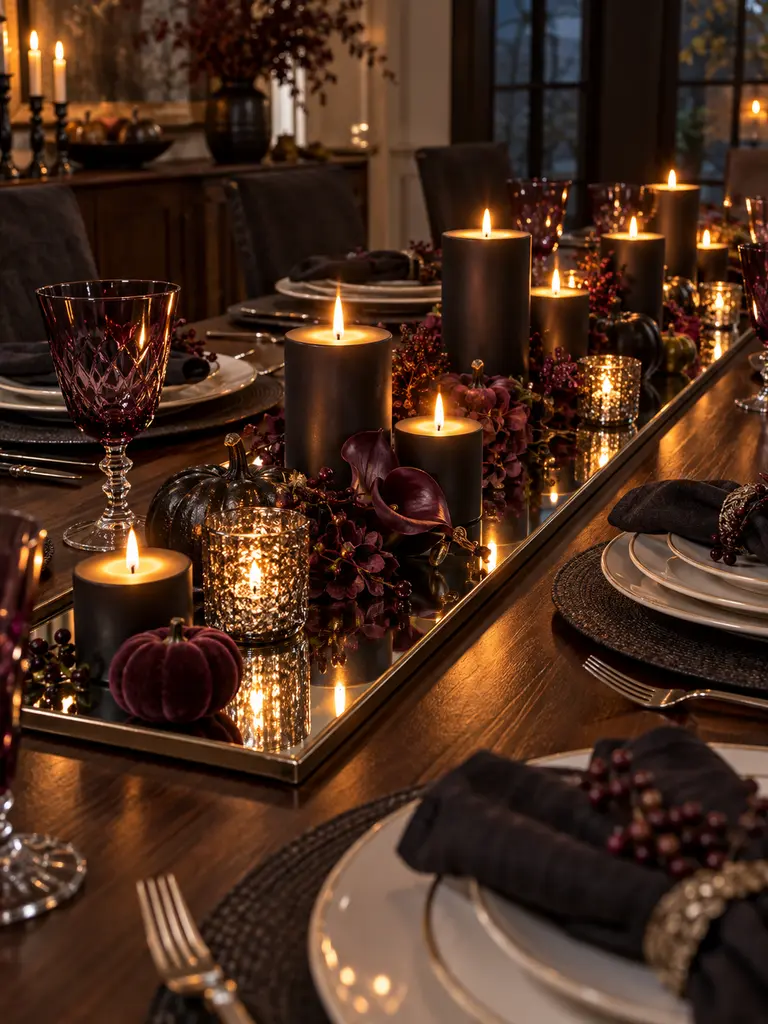
- Select a narrow mirrored tray or several smooth-edged reflective tiles that fit between the place settings.
- Add nonslip pads underneath to protect the table and prevent movement.
- Position stable flameless candles at varied heights along the reflective surface.
- Check every seat for uncomfortable glare before guests arrive.
Reflected light creates a fuller evening glow without requiring numerous candles or electrical fixtures. Keep the strip narrow enough for serving dishes and far from drinking glasses that could be knocked against its edges. Dust fingerprints from the surface shortly before dinner, since smudges become noticeable once the lights are lowered.
Midnight Dessert Pedestal
| Detail | Flat Dessert Plate | Raised Dark Pedestal |
|---|---|---|
| Visibility | Easily hidden | Clear focal point |
| Table space | Uses more width | Uses vertical space |
| Serving access | Reached from above | Accessible from the sides |
| Visual effect | Casual | Structured and dramatic |
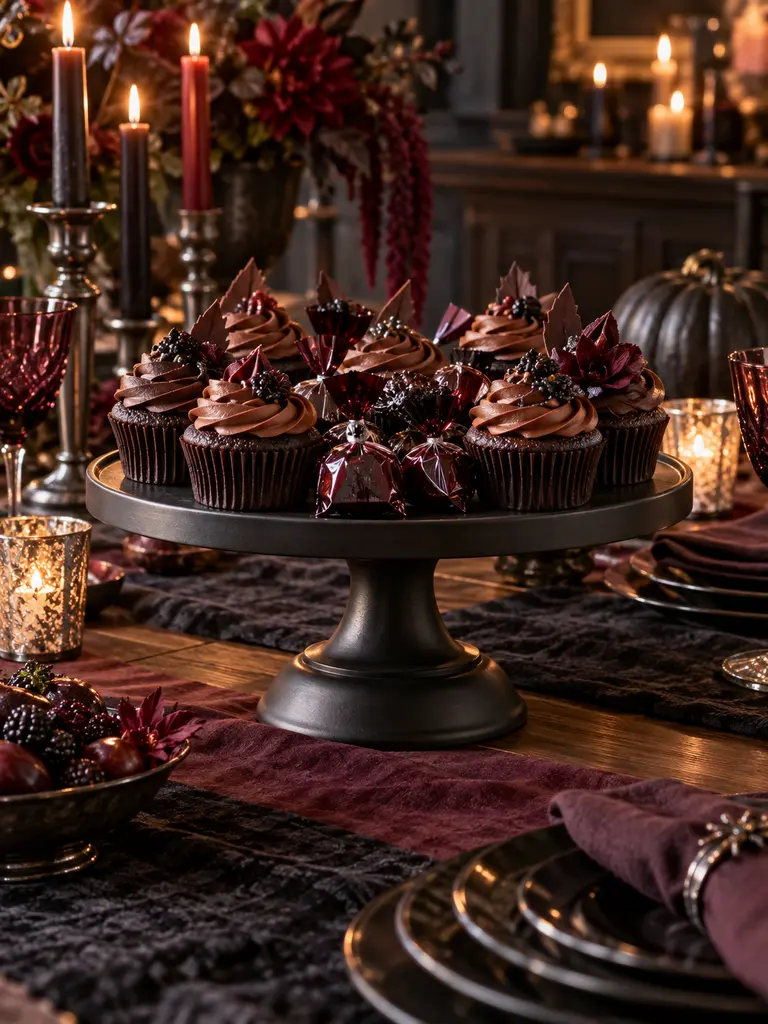
Choose a stable pedestal with a broad base and food-safe upper surface, then place it where every guest can reach it without leaning over candles. Keep the display lower than eye level and avoid overloading the rim. Wrapped treats, cupcakes, or neatly arranged pastries create height while remaining simple to serve.
Storybook Menu Cards

DO:
- Use high-contrast lettering that remains readable under dim evening light.
- Keep each card narrow enough to avoid crowding plates and glassware.
- List ingredients or dietary notes accurately where they may help guests.
- Repeat one typeface and paper color throughout the table.
DON’T:
- Use distressed lettering that makes dish names difficult to understand.
- Let cards touch sauces, drinks, or uncovered food.
- Place tall cards where they block conversation.
- Copy protected artwork or text without permission.
Menu cards give the dinner a thoughtful beginning and connect separate courses to the visual theme. Write short original descriptions instead of lengthy fictional passages, then place one card between every two settings or at each plate. The design should support the meal while helping guests understand what will be served.
Guest Reach Test

Time: Five minutes after the table is fully arranged
Difficulty: Easy, but every chair should be tested
Best For: Preventing blocked views and awkward serving movements
Result: A comfortable table that still feels visually complete
Sit in each chair and reach naturally for the glass, napkin, cutlery, and nearest shared dish. Move any object that requires leaning across lighting or another setting. Then ask someone of a different height to repeat the test, since a centerpiece that appears low to one guest may obstruct another.
Tablescape Finish Audit
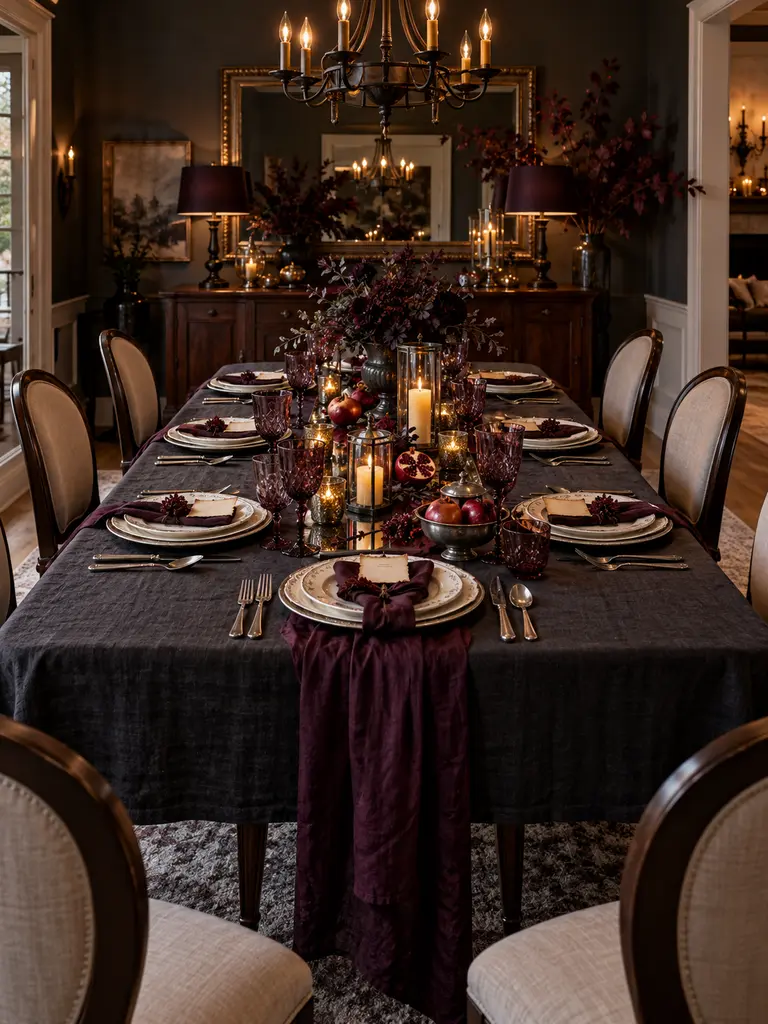
The most memorable table is rarely the one holding the greatest number of decorations. Step into the room from the main entrance and identify the first three details that attract attention. If several objects compete equally, remove or reposition the least useful piece before guests arrive.
Next, inspect labels, fabric edges, glassware, reflective surfaces, and concealed supports under full light. Confirm that food remains separated from decorative materials and that every chair moves freely. I’ve noticed that this final edit improves both photographs and real dining comfort, giving the arrangement a confident, finished appearance.
Conclusion
A striking Halloween tablescape does not require filling every inch with decorations. Careful color repetition, layered dinnerware, low centerpieces, and warm lighting can create drama while keeping guests comfortable. I’ve noticed that testing every seat before dinner prevents most styling problems and makes the arrangement feel more welcoming. Save this post on Pinterest so your favorite ideas are easy to find, then begin with one detail that suits your table and budget. Share the article with friends planning a seasonal gathering, and use these ideas to create a dinner setting guests will remember long after the final course.