
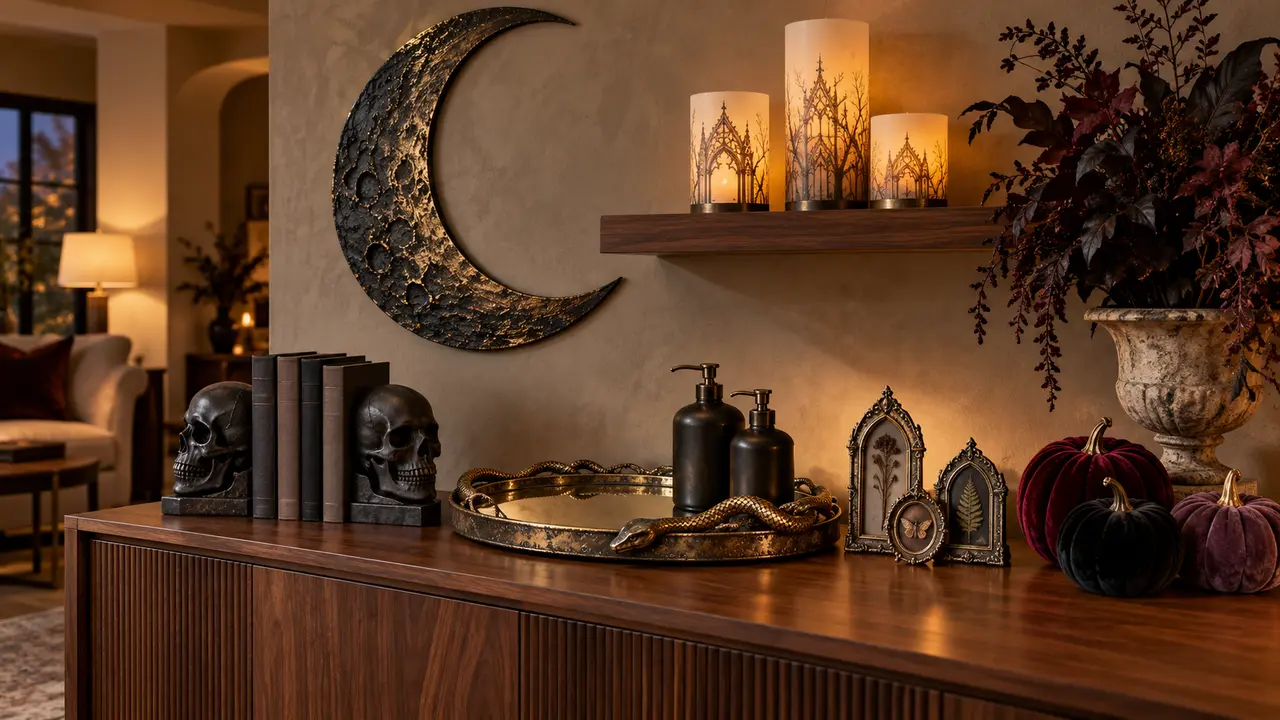
Budget decorations can look polished when the shape, finish, and placement receive more attention than the original price tag. These Dollar Tree Halloween decor ideas show how simple seasonal finds can become refined accents for shelves, walls, bathrooms, entryways, and tabletops.
You will learn how to improve lightweight skulls, chargers, mirrors, bottles, frames, planters, pumpkins, and small containers with thoughtful materials and controlled finishes. Product availability may vary by store, so each project can be adapted using similar inexpensive items. In my experience, careful preparation and matte layered paint create a stronger result than adding extra embellishments. These practical projects help beginners decorate creatively while keeping costs, safety, function, and storage in mind.
Table of Contents
Aisle Material Check
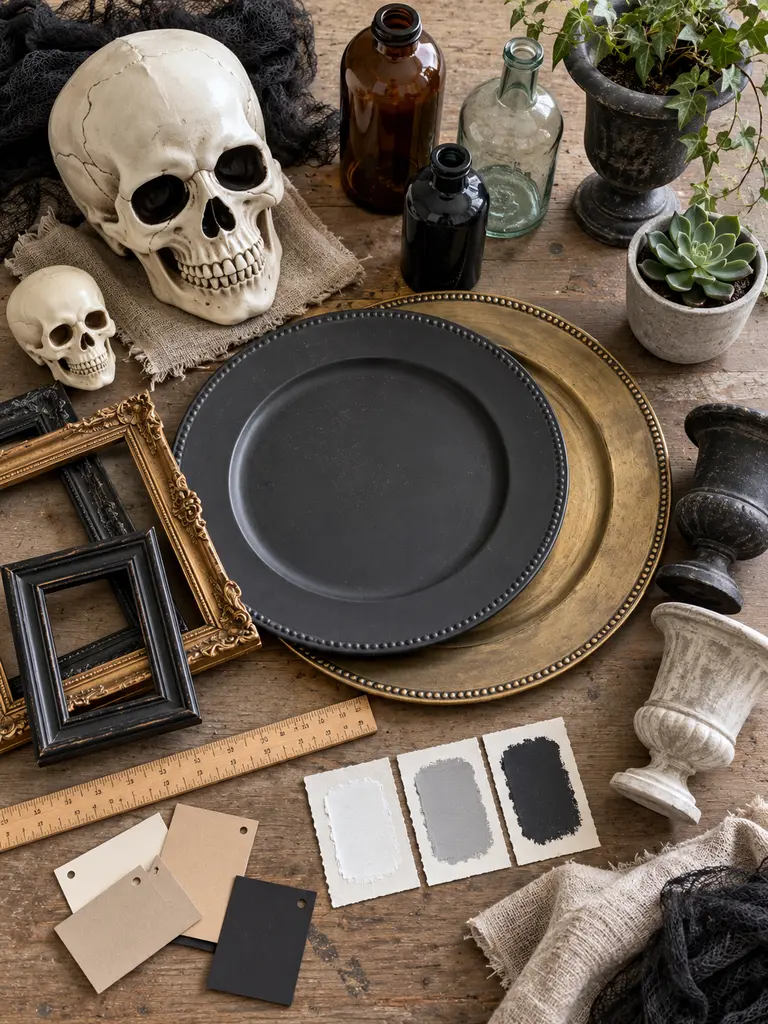
The best budget makeover begins before an item reaches your basket. Look past color and examine the underlying silhouette, since paint can change a finish but cannot easily correct a warped base, unstable shape, or badly positioned seam. Press gently to test unexpected flexing.
Check whether labels peel cleanly and whether the surface accepts primer, adhesive, or fabric. In my experience, simple shapes make the strongest Dollar Tree Halloween decor because they are easier to combine and refinish convincingly. Skip pieces requiring so many repairs that replacing them would cost less.
Matte Skull Bookends
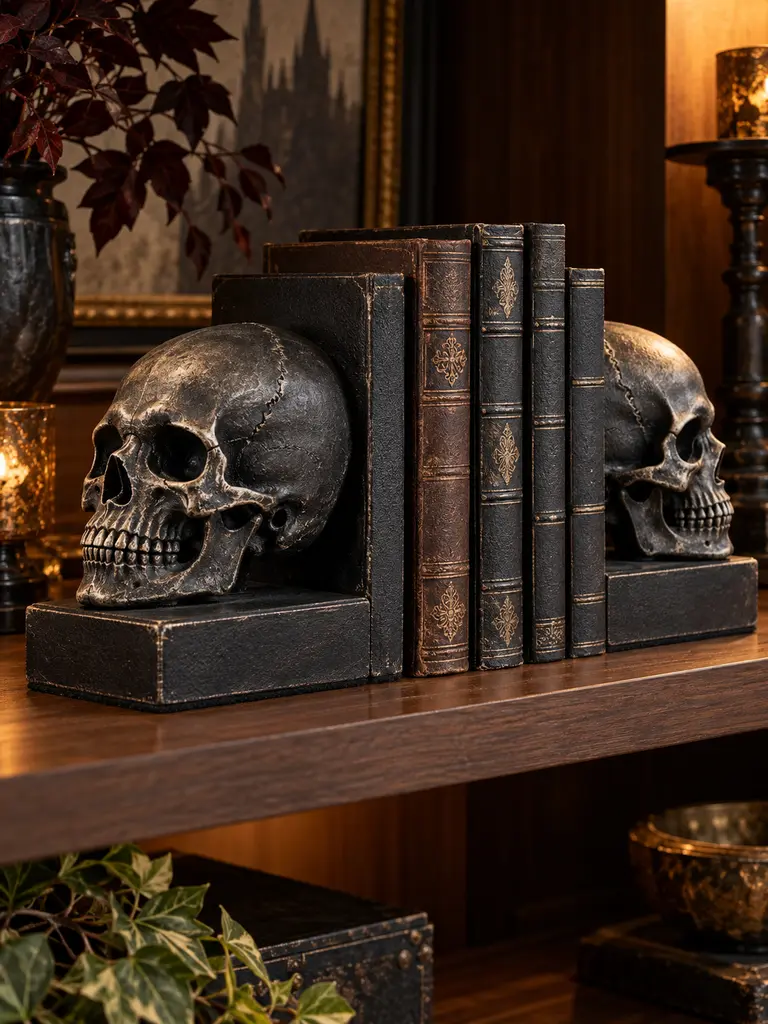
- Select two similarly sized hollow skulls with level bases and clearly defined features.
- Reinforce each interior with lightweight filler rather than loose material that could shift.
- Attach the skulls to flat weighted bases using an adhesive suitable for both surfaces.
- Prime every visible area before applying charcoal or bone-toned matte paint.
- Add felt underneath to protect shelves and help each base sit evenly.
A coordinated pair makes an ordinary book stack feel intentional while hiding the original plastic shine. Keep the finish matte, then dry-brush a slightly lighter tone across raised details for depth. Test both bookends against a small stack first, since decorative pieces should support light books rather than heavy volumes.
For more affordable projects made from familiar household and craft supplies, explore these Cheap Halloween Decoration Ideas that still look neat and display-ready.
Charger Plate Moon
Quick Tip:
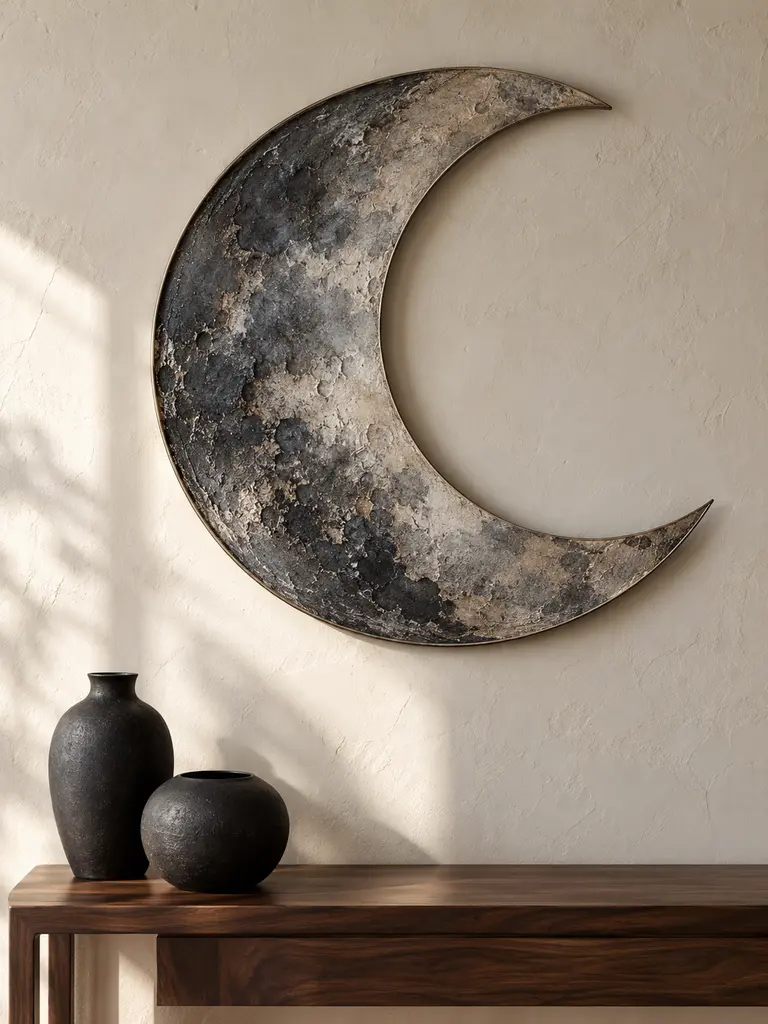
Trace the crescent on paper before cutting or attaching anything to the charger. This helps you check the curve, balance, and hanging direction without damaging the finished surface.
A plain charger becomes more convincing when its original rim is disguised beneath texture. Build a lightweight crescent profile, apply fine mineral-style paste, and layer charcoal with cloudy gray highlights. Secure a suitable hanger to the back, then display the moon away from moisture, heat, and high-traffic corners.
Continue building refined handmade accents with these High-end DIY Halloween Decorations featuring layered finishes, sculptural forms, and carefully concealed joins.
Serpent Mirror Tray
BEFORE:
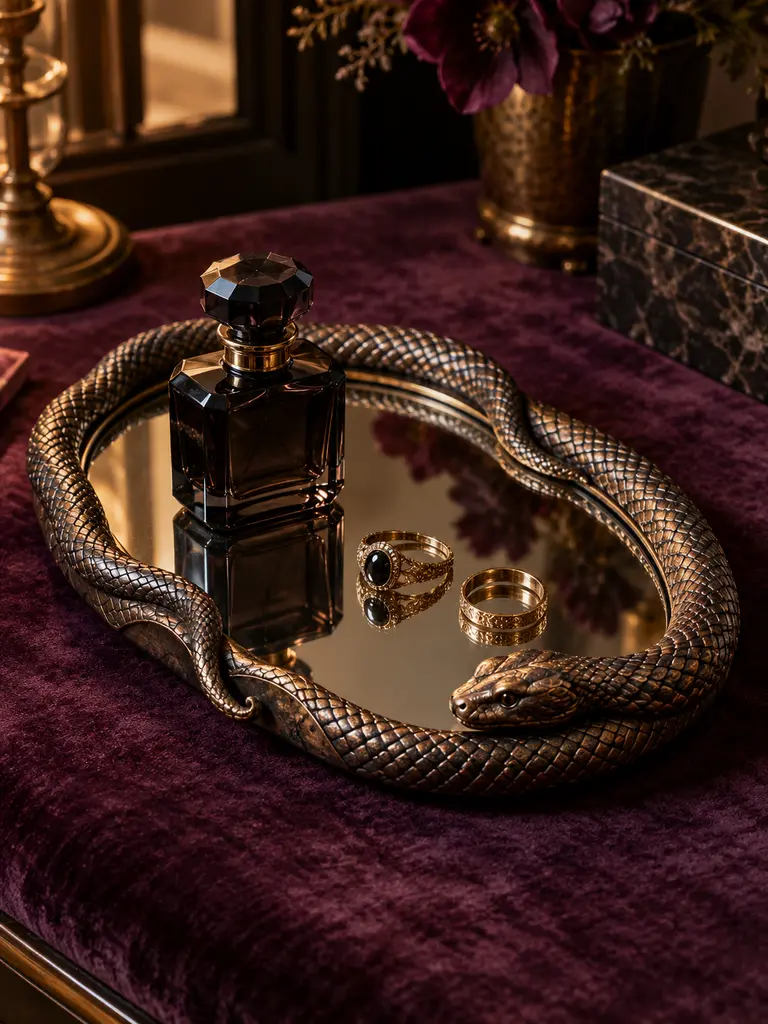
A small plastic mirror or tray may look lightweight because of its glossy frame and visible molded seams. A brightly colored faux snake can make the combination feel more like a toy than decorative storage.
AFTER:
One continuous bronze or pewter finish connects both pieces into a unified sculptural object. Dark shading around the snake and frame adds depth while keeping the mirrored center clean.
Position the snake around one edge instead of covering the entire border. Scuff glossy surfaces lightly, apply compatible primer, and use adhesive made for the selected materials. Protect the mirror before painting, then reserve the finished tray for jewelry, keys, or wrapped items rather than direct food contact.
Apothecary Soap Bottles
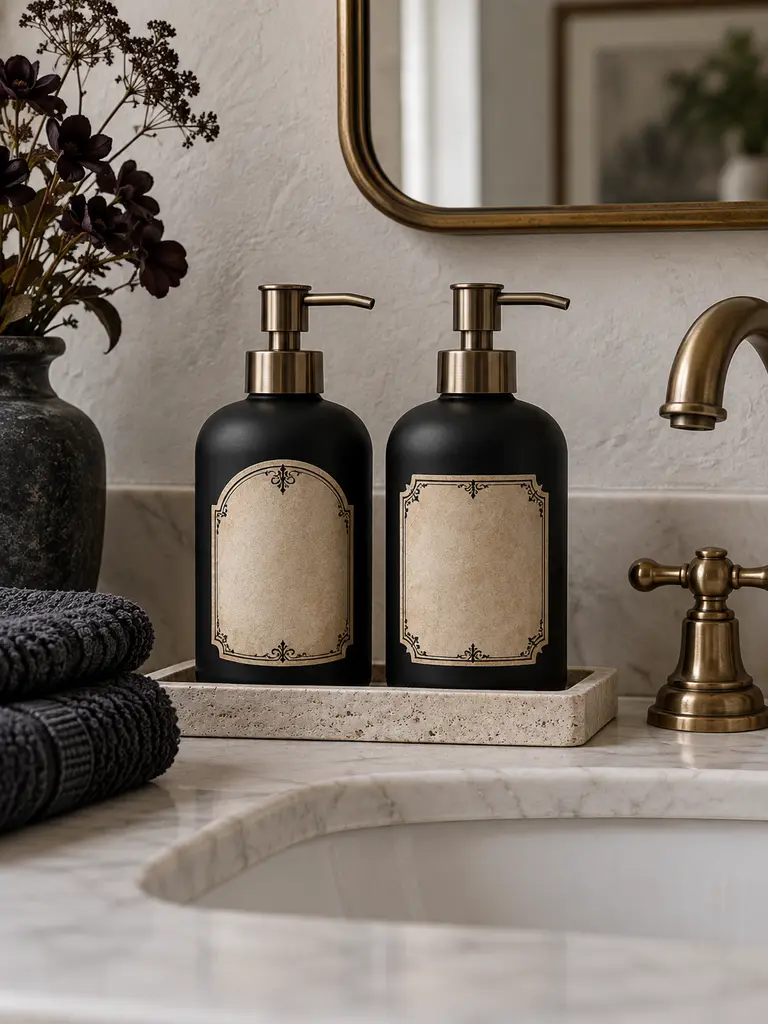
- Choose refillable pump bottles that stand level and dispense smoothly before decorating them.
- Remove labels and adhesive residue, then clean and dry the exterior completely.
- Apply waterproof labels below the pump area so they remain readable without obstructing use.
- Seal decorative details according to product directions while keeping the nozzle and threads uncovered.
Dark pump bottles make everyday hand soap or lotion look coordinated without sacrificing function. Clearly label every product, particularly in shared bathrooms and kitchens where containers could be confused. Keep finishes away from areas handled constantly, and test the pump after assembly to confirm nothing leaks beneath the collar.
Mini Frame Reliquaries
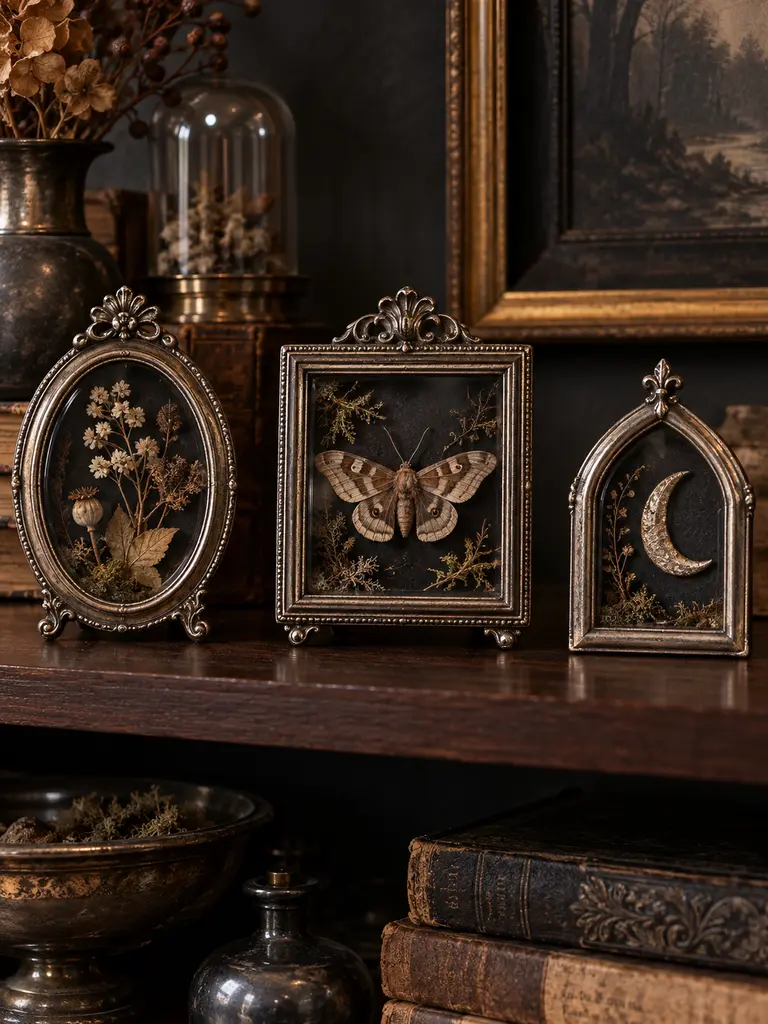
| Detail | Basic Frame | Finished Reliquary |
|---|---|---|
| Surface | Glossy plastic | Layered aged metal |
| Interior | Flat printed image | Raised central object |
| Backing | Bright cardboard | Charcoal fabric or paper |
| Display | Standalone frame | Coordinated small collection |
Use original artwork, faux botanical pieces, or non-sensitive decorative objects behind clean protective glazing. Match two or three frames through one finish, but vary their shapes for collected character. Small raised details create depth, while dark backing reduces visual clutter and helps the central objects appear more substantial.
Urn Pedestal Upgrade
DO:
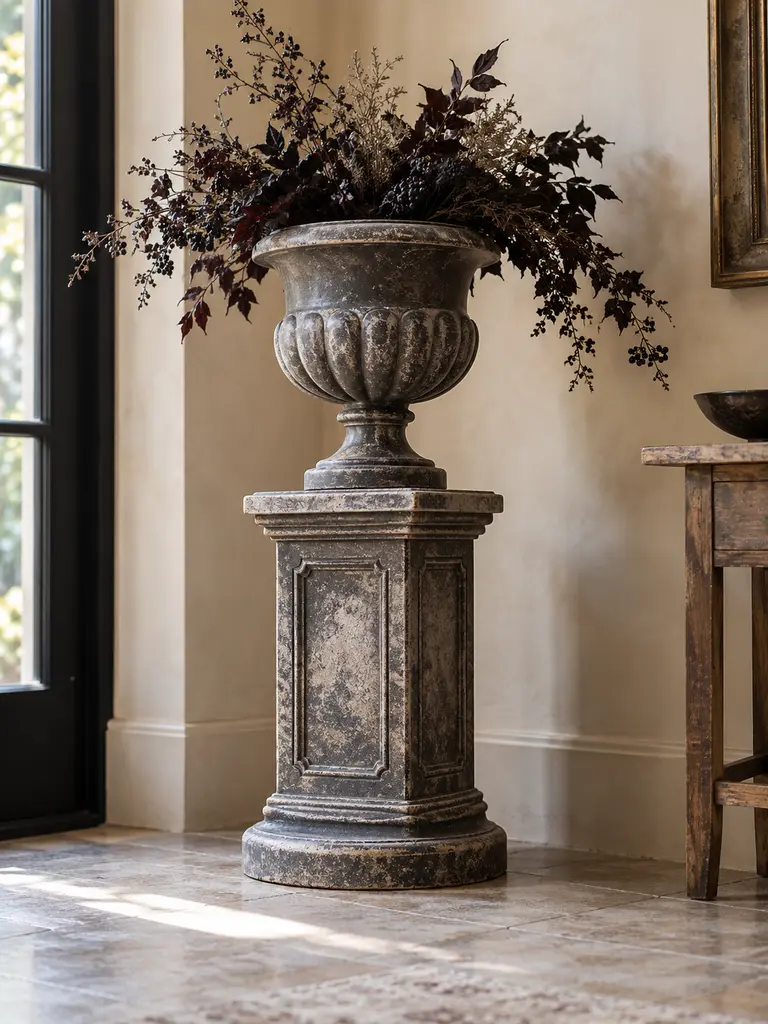
- Choose a planter and base with flat joining surfaces.
- Add discreet weight at the bottom before assembling the pedestal.
- Use primer formulated for the original plastic or resin finish.
- Test stability with the intended decorative object in place.
DON’T:
- Place a top-heavy pedestal near shelf or table edges.
- Use it for real plants unless drainage and waterproofing are suitable.
- Combine parts with noticeably different proportions.
- Carry the finished piece by its upper bowl.
A layered stone finish helps separate components read as one substantial vessel. Start with putty-toned paint, stipple on a darker shade, then soften raised areas with a pale dry brush. Use the pedestal for lightweight pumpkins, faux foliage, or a covered display, keeping the overall arrangement low and stable.
Spiderweb Glass Cloches
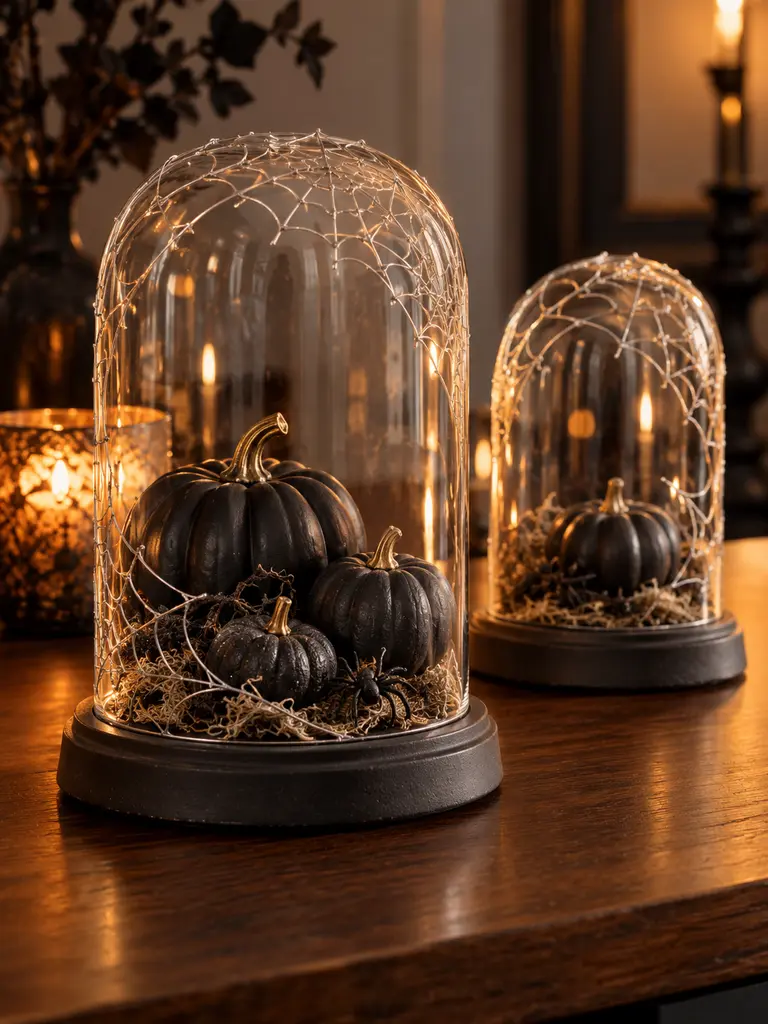
Cost: Low when clear containers are already available
Time: Approximately 20 minutes, excluding drying
Skill Level: Beginner
Best For: Miniature objects, wrapped treats, or flameless displays
Transparent domes protect small arrangements while letting every detail remain visible. Apply removable web lines only around the outer edges so the contents stay clear. Keep adhesives away from food-contact areas, and choose a stable base wider than the container. One small spider provides enough contrast without obscuring the display.
Velvet Pumpkin Crowns
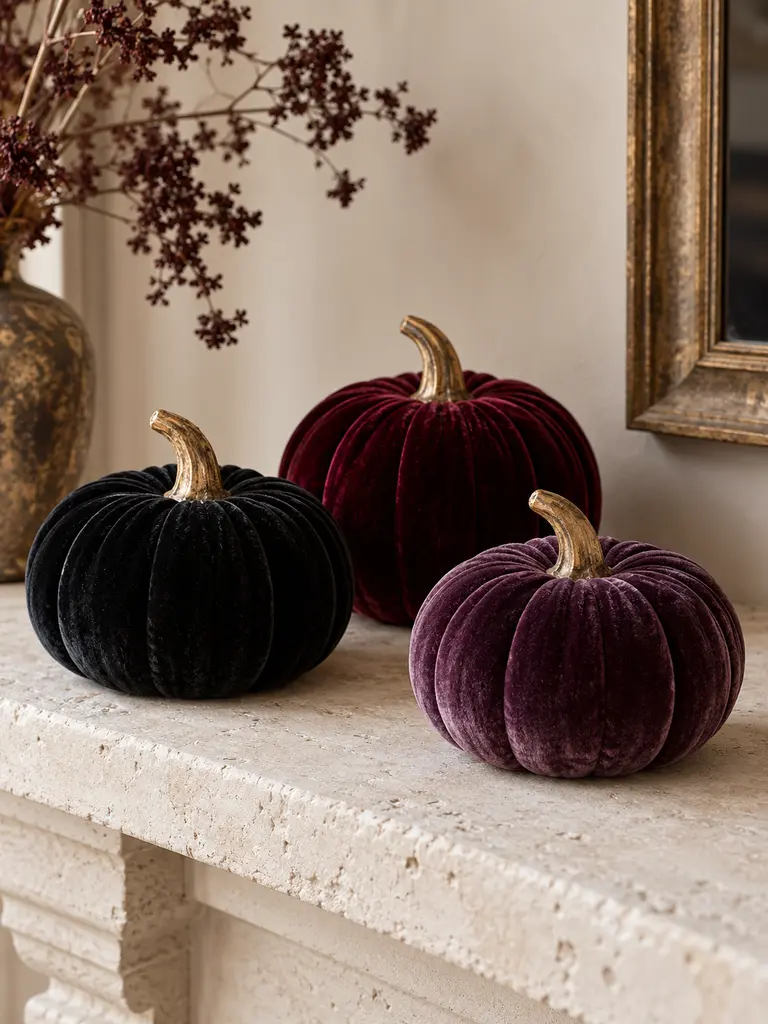
A soft, light-absorbing finish can make miniature pumpkins appear far richer than glossy molded plastic. Choose three pieces with different shapes, remove loose stems, and cover each surface with stretch velvet or flocking designed for crafts. Work slowly around grooves to prevent bulky folds and visible adhesive.
Replace the original stems with short painted wood pieces, then add a narrow antique-gold band at each base. Display the pumpkins as one compact group instead of scattering them around the room. I’ve noticed that restrained metallic detail photographs better than heavy glitter and keeps the texture looking refined.
Gothic Candle Sleeves
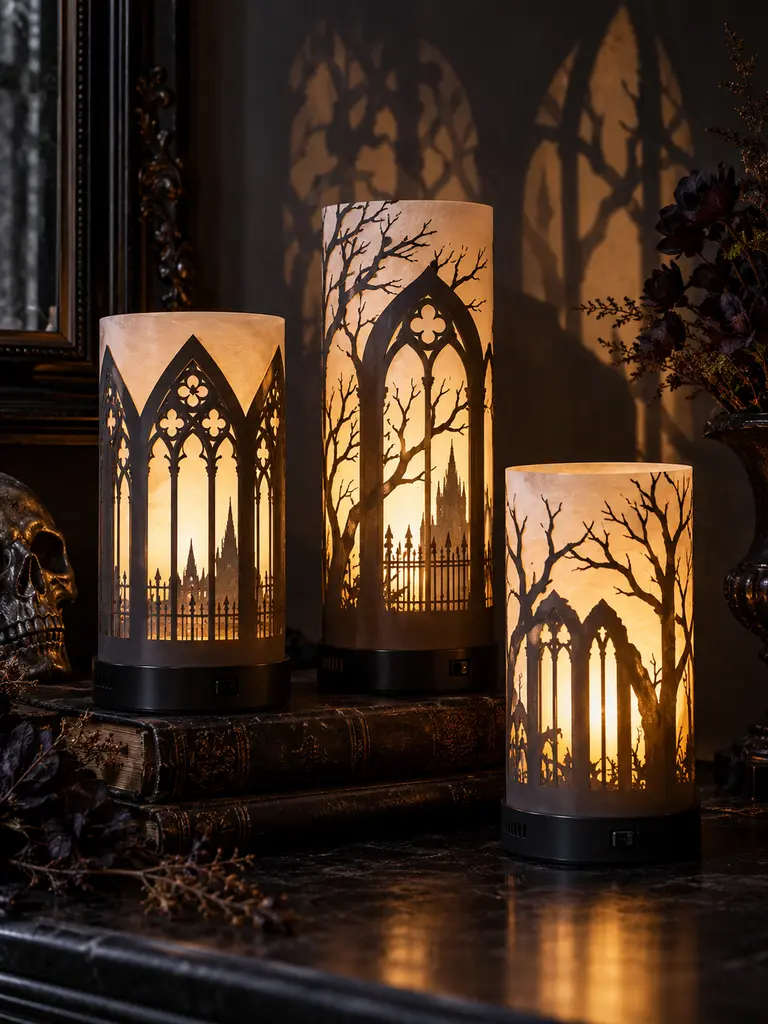
- Use only cool LED pillar candles, never real flames or heat-producing bulbs.
- Measure the candle circumference and leave access to the switch and battery compartment.
- Print or draw a simple gothic silhouette on translucent vellum.
- Join each sleeve with removable clear tape so it can be replaced easily.
- Leave a small gap between the vellum and candle housing for ventilation.
Translucent sleeves soften LED light while projecting dark arches, branches, or window shapes across the surface. Keep the artwork simple enough to remain recognizable after dark. Before displaying each candle, run it for one hour and check for unexpected warmth, shifting paper, or blocked controls around the base.
Black Floral Wall Pocket
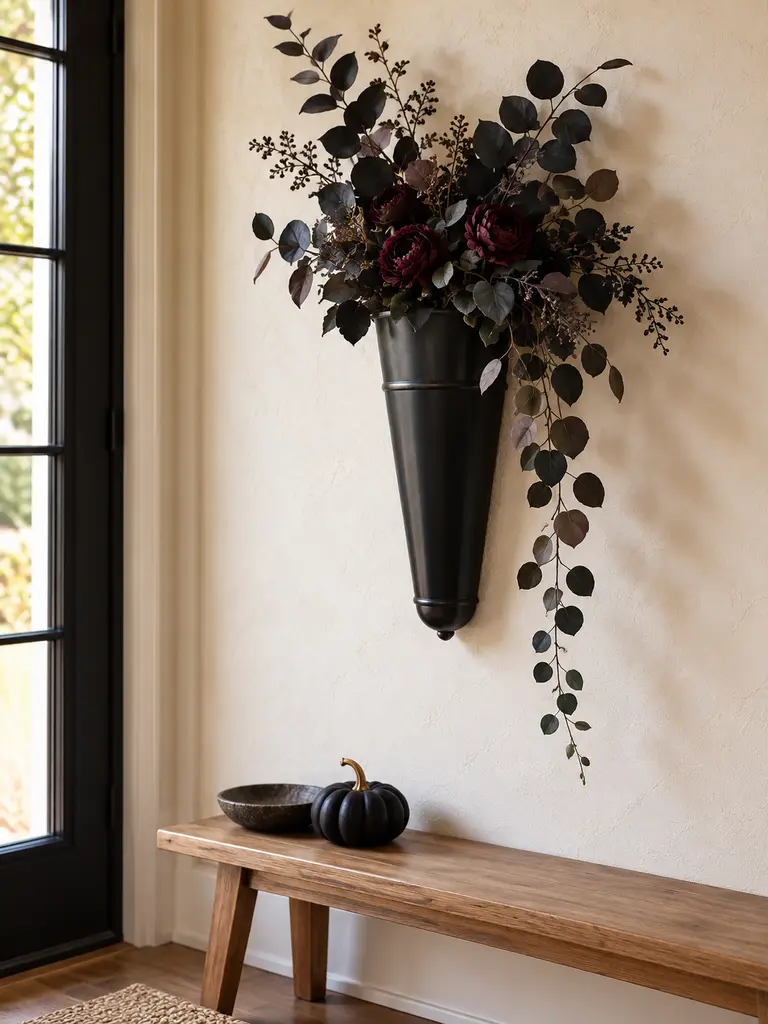
Quick Tip:
Paint the wall pocket before arranging any stems, and use removable floral foam only if the container can support it securely. Check the hanging hardware against the finished weight rather than the empty container.
A narrow black vessel turns unused wall space into a dramatic seasonal feature without occupying a table or shelf. Combine matte leaves, one trailing stem, and a few dark burgundy blooms, then leave open space around the edges. Secure every piece firmly and keep the arrangement away from heaters, doors, and vents.
Aged Trophy Vessels
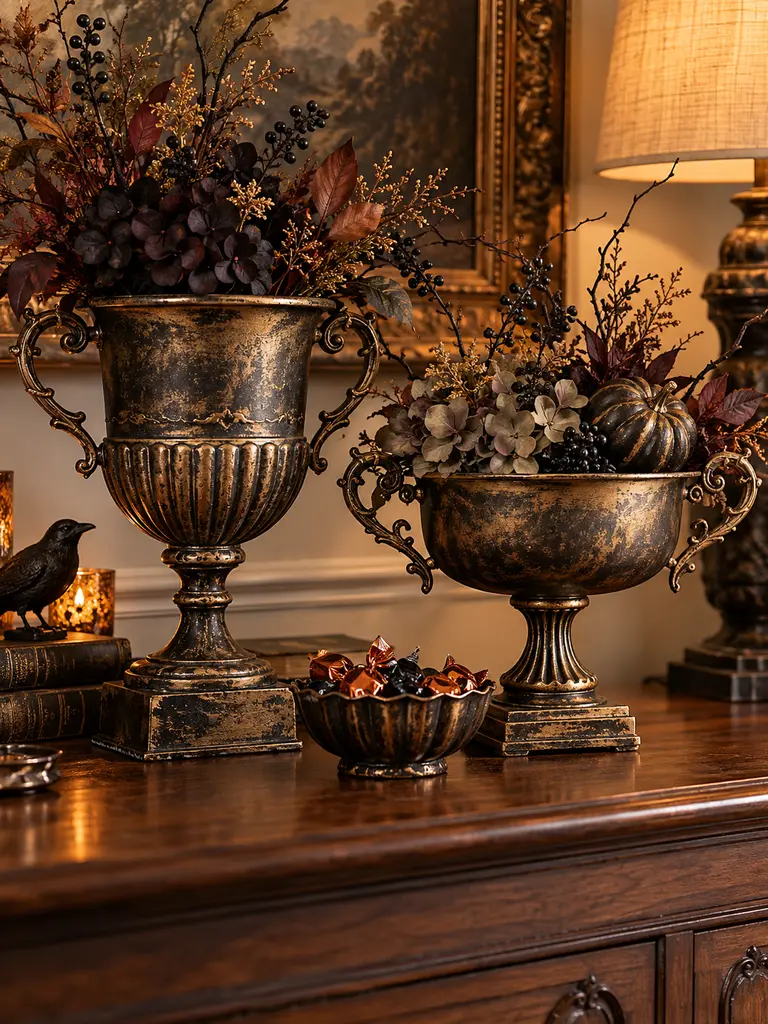
BEFORE:
Separate plastic cups, bowls, and bases often reveal obvious joins, mismatched finishes, and lightweight proportions. Glossy metallic spray can highlight these flaws rather than hiding them.
AFTER:
Carefully matched components form one balanced trophy silhouette. Layered bronze, charcoal shading, and selective highlights create believable age while concealing the original materials.
Dry-fit every component before applying adhesive, checking the vessel from all sides for leaning or uneven spacing. Once secured, prime the complete form so each section accepts color consistently. Use the finished container for wrapped treats or artificial stems unless every material and coating is specifically rated for food or water.
Marbleized Trinket Dishes
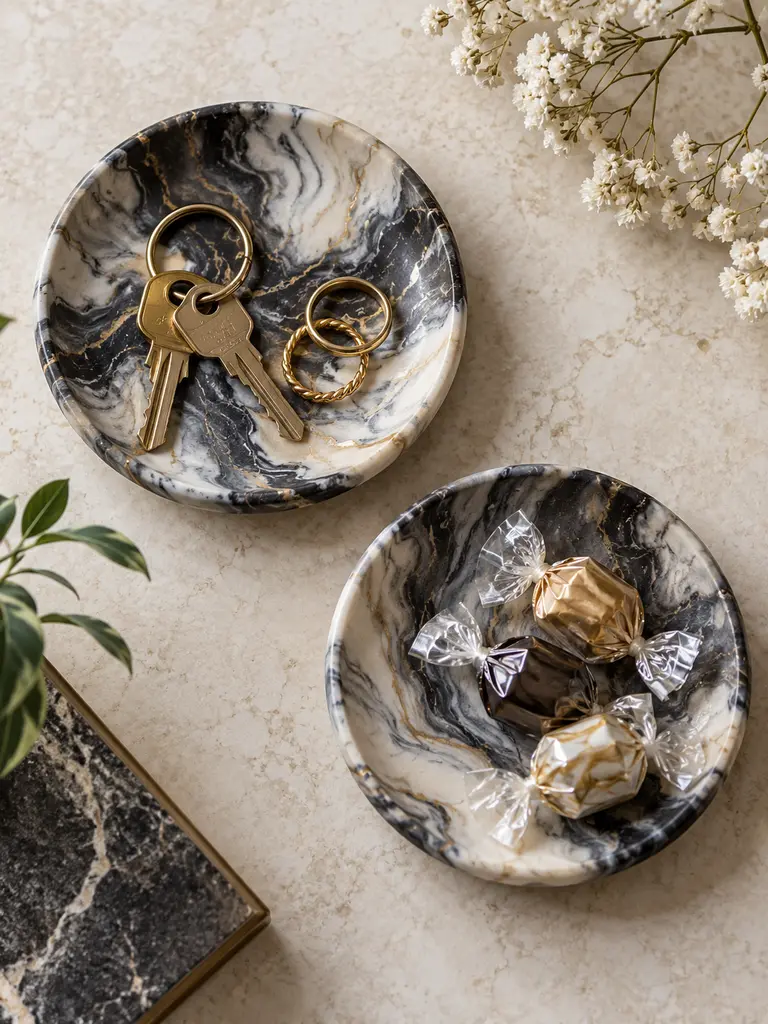
- Select shallow dishes with smooth interiors, stable bases, and no cracks or sharp edges.
- Clean the surfaces thoroughly and apply a primer compatible with the original material.
- Build a charcoal base, then add thin gray and white veins with a fine brush.
- Protect the finish with a suitable clear coating, following its complete curing time.
Dark marble effects add depth to small surfaces and help lightweight dishes resemble carved stone. Reserve the finished pieces for keys, jewelry, coins, or wrapped treats unless all paints and sealers are certified for food contact. Group two related sizes together, leaving nearby surfaces clear so the veining remains visible.
Museum Label Display
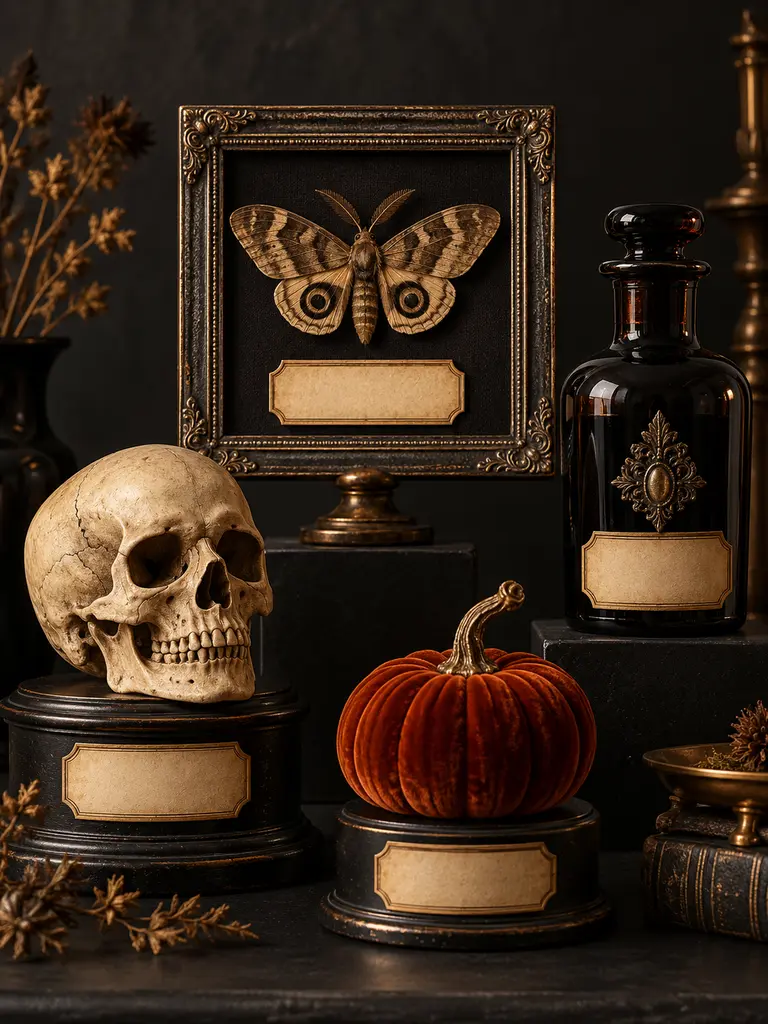
| Detail | Scattered Objects | Museum-Style Display |
|---|---|---|
| Arrangement | Unrelated positions | Defined spacing |
| Labels | None or mismatched | Coordinated cards |
| Supports | Visible plastic stands | Concealed dark risers |
| Overall effect | Casual collection | Ordered presentation |
Treat each object as part of one visual story rather than filling the surface with every available decoration. Use concise original labels, consistent card sizes, and generous space between pieces. A focused lamp or nearby LED glow can highlight shape and texture, but keep cords and battery packs hidden safely.
Budget Finish Inspection
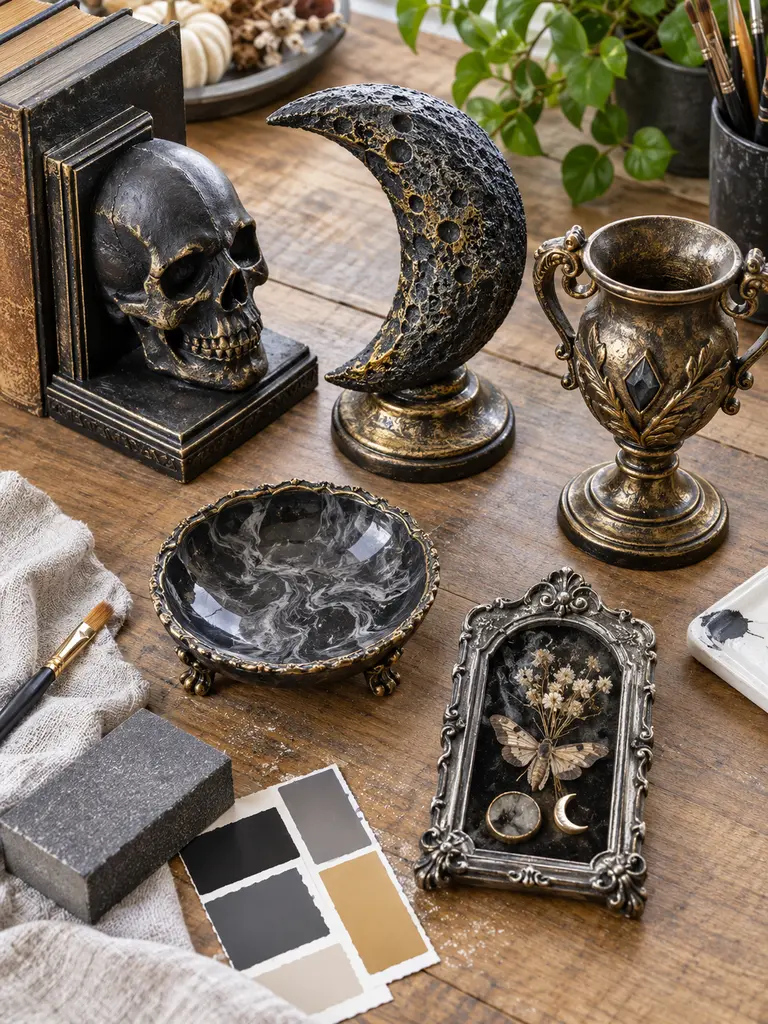
DO:
- Examine every project under bright daylight and evening room lighting.
- Remove dried glue strings, loose fibers, fingerprints, and paint dust.
- Cover exposed joins only after confirming they remain secure.
- Test bases, hooks, and supports before final placement.
DON’T:
- Display cracked pieces with sharp or unstable edges.
- Add extra glitter or paint simply to hide rushed preparation.
- Place unsealed materials near moisture or food.
- Keep a project that does not function safely.
The final inspection separates a convincing makeover from an unfinished craft. Photograph each piece from its intended viewing angle, since the camera often reveals crooked joins and uneven coverage. Correct only the visible weaknesses, then group finished objects with enough open space to let their improved shapes and textures stand out.
Use the same finishing principles throughout your rooms with these Expensive-looking Halloween Home Decor ideas focused on controlled color, texture, spacing, and presentation.
Conclusion
Affordable supplies can produce impressive seasonal accents when you focus on proportion, preparation, and clean finishing. These Dollar Tree Halloween decor projects prove that matte paint, convincing texture, stable construction, and restrained details often matter more than the starting material. I’ve noticed that inspecting seams and visible edges before displaying a project creates a noticeably more polished result. Save this post on Pinterest for your next shopping trip, then try one project that suits your space and skill level. Share the article with another budget-conscious decorator, and start turning simple finds into Halloween pieces you will feel proud to display.