
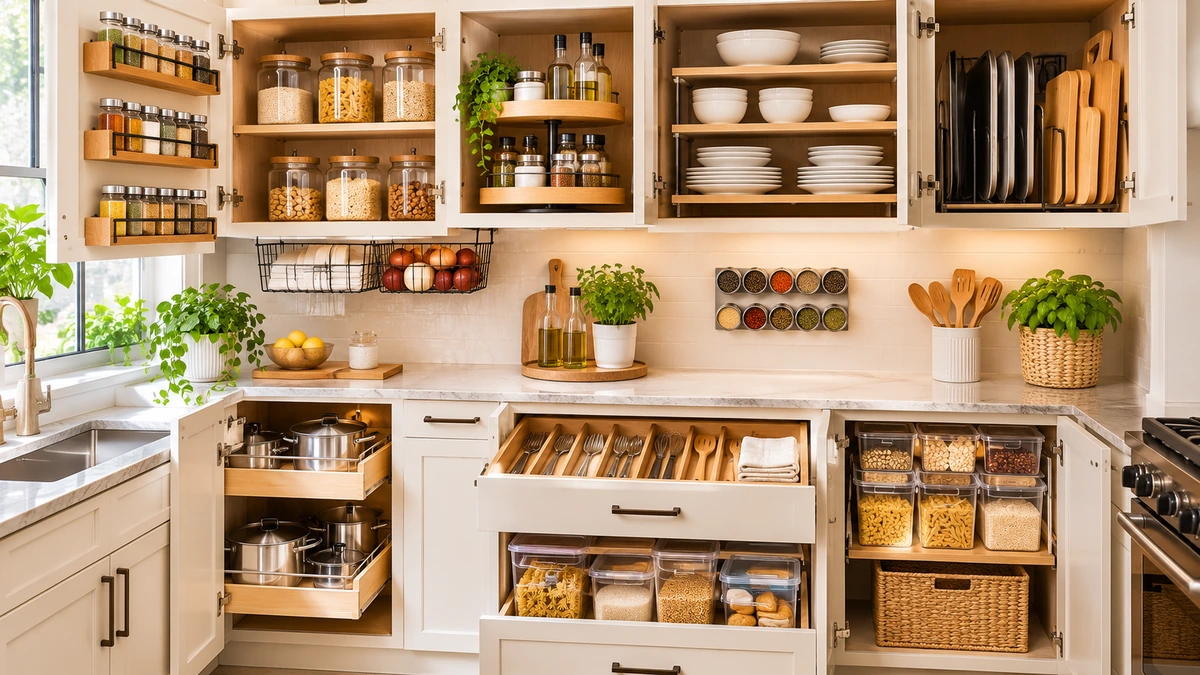
Opening a cabinet should not feel like a game of Tetris. In a tight kitchen, it often does.
The best kitchen cabinet organization ideas turn cramped shelves into clear, easy to reach zones for pots, plates, spices, and snacks. In this post, you will find 23 simple options, from pull-out drawers and lazy Susans to door-mounted racks and tension rods. Each one fits a small kitchen or rental, and many need no drilling.
I’ve noticed that most cabinet chaos comes from wasted height and hidden back corners. In my experience, fixing those two things changes how the whole kitchen feels. Scroll through, save your favorites, and pick one cabinet to start with this weekend.
Table of Contents
Pull-Out Cabinet Drawers
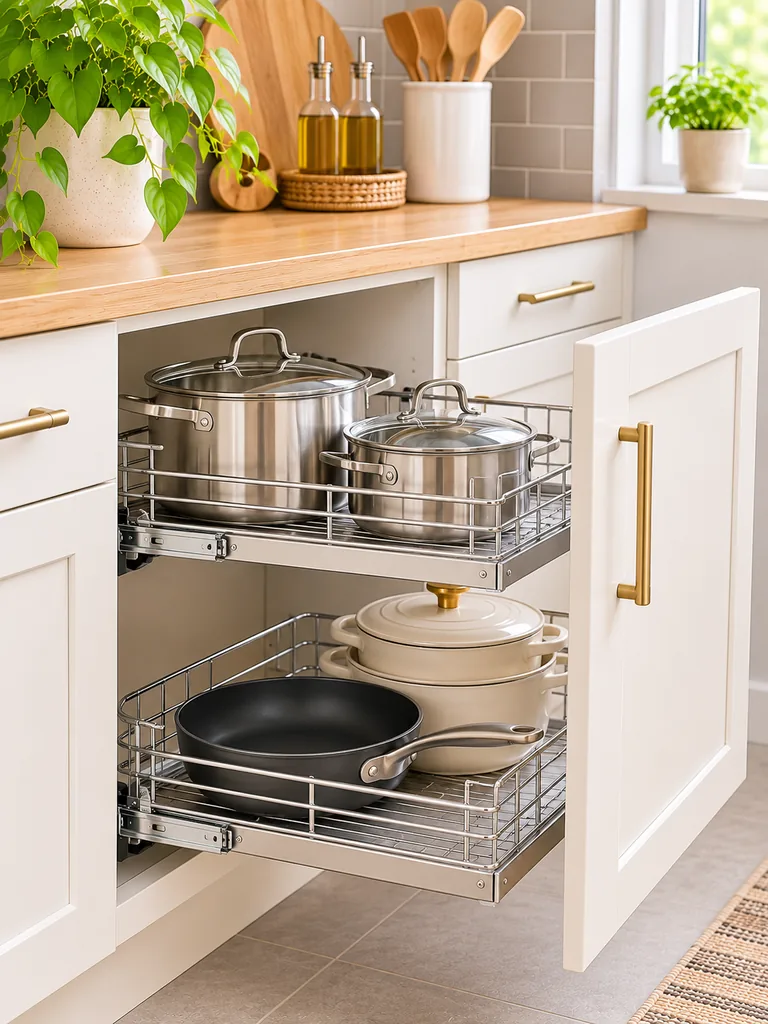
Deep lower cabinets swallow pots whole, and the one you need is always at the very back. A pull-out drawer fixes that by bringing the entire cabinet floor to you. Slide it open, and everything sits in plain view. No more kneeling with your head inside the cabinet.
Measure the inside width and depth first, and leave about an inch on each side for the slides. Among the kitchen cabinet organization ideas I’ve tried, this one saved me the most daily hassle. Choose full extension slides rated for at least 50 pounds, since cast iron adds up fast.
Want to make your kitchen more functional beyond cabinet storage? Explore these small kitchen counter organization ideas for practical ways to keep your countertops tidy and maximize available space.
Tiered Shelf Risers
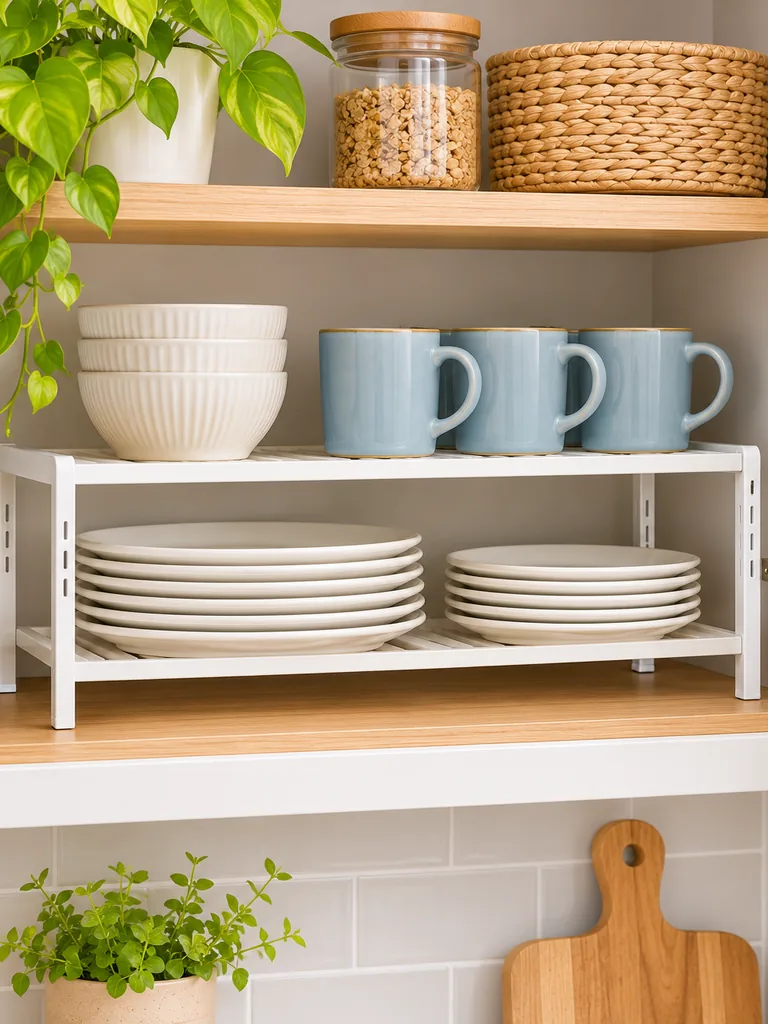
- Half of your cabinet height is probably empty air. A two-tier riser puts a second shelf right on top of the first one.
- Measure the cabinet’s interior height first, and pick a riser at least 2 inches shorter than that gap.
- Place everyday plates on the upper tier and bowls on the lower one, so nothing gets buried.
- Choose an expandable style with adjustable sides if your cabinet width is not standard.
- Look for rubber feet on the base, since bare metal scratches wood and slides when you grab a plate.
I’ve noticed that risers work best for items that match in size, like plates, mugs, or canned goods. Mixed stacks tip. Load the heaviest pieces on the bottom tier, and keep the front edge clear so the cabinet door closes. You’ll see every item at a glance.
For more inspiration on creating a beautiful and functional kitchen, check out these kitchen decor ideas to refresh your space with stylish and practical touches.
Lazy Susan Turntables

Quick Tip: Pick a turntable with a raised lip around the edge, about half an inch high, so bottles do not slide off when you spin it. Leave 1 inch of space between the turntable and the cabinet walls. Place tall items at the back and short ones in front.
Sticky bottles and forgotten jars hide in the back of deep cabinets. A turntable ends that with one quick spin. In my experience, a 9 to 12 inch round model fits most cabinets. Put oils, sauces, and baking supplies on it. Tall bottles over 10 inches tip, so keep those on a side shelf.
Door-Mounted Spice Racks
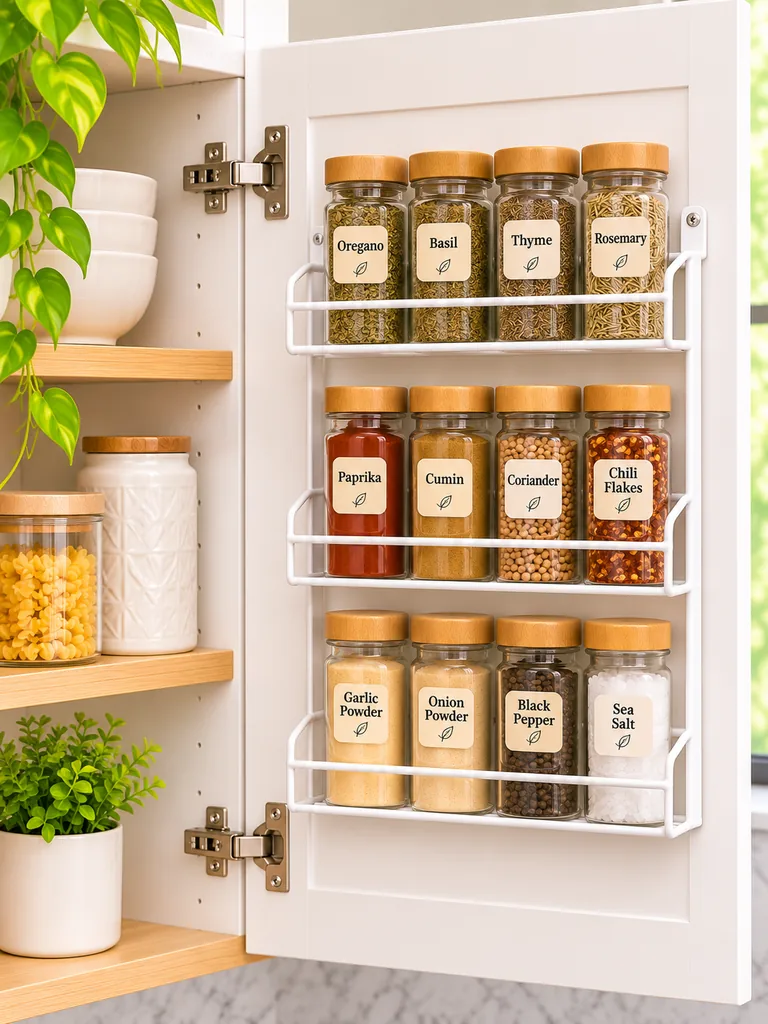
BEFORE: Spice jars crowd a shelf in the middle of the cabinet. You dig through three rows to find the cumin, and half the labels face the wall. Every shelf you could use for plates is taken.
AFTER: Spice jars hang on the inside of the door in neat rows, labels facing out. You spot the cumin in one glance. The shelf is free again for plates or pots.
Measure the gap between the door and the first shelf before buying, since a rack deeper than 3 inches stops the door from closing. Many experts recommend adjustable rails, which fit jars of any height. Group spices by cuisine, and the weeknight cooking rush gets easier.
Vertical Pan Dividers
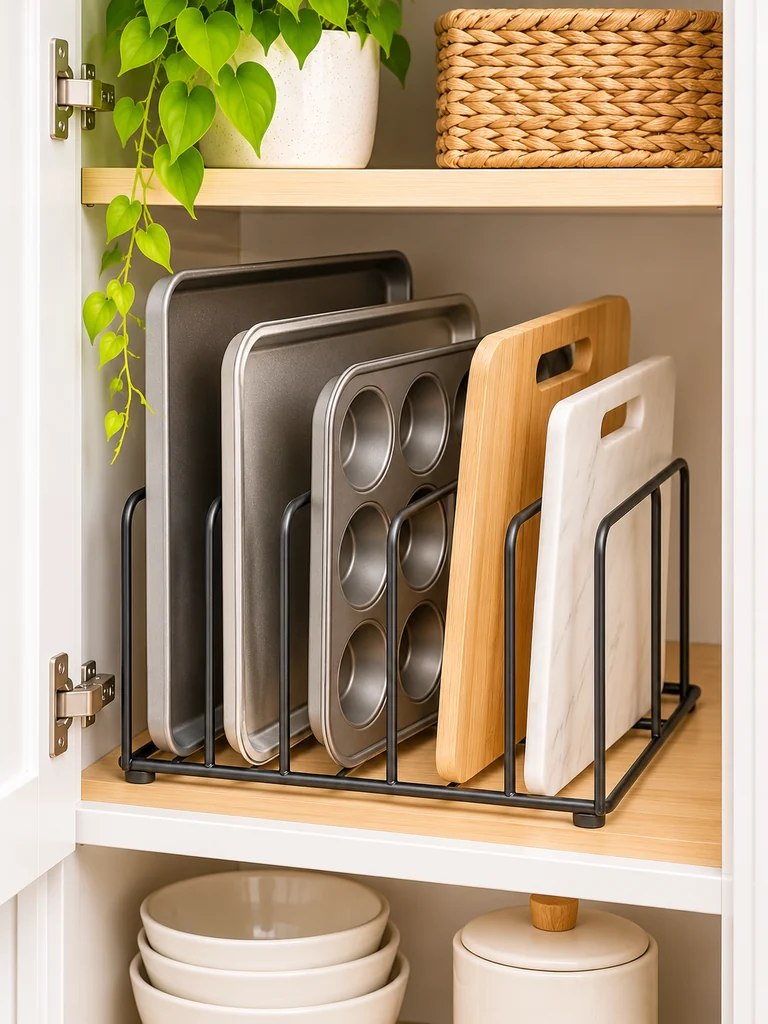
- Pull out every baking sheet, cutting board, and cooling rack, and wipe the cabinet shelf clean.
- Measure the cabinet’s height and width, then buy a divider with slots 1 to 2 inches apart.
- Set the divider on the shelf, pushing it flush against the back wall so it cannot tip.
- Slide items in on their edges, with the tallest at the back and the shortest at the front.
Stacked flat, baking sheets bury each other, and every pull makes a clatter. Standing them upright lets you slide one out without touching the rest. The same trick works for cutting boards and pan lids too. Skip dividers with thin wires if you own heavy cast iron pieces.
Stackable Clear Bins
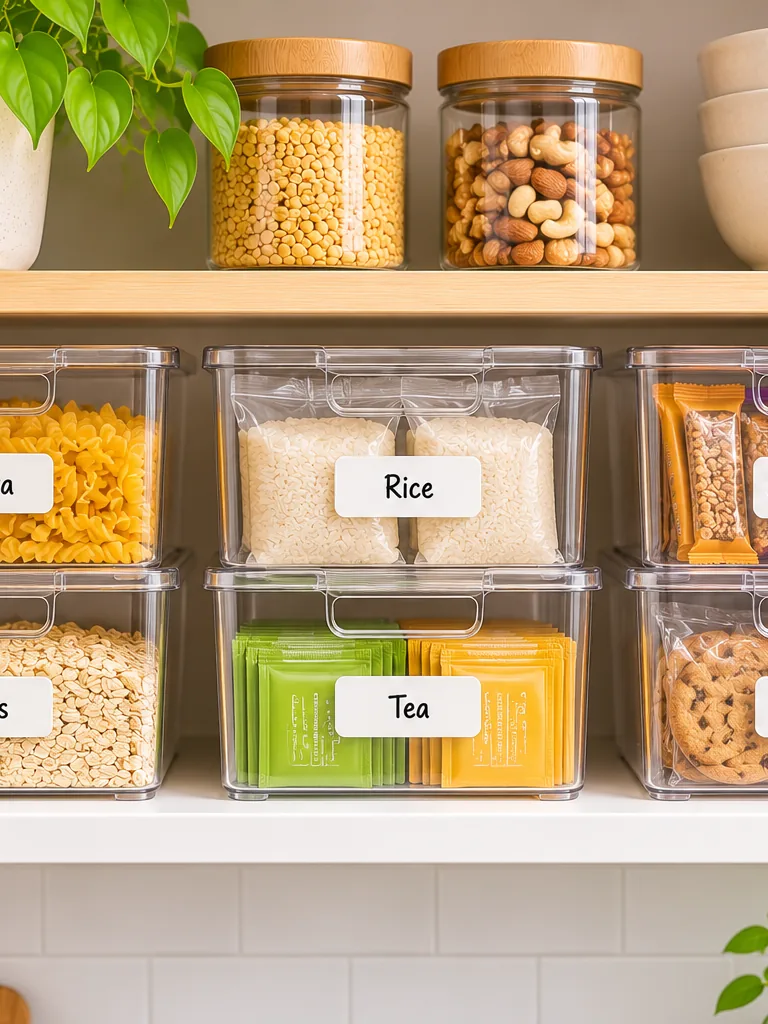
| Feature | Stackable Clear Bins | Loose Boxes and Bags |
|---|---|---|
| Visibility | See contents without opening | Hidden behind packaging |
| Height | Stack two or three high | Slump and tip over |
| Cleanup | Wipe or wash in minutes | Crumbs spill into the cabinet |
| Access | Pull out one bin at a time | Dig through the whole pile |
Bulk snacks and loose packets turn a cabinet into a landslide. Bins give each category a fixed home, and the stack keeps the vertical space working. Bins about 6 inches wide suit narrow cabinets best. Label the front, and everyone in the house puts things back.
Under-Shelf Hanging Baskets
DO:
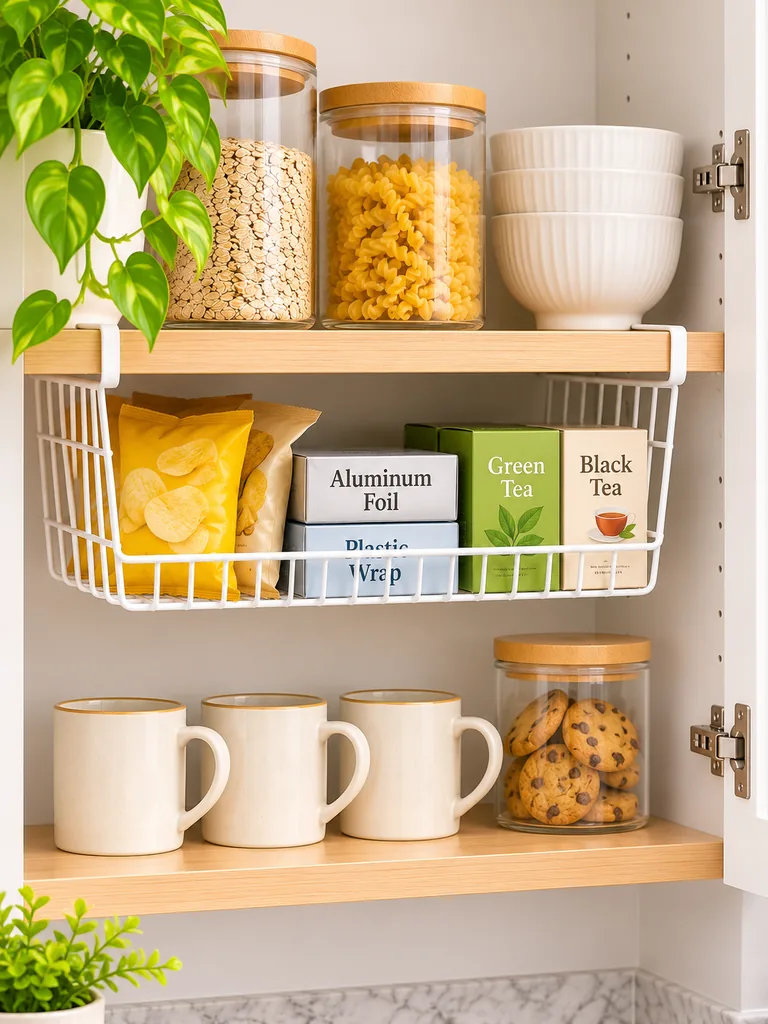
- Measure the shelf thickness first, since most baskets clip onto shelves up to about 3/4 inch thick.
- Check that the gap below the shelf is taller than the items stored beneath the basket.
- Fill it with light, flat items like foil boxes, tea bags, and snack packets.
- Tug the clips after hanging to confirm they grip tightly.
DON’T:
- Don’t hang a basket over tall glasses or mugs that cannot clear it.
- Don’t load cans or heavy jars, since the clips will slip.
- Don’t pick a basket wider than the shelf, because it blocks the door.
- Don’t skip a rubber coating, since bare wire scratches wood.
Dead air under a shelf is the easiest space to claim in a tiny kitchen. A basket there adds a whole drawer’s worth of room without drilling. I’ve noticed that flat items such as tea boxes and bagged snacks fit best. Keep the front edge clear so the cabinet door shuts.
Adjustable Plate Racks
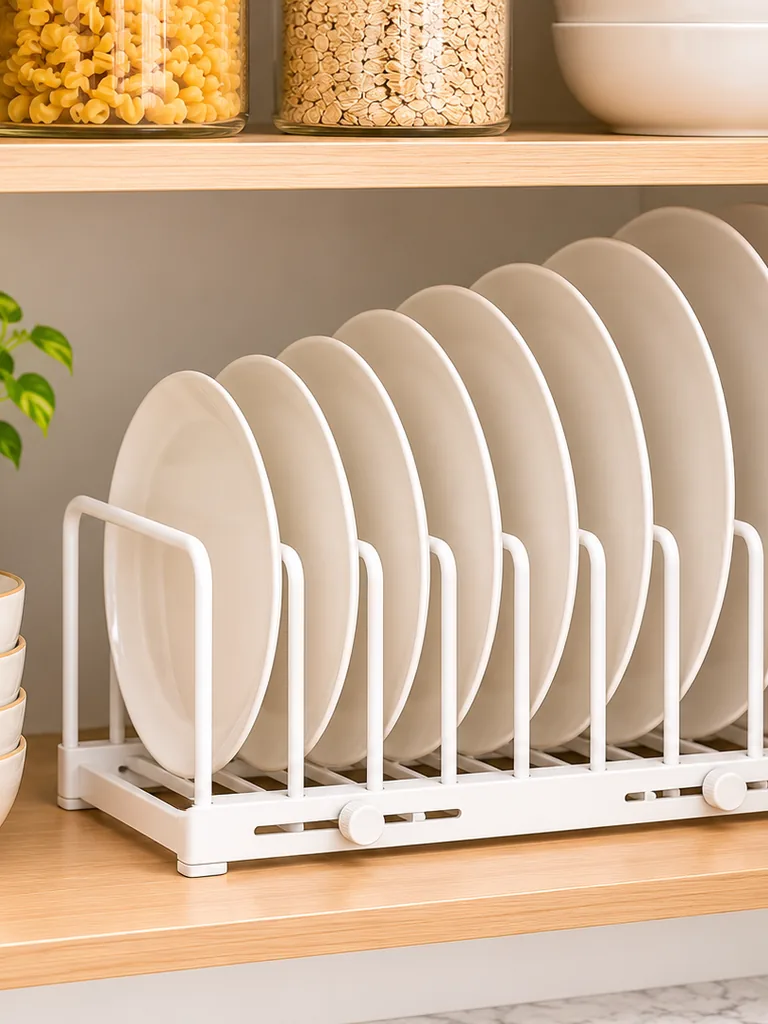
Cost: Low | Time: 10 minutes | Skill Level: Beginner
Best For: Dinner plates, platters, and cutting boards
Works In: Lower cabinets at least 10 inches deep
Result: Any plate slides out without lifting the stack
Stacked plates mean lifting five to reach the one at the bottom. A rack stands them on edge, so each one slides out alone. In my experience, adjustable pegs fit everything from salad plates to big platters. Choose a rack with a rubber coating, since bare metal chips ceramic.
Inside-Door Hooks
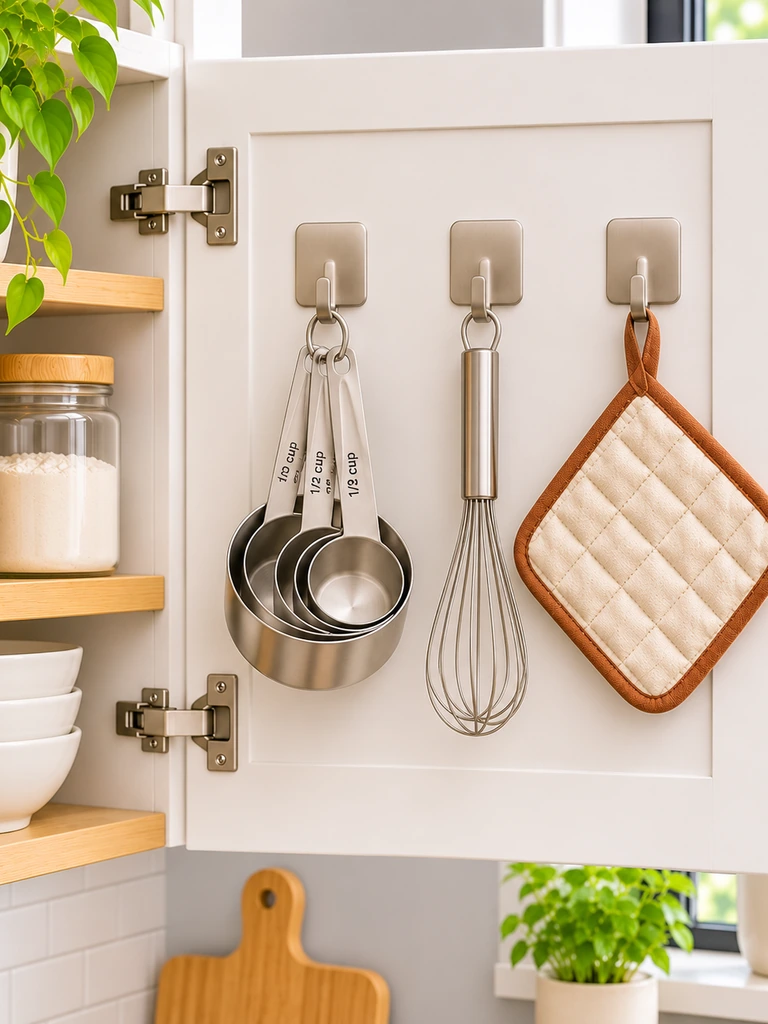
Your cabinet doors are doing nothing but hiding shelves. Stick three or four hooks on the inside, and measuring cups, small whisks, and pot holders get a spot of their own. Each hook costs about a dollar, and it frees a drawer you were about to overfill.
Of all the kitchen cabinet organization ideas on this list, hooks are the cheapest to try. Clean the door with rubbing alcohol first, then press each adhesive hook for 30 seconds. Keep loads under two pounds, and leave a gap so the door still closes.
Slide-Out Trash Bins
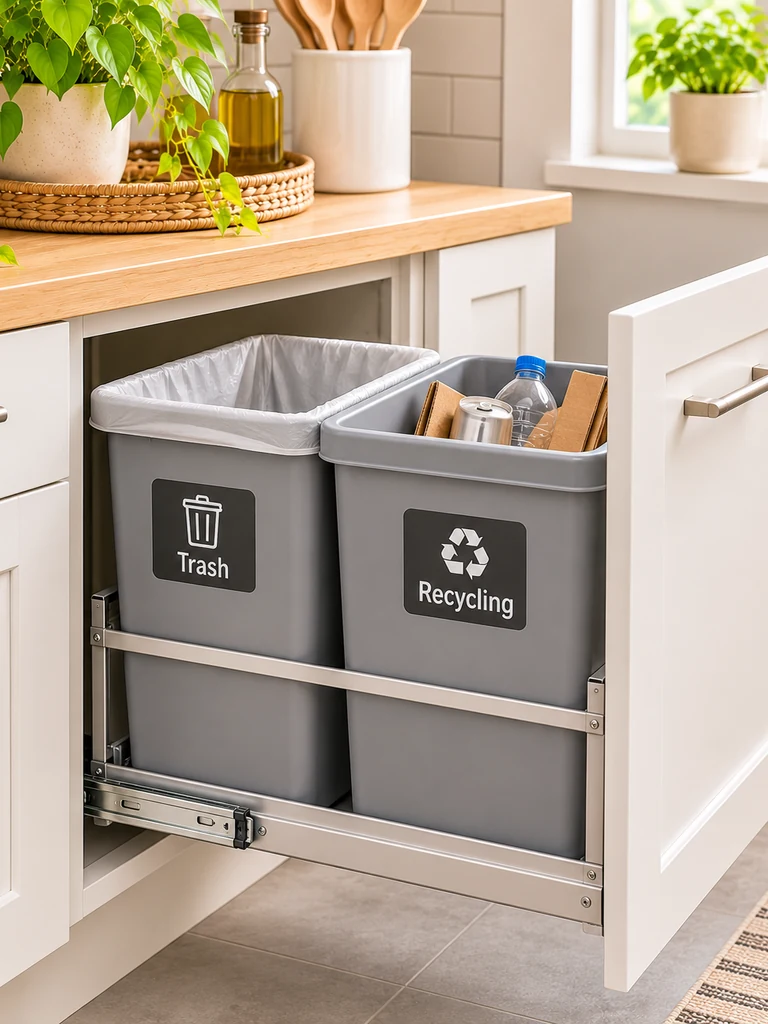
- A trash can in the open steals floor space in a tiny kitchen. A slide-out bin hides it inside a base cabinet, behind a closed door.
- Measure the cabinet’s interior width, depth, and height. Most double bins need a cabinet at least 15 inches wide.
- Pick a model with soft-close slides, so the bin glides shut without a bang.
- Choose two bins, one for trash and one for recycling, so sorting happens in one spot.
- Mount the bin on full extension rails, close to the prep area, so scraps only travel a step.
I’ve noticed that the best spot is next to the sink, where most of the scraps come from. Line each bin with a bag that matches its size, and wipe the rails once a month. Crumbs jam slides faster than anything else. Your counters stay clear, and the smell stays hidden.
Matching Glass Canisters
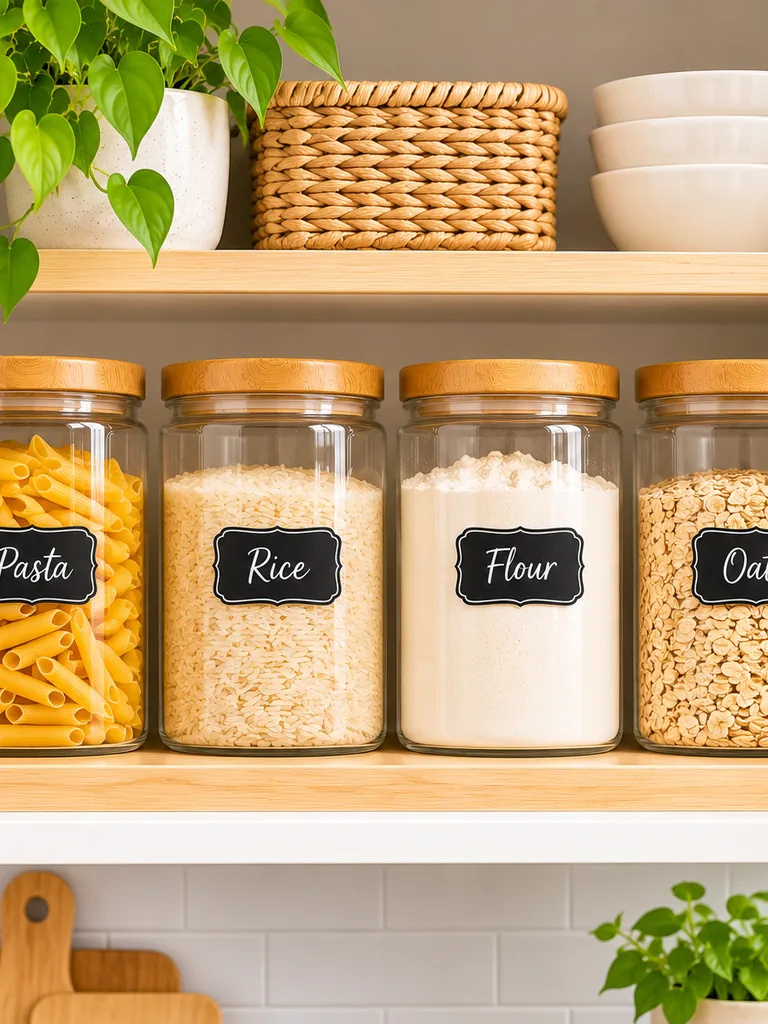
Quick Tip: Choose square canisters over round ones, since squares waste no space between them. Buy one size family, like 1.5 quarts and 2.5 quarts, so the lids can swap. Keep the expiration date on a small label on the bottom.
Mismatched boxes and half-open bags make a cabinet look chaotic even when it is clean. Matching canisters create a calm, uniform row, and the glass shows what is running low. In my experience, airtight lids keep flour and rice fresh for months. Decant the day you shop, and the habit sticks.
Tension Rod Dividers
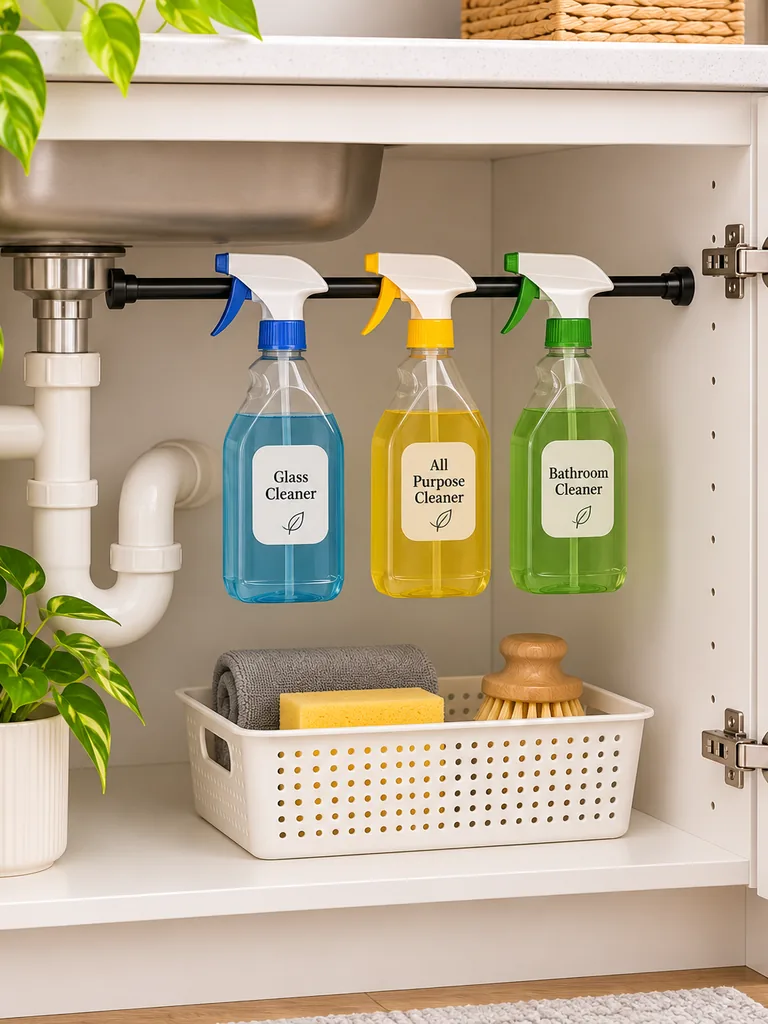
BEFORE: Spray bottles lie on their sides under the sink, rolling into the pipes. Every grab sets off a small avalanche. The floor of the cabinet disappears under a jumble.
AFTER: A single tension rod holds the bottles by their triggers in one tidy row. The cabinet floor is free for a small bin and sponges. You see every bottle at a glance.
A tension rod costs a few dollars and needs no drilling, which suits renters. Measure the cabinet width, then pick a rod rated for at least 10 pounds. In my experience, a rubber tip at each end keeps it from slipping. Twist until snug, then give it a firm tug.
Corner Cabinet Carousels
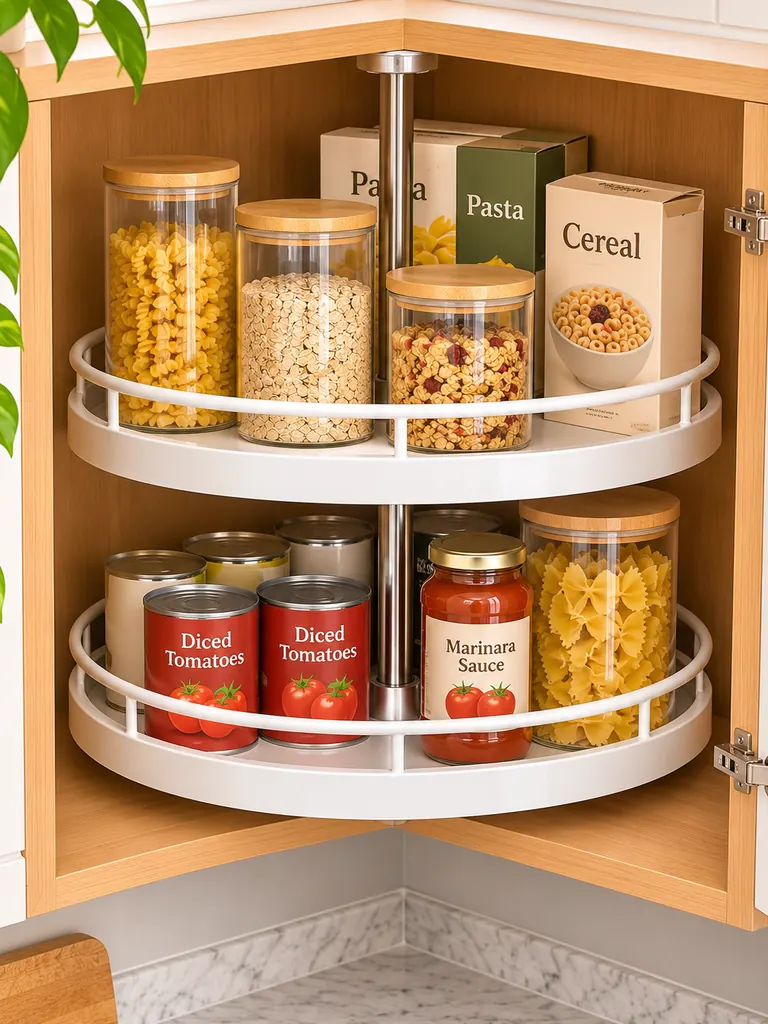
- Corner cabinets hide their best space in the dark, so start by emptying yours and measuring the door opening and the inside depth.
- Choose a pivoting or kidney-shaped carousel that fits through the opening, since the shelves must pass the door frame.
- Assemble the pieces inside the cabinet, then lock the center pole to the shelves.
- Load heavy items like canned goods on the lower shelf and lighter boxes above.
- Spin it once to confirm nothing hits the door or the walls.
Blind corners swallow pans and jars that never see daylight again. A carousel brings them back with one gentle turn. In my experience, a two shelf model about 28 inches across suits many corner cabinets. Keep tall bottles near the center pole, and the shelves spin freely every time.
Magnetic Spice Tins

| Feature | Magnetic Spice Tins | Standard Spice Jars |
|---|---|---|
| Space used | Flat on a steel sheet inside a door | A full shelf or drawer |
| Visibility | Labeled lids face out in rows | Labels hide on the sides |
| Setup | Stick the sheet, then snap tins on | None, but they crowd fast |
| Refill | Decant from bags into small tins | Refill or rebuy whole jars |
A magnet turns idle door space into a full spice wall. Stick a thin steel sheet inside the cabinet door with strong adhesive tape, then snap tins on in rows. Label the lids, and finding cumin takes one second. Check that the door still closes flat.
Pot Lid Organizers
DO:
- Sort lids by diameter before you buy, so the slots fit your largest and smallest.
- Choose a rack with adjustable dividers if your lids vary in size.
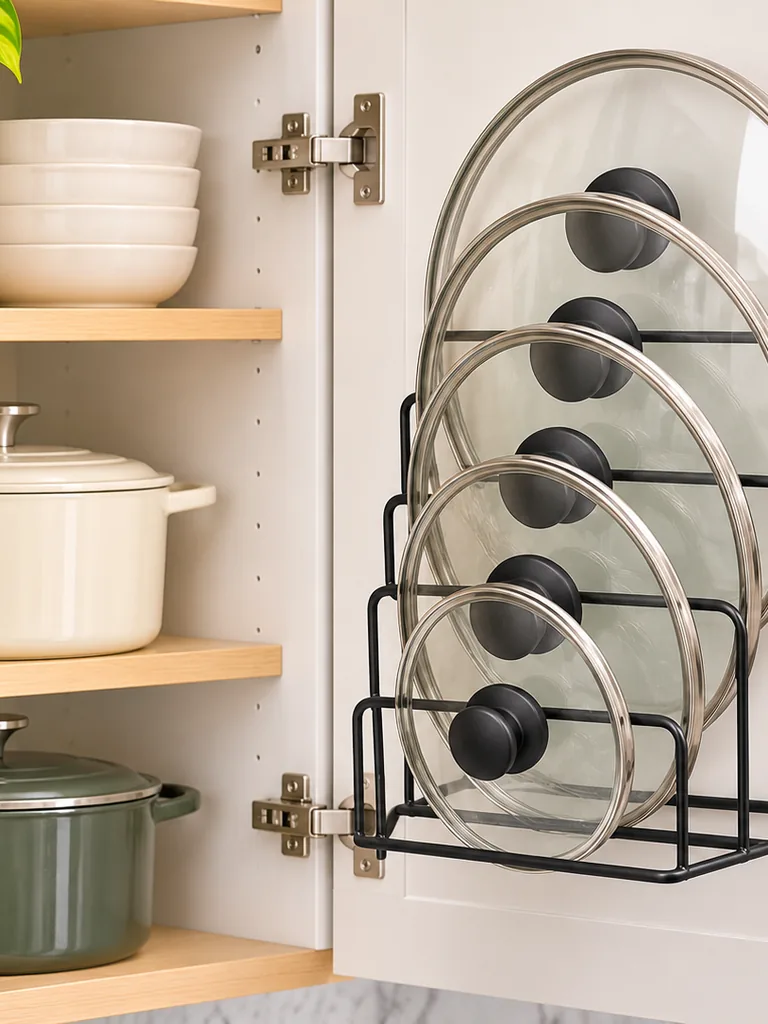
- Mount it on the cabinet door or a shelf edge, wherever it clears the pots.
- Store lids near the pots they belong to.
DON’T:
- Don’t buy a rack without measuring the gap between the door and the shelf.
- Don’t stack glass lids on each other, since they chip.
- Don’t overload a door-mounted rack with heavy cast iron lids.
- Don’t mix lids from different sets without checking the fit.
Nothing makes a cabinet louder than a pile of lids sliding off the shelf. A simple rack stops the avalanche and makes each lid easy to grab. In my experience, a door-mounted wire style keeps lids dry and upright. Keep one spot for every size, and the hunt for the right lid ends.
Labeled Pantry Baskets
Cost: Low to medium | Time: 30 minutes | Skill Level: Beginner
Best For: Snacks, baking supplies, pasta packets
Works In: Pantry shelves and deep kitchen cabinets
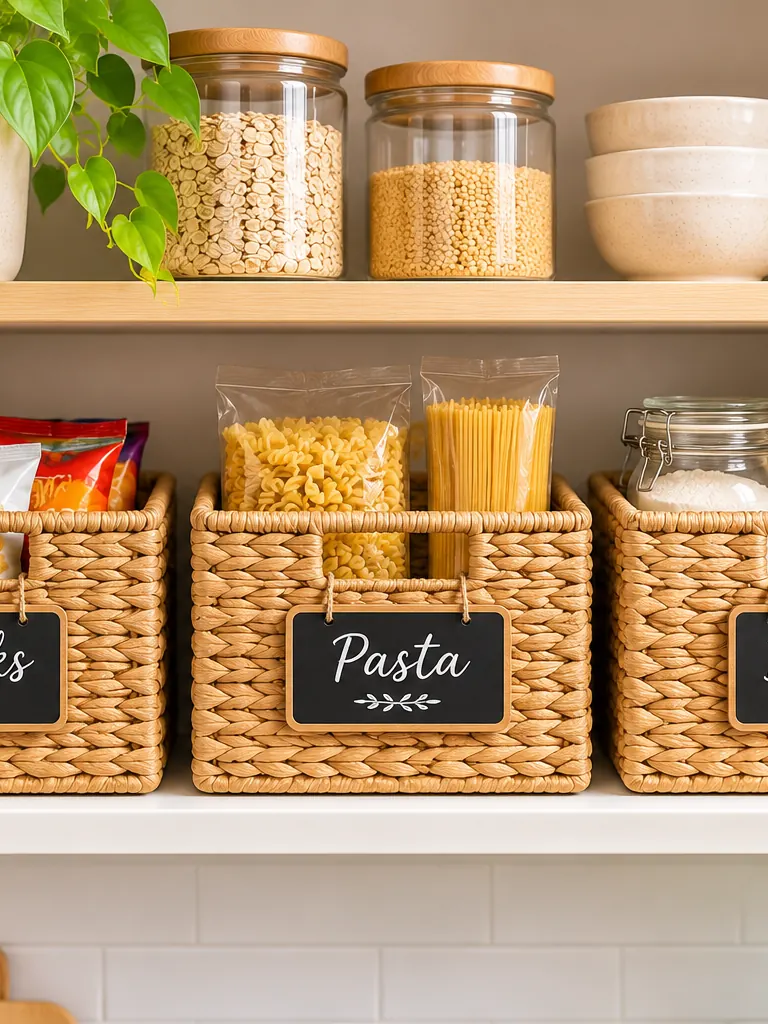
Loose snack bags slump and spill the moment you open a pantry door. Baskets give each category a fixed home, so you pull out one basket instead of ten bags. In my experience, three to five categories work best. Choose baskets with handles, and label the front so everyone puts things back.
Cabinet Door Cup Holders
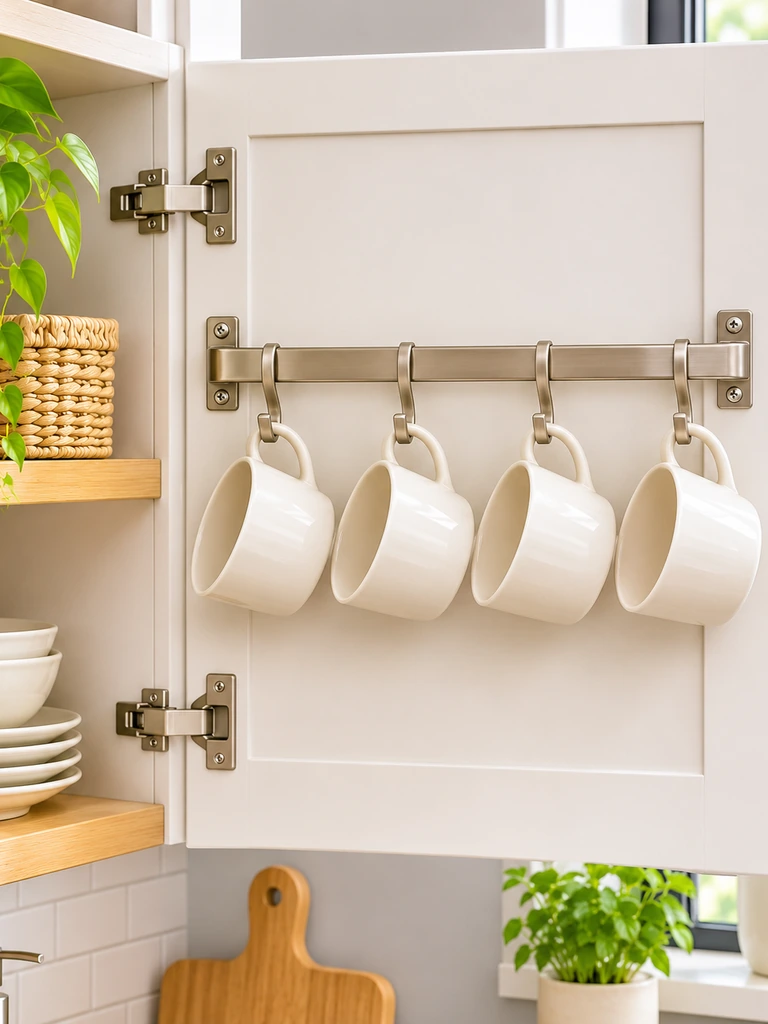
Mugs eat shelf space faster than any other dish in a small kitchen. They stack badly, chip easily, and the one you want is always at the bottom. A short rail on the inside of a cabinet door lets each mug hang by its handle.
Space hooks about 3 inches apart so mugs do not knock together, and mount the rail where the door clears the shelf below. I’ve noticed that four mugs per rail is the limit before the door feels heavy. Keep cups you use daily here, and store the rest on the shelf.
Cutting Board Racks
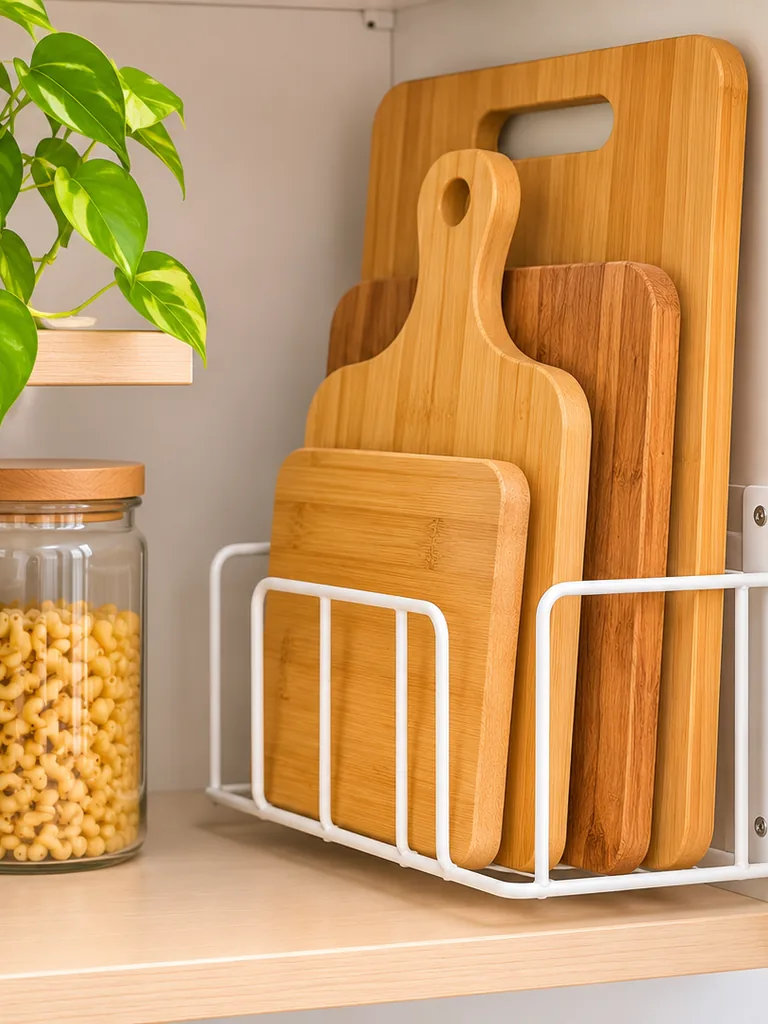
- Cutting boards take up a surprising amount of shelf room when stacked flat, and the one you need always sits at the bottom. A rack on a cabinet side wall stands them on edge.
- Measure the wall space first. A rack about 12 inches wide fits two or three boards.
- Mount it with screws into the cabinet side, or use heavy duty adhesive strips for a no-drill option.
- Sort boards by size, with the largest at the back, so each one slides out alone.
- Leave a half inch between boards so air can circulate and thin boards do not bow.
Cross contamination worries me more than clutter, so I keep one board for raw meat and another for produce. A rack with labeled slots makes that easy to follow. Wash boards by hand with warm soapy water, and slide each one back only when it is completely dry.
Shelf Liners in Patterns
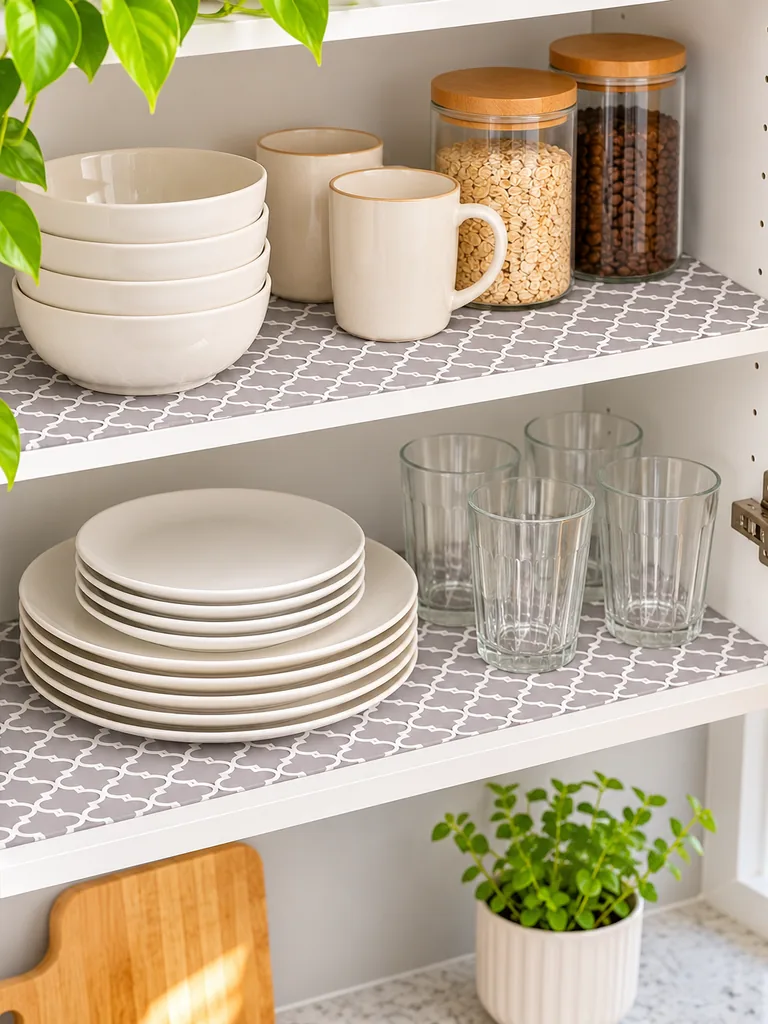
Quick Tip: Choose a non-adhesive grip liner, since sticky ones leave residue when you replace them. Cut it with scissors about an eighth of an inch shorter than the shelf on every side. Lay it flat and smooth out any air bubbles before loading dishes.
Bare shelves show every scratch, and glasses slide the moment you close the door. A patterned liner hides wear, adds color you only see when the cabinet opens, and grips dishes in place. I’ve noticed that small geometric prints hide crumbs best. Wipe it clean monthly and replace it yearly.
Wire Drawer Organizers
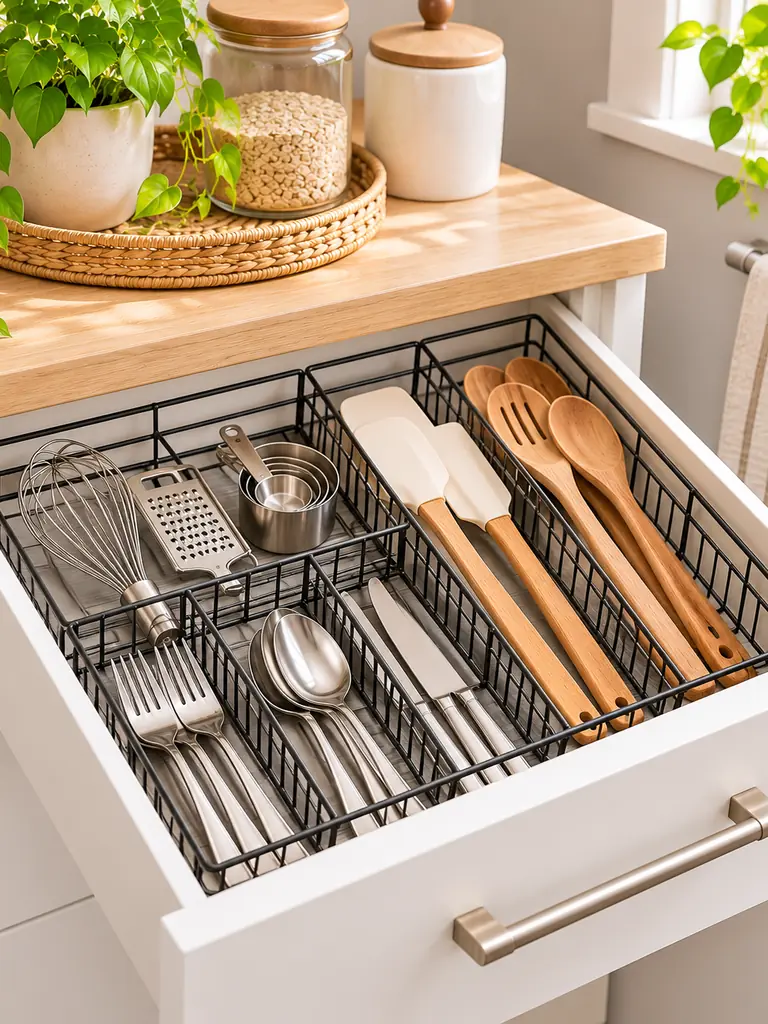
BEFORE: Forks, whisks, and spatulas tumble together in one drawer. Every grab starts with a rattle and a search. The drawer barely opens because something always snags.
AFTER: A wire organizer gives each tool its own lane. Forks sit in one slot, spatulas in another, and the drawer glides open. You find the right tool without looking.
Measure the drawer’s inside width and depth, then choose an organizer about a quarter inch smaller so it slides in easily. In my experience, expandable wire trays fit odd drawers best. Add a rubber mat underneath so the tray stays still. Sort tools by how often you reach for them.
Stacking Mug Shelves
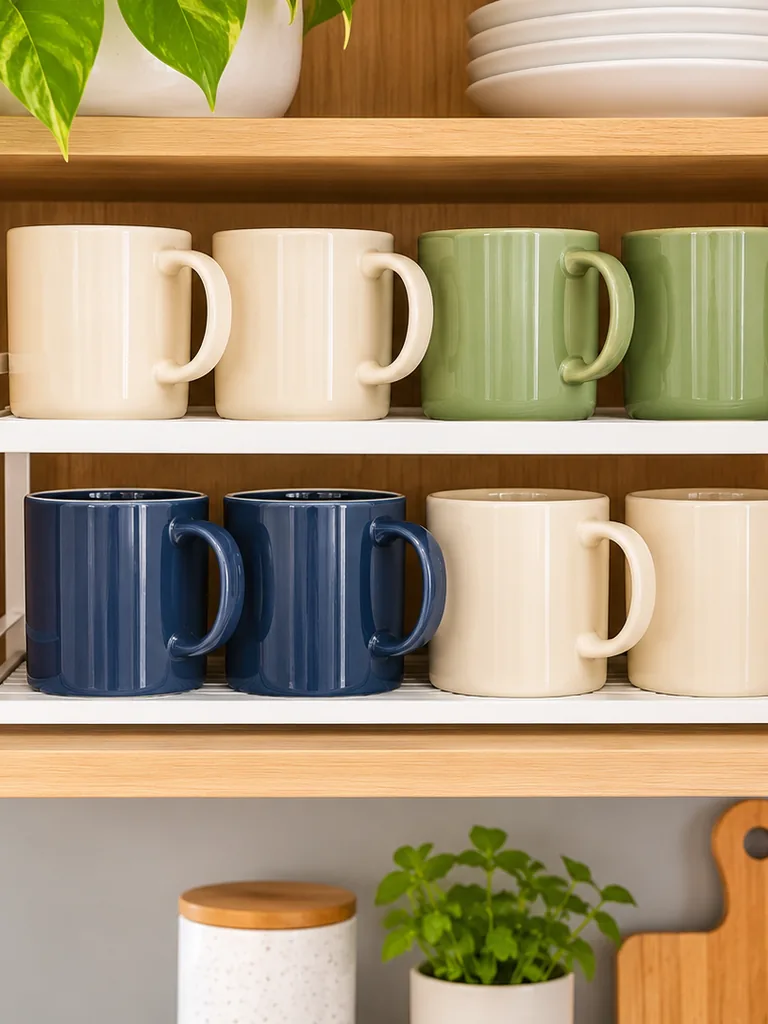
- Count your mugs and pick the ones you use daily, usually four to six. Donate or store the rest elsewhere.
- Measure the cabinet’s interior height, and buy a two-tier stacking shelf at least 2 inches shorter than that gap.
- Set the shelf in the cabinet and place four mugs on each level, with every handle facing the same direction.
- Leave the front edge clear so the cabinet door closes without bumping a handle.
A tower of mugs tips at the worst moment. A stacking shelf gives each level its own floor, so you lift a single mug and nothing wobbles. I’ve seen this work well in narrow cabinets, where one shelf holds eight mugs in the space of four. Pick a shelf with rubber feet.
Wood Spice Drawer Inserts
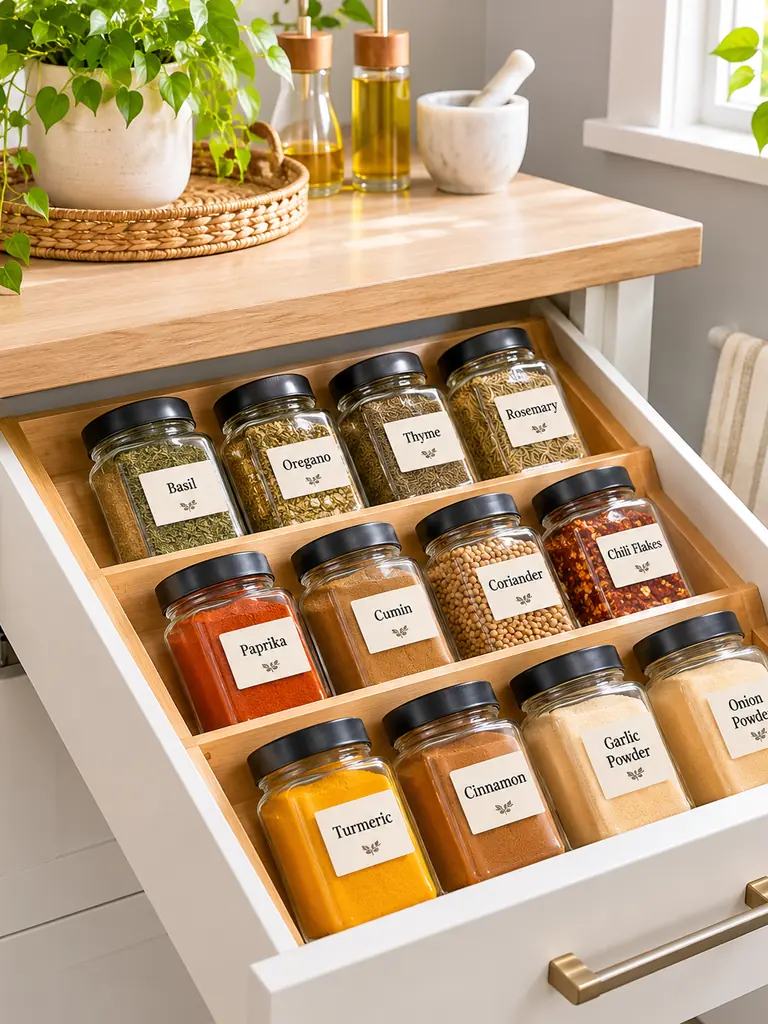
| Feature | Wood Spice Insert | Shelf Jars |
|---|---|---|
| Visibility | Angled so every label faces up | Labels hide behind front jars |
| Space used | One shallow drawer | Half a cabinet shelf |
| Access | Pull the drawer, see all jars | Move jars to reach the back |
| Look | Warm wood, neat rows | Mixed shapes and sizes |
Spice jars lying flat in a drawer hide their labels, and you tip each one to read it. An angled wood insert fixes that by tilting every jar toward you. Measure the drawer depth first, since most inserts need about 2.5 inches of clearance. In my experience, bamboo holds up best against kitchen humidity.
Foil and Wrap Holders
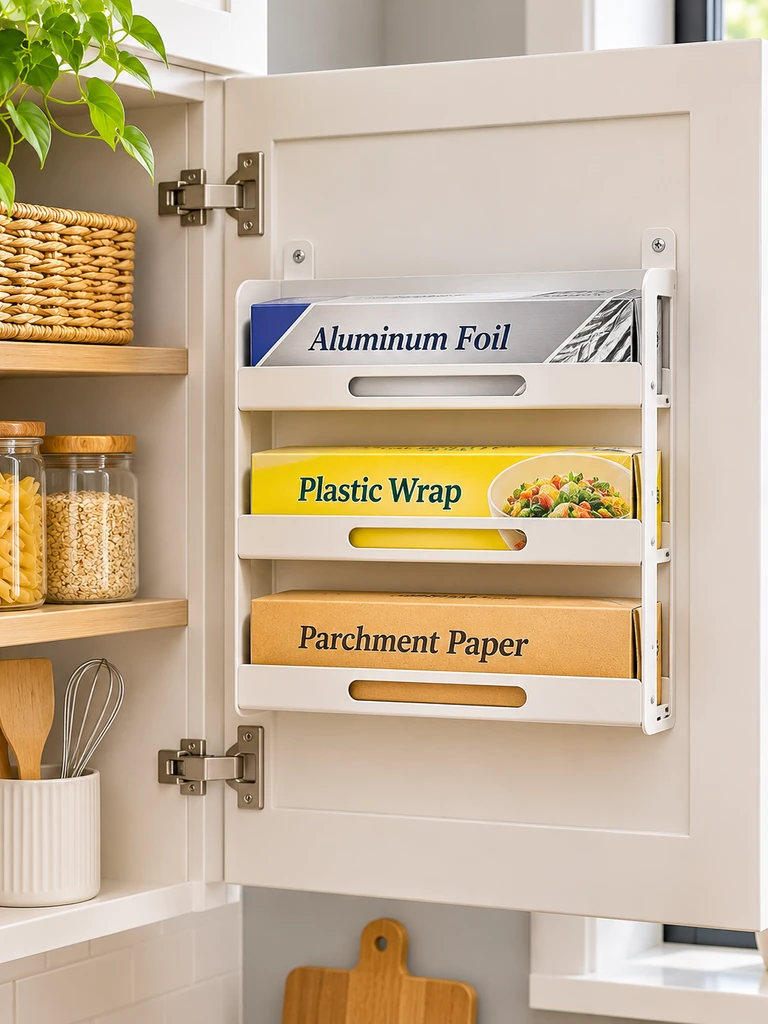
DO:
- Measure your boxes first, since foil, wrap, and parchment come in different lengths.
- Choose a holder with a built-in cutter, so you tear a clean edge with one hand.
- Mount it on the inside of a cabinet door near your prep area.
- Check that the door still closes flat with all three rolls loaded.
DON’T:
- Don’t mount it where the door swings into a shelf or appliance.
- Don’t store rolls loose in a drawer, since they roll and crush.
- Don’t buy a holder without checking the weight limit for full boxes.
- Don’t skip wall anchors if you mount it on a thin panel.
Foil boxes slide around a drawer and jam the moment you pull one out. A holder keeps all three rolls in a row, so you tear off a sheet with one hand. I’ve noticed that mounting it low on the door speeds up cooking. Pick a holder with a built-in cutter.
Conclusion
A tight kitchen does not need a remodel to feel calm. It needs a smarter plan for the cabinets you already have. Whether you start with a lazy Susan, a few door hooks, or simple labeled baskets, these kitchen cabinet organization ideas can help you find things faster and cook with less stress. I’ve seen how small changes like these can completely shift the way a space feels. Pick one cabinet and try one idea this weekend. Save this post on Pinterest so you can come back to it, and share it with a friend whose cabinets need help.