
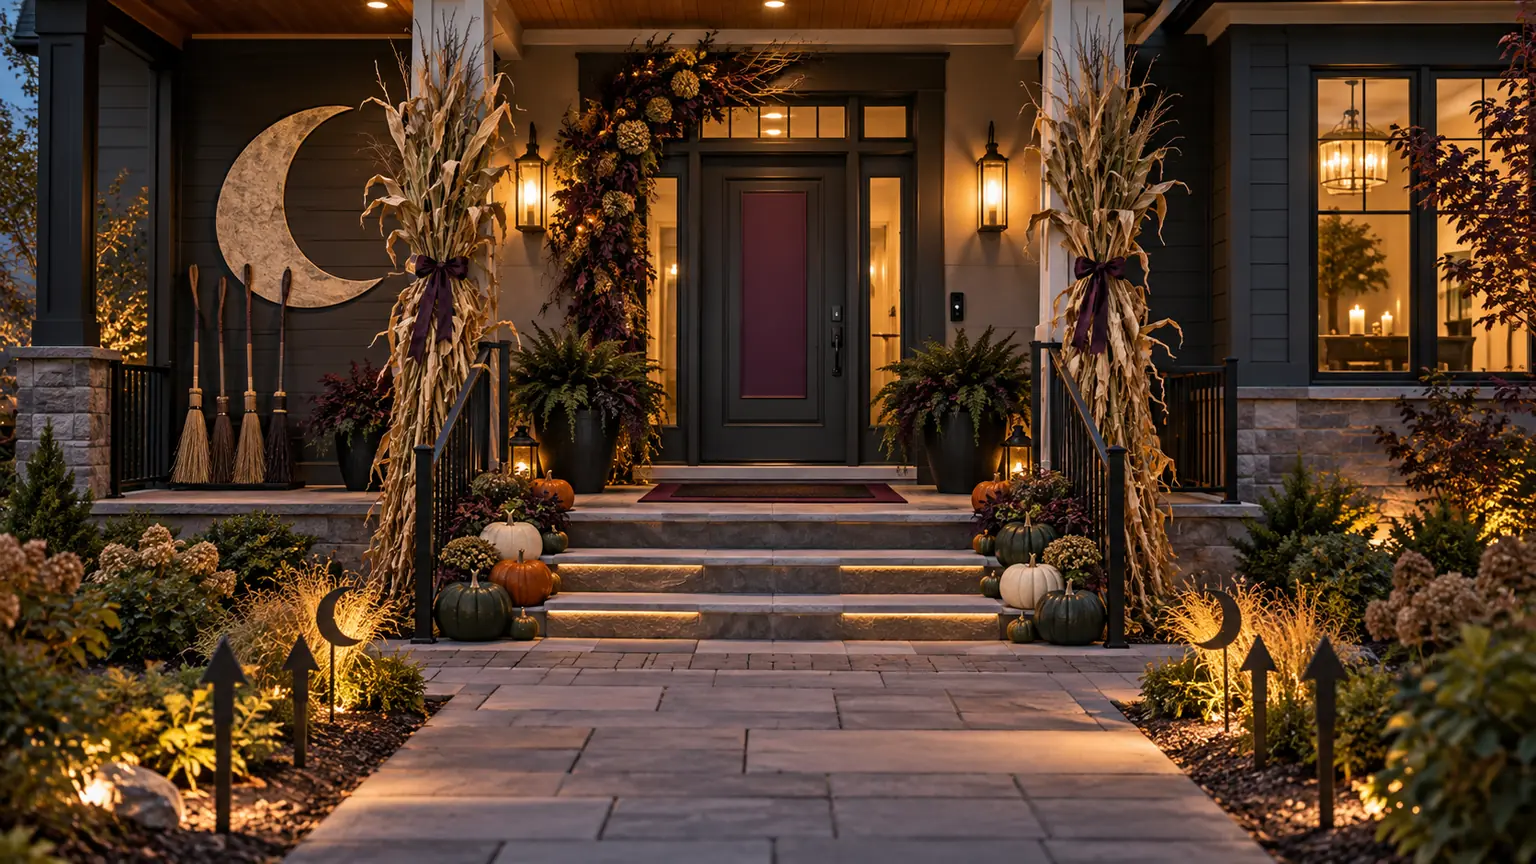
Your porch is the first Halloween scene guests notice, so every detail needs to look impressive while keeping the entrance easy to use. These Front Porch Halloween Decorating Ideas combine bold focal points, creative lighting, layered textures, and practical outdoor styling.
You will learn how to decorate doors, columns, steps, railings, windows, pathways, and guest areas without blocking locks, handrails, house numbers, or walking routes. The ideas also cover wind exposure, rain protection, outdoor electrical safety, and secure installation.
In my experience, the most memorable porches use a few large, well-positioned features instead of many scattered props. With thoughtful planning, your entrance can look dramatic from the street and remain welcoming at the door.
Table of Contents
Porch Sightline Plan
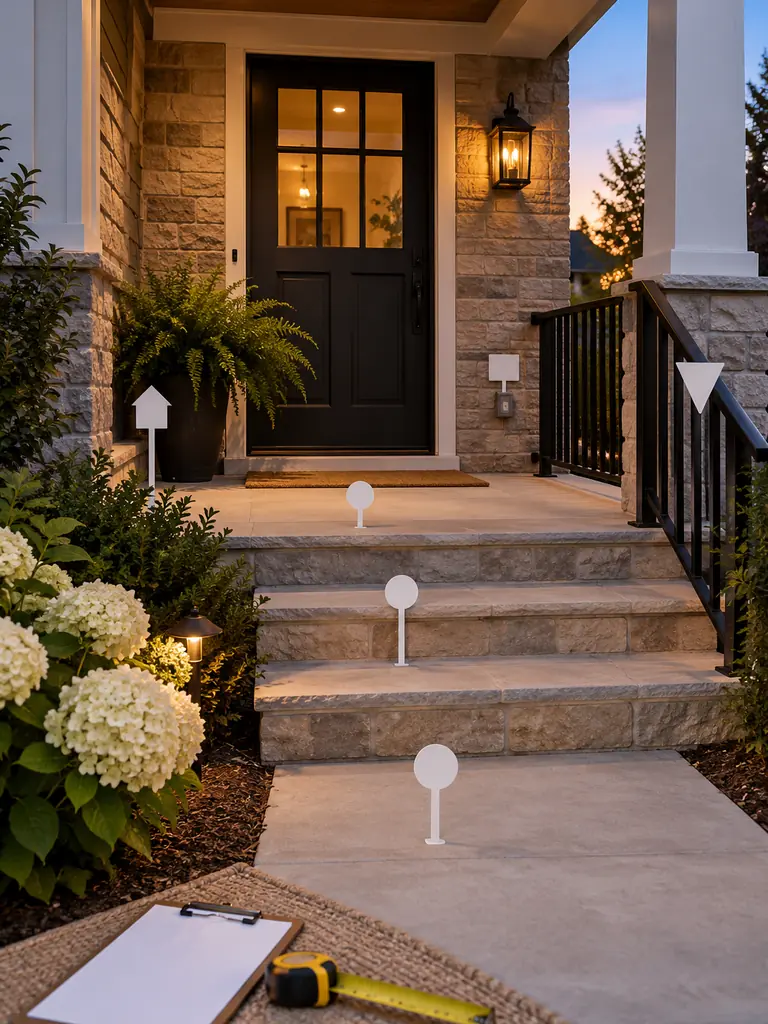
A striking porch begins with the view guests notice first. Stand at the sidewalk, driveway, and bottom step to identify the strongest focal area. Measure the landing, door swing, rail width, and walking route, then note which surfaces receive rain, direct sun, or strong wind.
Successful front porch Halloween decorating ideas should improve the entrance without hiding essential features. Mark outlets, house numbers, handrails, locks, and delivery access before placing anything. In my experience, planning from the street prevents decorations from looking undersized while a second check near the door catches practical obstructions.
Front Door Color Block
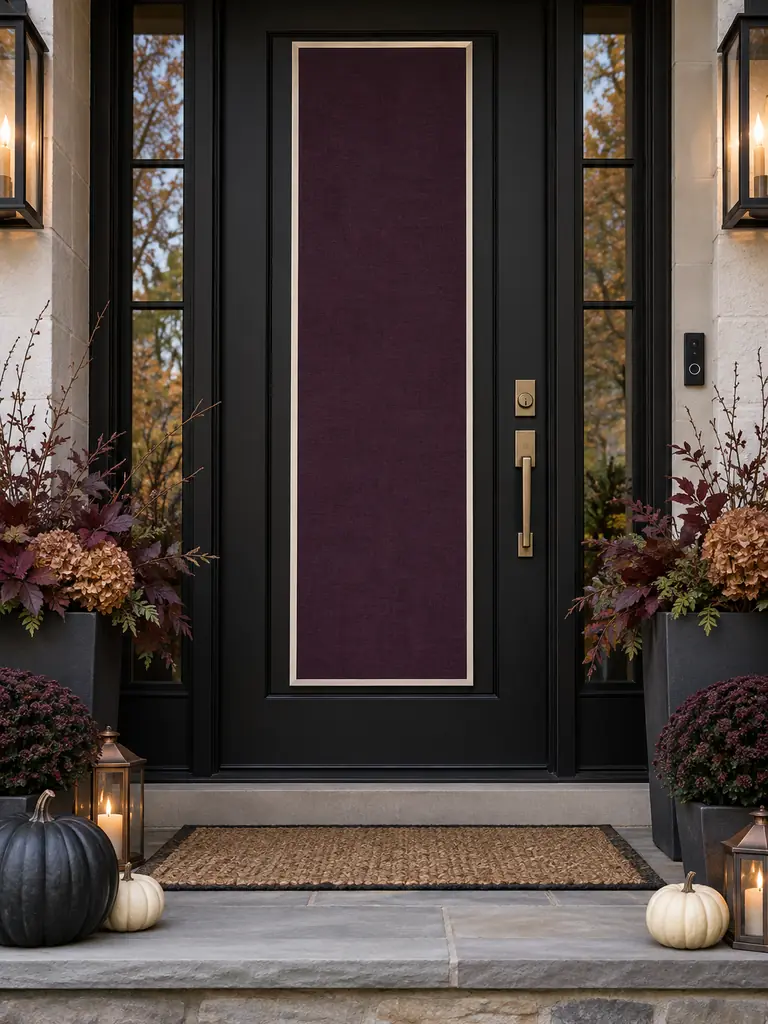
- Measure the visible door area without including panels that contain hardware or windows.
- Choose one weather-resistant removable material in black, plum, rust, or deep green.
- Test the attachment method on a hidden spot before covering a larger section.
- Cut straight edges with a metal ruler and sharp craft tool on a protected surface.
- Open and close the door fully to confirm the treatment does not catch or shift.
A solid color block creates impact from the street because it forms one readable shape instead of several small details. Keep the treatment clear of seals, hinges, handles, locks, viewers, and ventilation openings. Remove it promptly if moisture collects underneath or the adhesive begins affecting the door finish.
For more ways to turn the door itself into a seasonal focal point, explore these Halloween door decorations featuring bats, wreaths, pumpkins, gothic accents, and playful spooky details.
Asymmetrical Door Swag
Quick Tip:
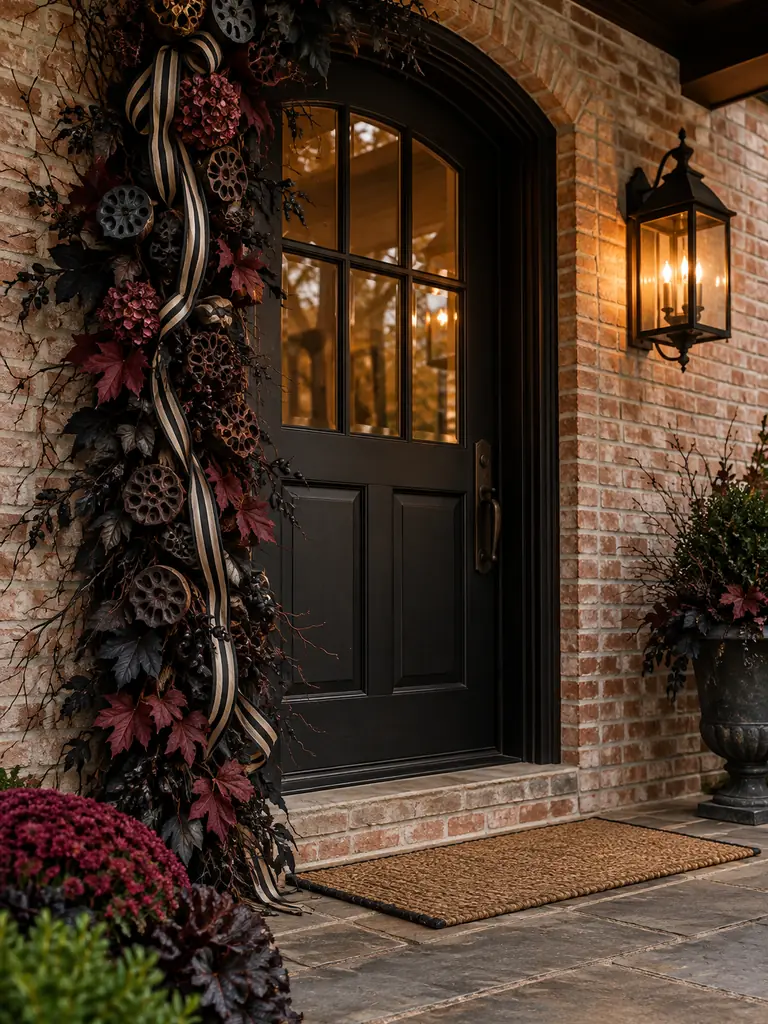
Build the swag on a removable lightweight base before attaching it beside the door. Use outdoor-rated materials and fasteners appropriate for the surface, then add a concealed safety tie near the lower section to limit movement in wind.
Begin with the longest foliage at the top, position fuller pieces near eye level, and taper the arrangement toward the bottom. Keep decorations away from hinges, lights, cameras, doorbells, and house numbers. The uneven composition creates height and drama while preserving more entrance space than a fully decorated frame.
Bring the same polished seasonal style indoors with these Expensive-looking Halloween Decor Ideas featuring refined colors, rich textures, and carefully finished displays.
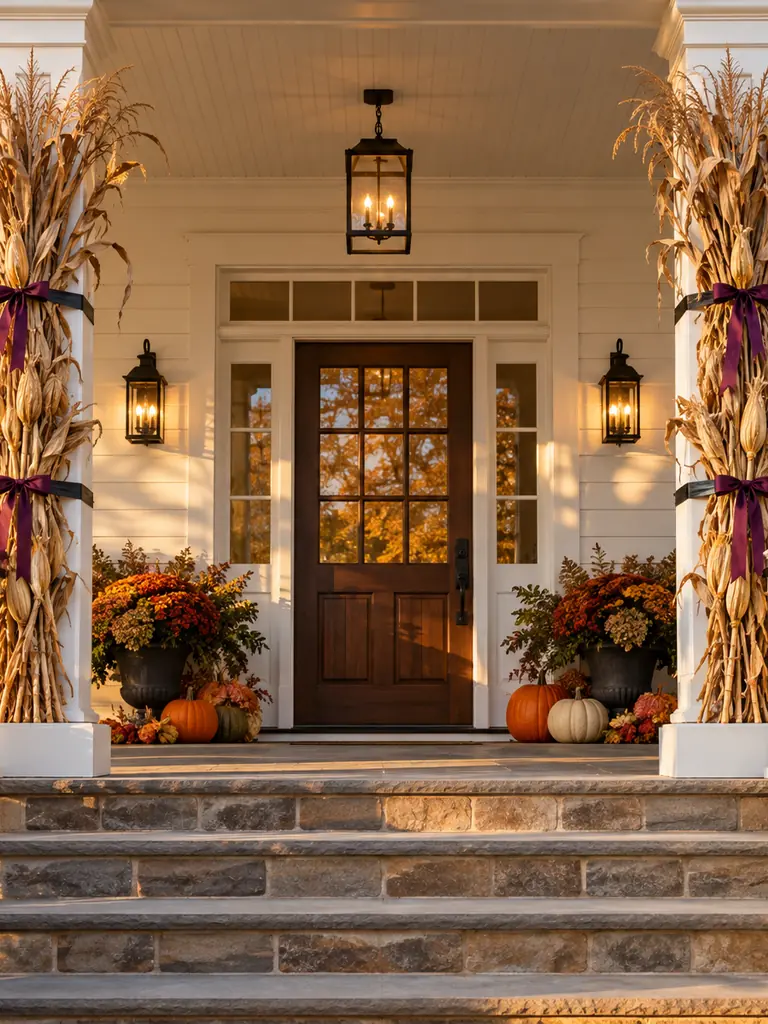
Cornstalk Column Wraps
Before:
Loose cornstalks lean against the porch columns, spreading across the landing and shifting whenever the wind increases. Twine is visible from the street, and brittle leaves extend into the guest route.
After:
Narrow upright bundles follow the column shape and remain secured at several heights. Coordinated ribbon conceals practical fasteners, while trimmed lower leaves keep the steps and handrails accessible.
Choose artificial stalks or thoroughly dry natural bundles suited to local conditions, then check them for insects, mold, and shedding material. Fasten each bundle without damaging the column finish. Keep dry plants far from flames, hot fixtures, electrical equipment, and ignition sources, and remove them before severe weather.
Pumpkin Step Gradient
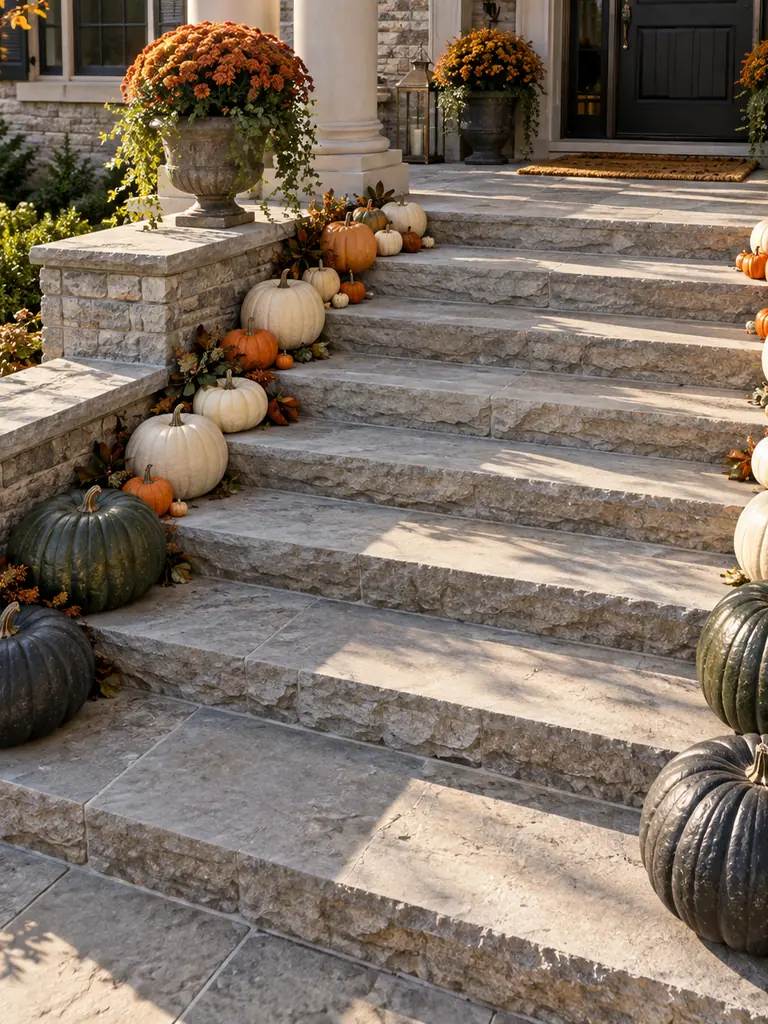
- Measure each tread. Confirm how much side space remains after preserving a wide, unobstructed walking route.
- Sort by size and tone. Place larger dark pumpkins at the bottom and smaller lighter pieces toward the door.
- Test every base. Rotate natural pumpkins until they sit firmly, or add discreet outdoor-safe supports where appropriate.
- Repeat colors gradually. Introduce neighboring tones between dark and light pieces to avoid abrupt visual breaks.
- Inspect regularly. Remove soft, leaking, cracked, or unstable pumpkins immediately.
A color gradient leads the eye toward the entrance while keeping the arrangement more controlled than scattered pumpkins. Place every piece outside the usable center of each step, and never block rail access. In my experience, fewer well-spaced pumpkins create stronger street impact and are easier to monitor for movement or decay.
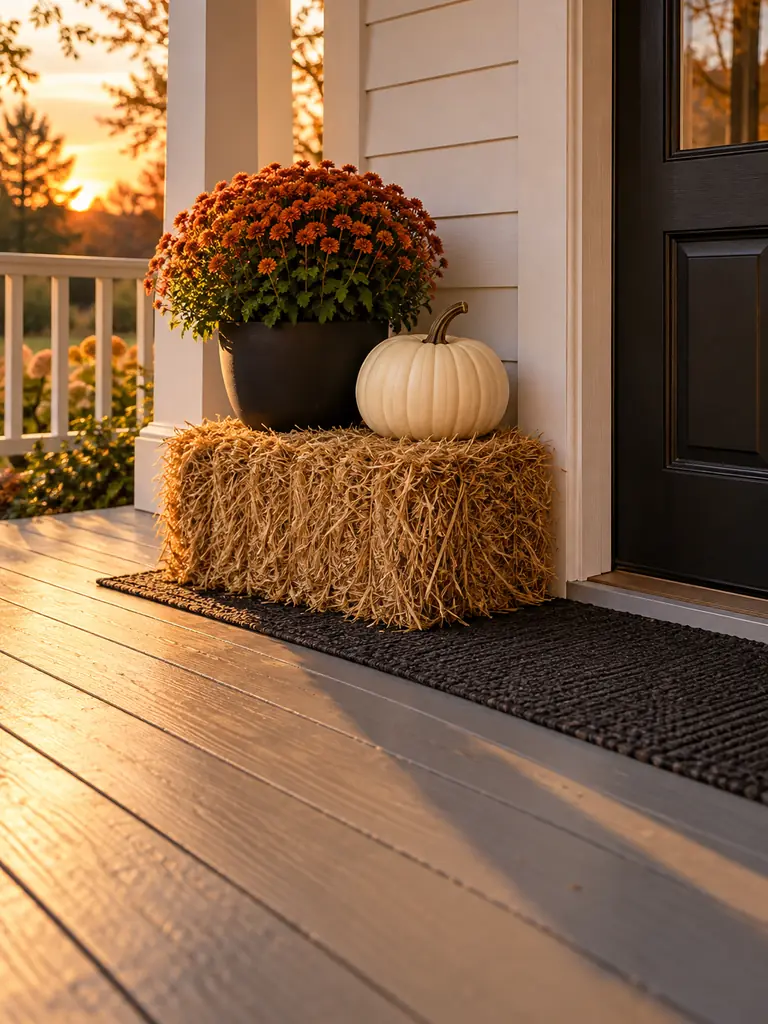
Hay Bale Landing
| Unprotected Bale | Planned Bale Display |
|---|---|
| Straw rests directly on the porch | A protective barrier separates both surfaces |
| Several objects create unstable height | One or two lightweight accents remain controlled |
| Loose fibers spread into the pathway | The bale stays inside a sheltered corner |
| Moisture collects without inspection | Regular checks catch dampness and deterioration |
A compact bale creates useful height, but it requires more care than a solid outdoor stand. Keep it dry, elevated when appropriate, and far from flames, heaters, outlets, and hot lighting. Check beneath it for moisture, staining, pests, or decay, and remove it when wet weather becomes difficult to manage.
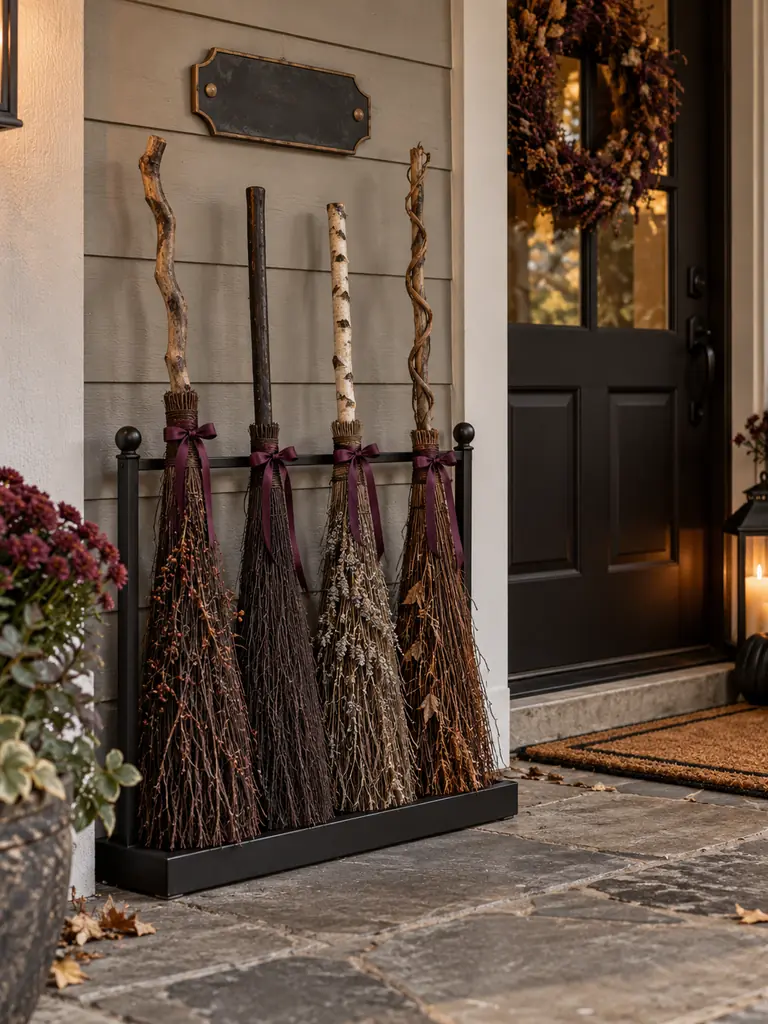
Bewitched Broom Parking
Do This:
- Use decorative brooms with smooth handles and firmly attached bristles.
- Place them inside a weighted stand designed to remain upright outdoors.
- Secure taller handles together discreetly if wind can reach the area.
- Position the group beside a wall and outside the guest path.
Avoid This:
- Do not lean loose brooms where they can slide across the landing.
- Avoid brittle branches with sharp or protruding ends.
- Never block utility panels, doors, rails, or delivery access.
- Do not leave lightweight signs unsecured above the arrangement.
A contained broom station creates a playful story without spreading props across the porch. Vary handle heights slightly, then repeat one ribbon color for unity. Inspect the rack after windy weather and remove any broom that begins shedding. Guests should notice the display without needing to walk around or touch it.
For more creative projects made from simple supplies, explore these Budget-friendly Halloween Decorations that look far more polished than their cost suggests.
Oversized Moon Backdrop
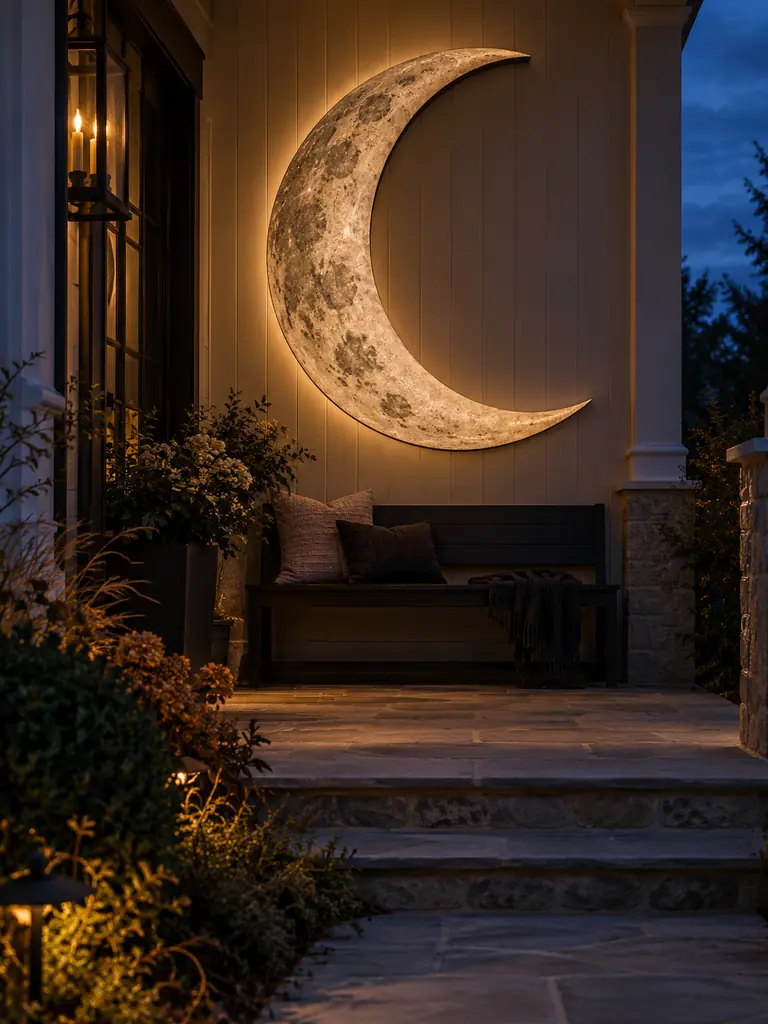
Cost: Moderate for outdoor-safe board and finish
Time: Several hours plus drying and installation
Best For: Blank covered walls beside the entrance
Result: A large focal shape visible from the street
An oversized moon fills vertical space more effectively than several small ornaments. Build or purchase a lightweight panel, seal every exposed edge, and use mounting hardware suitable for the wall and outdoor conditions. Keep the shape clear of lights, cameras, vents, doors, and overhead wires, then inspect attachments regularly.
Layered Doormat Frame
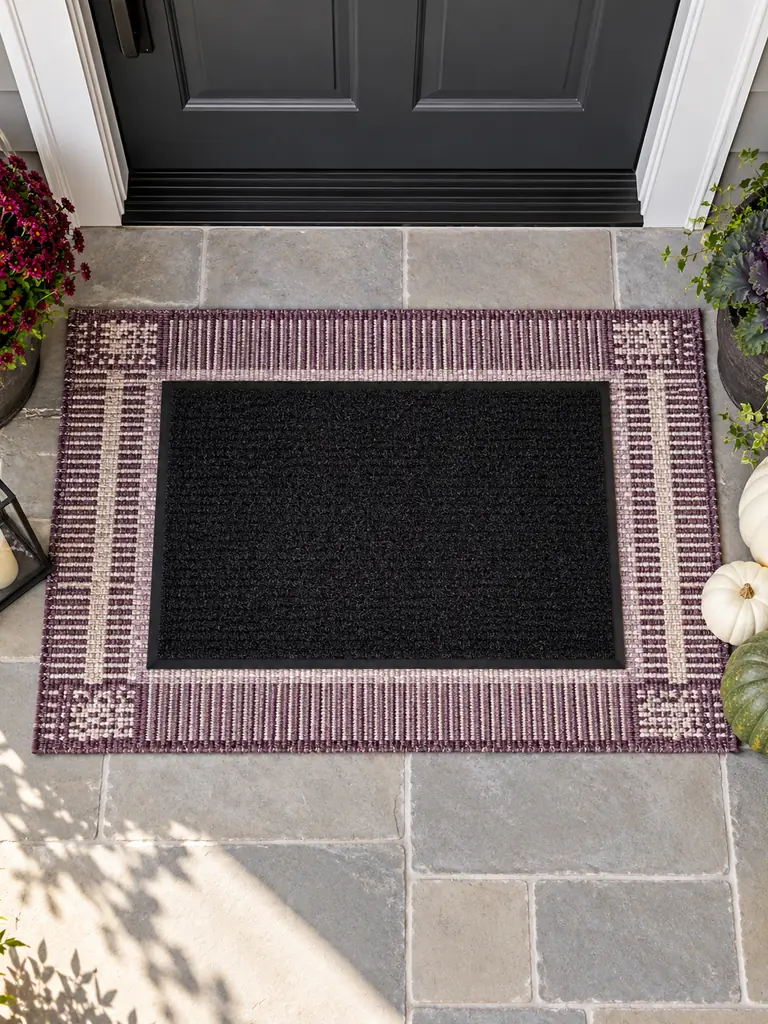
Layered mats make the doorway feel finished because the larger rug creates a visible border around the practical top mat. Measure the entrance first, including the full door swing. Select low-profile outdoor materials that dry quickly and have enough surface grip for the porch flooring.
Center the smaller mat, then test every corner by walking across it from several directions. Use a compatible nonslip solution only if needed and approved for both surfaces. Shake out debris regularly, lift the layers after rain, and remove either mat immediately if curling, sliding, or trapped moisture develops.
Continue the seasonal welcome indoors with these Easy Halloween Entryway Decor Ideas for benches, key storage, coat hooks, runners, and compact foyer walls.
Doorbell Creature Frame
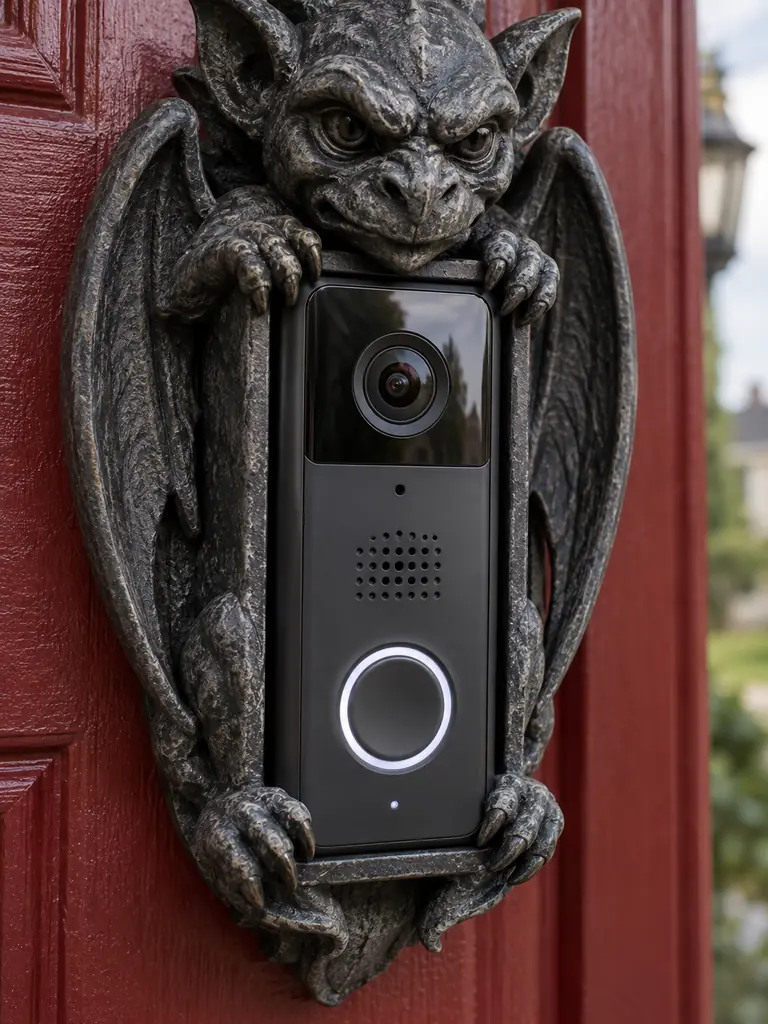
- Measure the full doorbell unit, including camera angle, speaker openings, and indicator lights.
- Choose a lightweight frame that remains outside every functional part of the device.
- Test removable fasteners on a hidden section of the surrounding surface.
- Press the button and review the camera image after installation.
- Remove the frame if it shifts, traps moisture, or affects device performance.
A creature surround turns necessary technology into part of the display without requiring a separate prop. Keep facial details simple enough to remain readable from several feet away. Never attach material directly to the device unless its manufacturer permits it, and preserve clear access for guests, deliveries, maintenance, and emergency use.
Glowing House Numbers
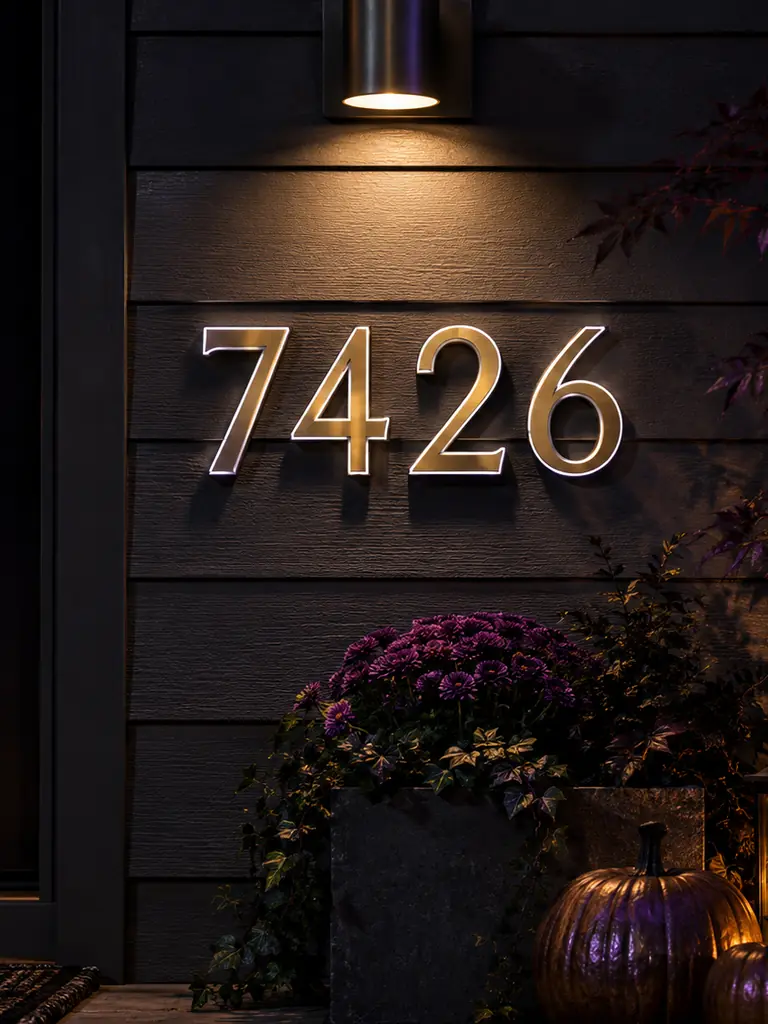
Quick Tip:
Decorate around the address rather than replacing or disguising it. Confirm local requirements for number size, placement, and visibility, then check readability from the street during daylight and after every decorative light is switched on.
Reflective edging or a restrained illuminated border can support the Halloween palette while helping visitors identify the home. Keep digits free from vines, fabric, cobweb material, glare, and moving shadows. Use only outdoor-rated products, protect electrical connections as directed, and remove any accent that makes the address harder to read.
Porch Rail Ribbon Waves
Before:
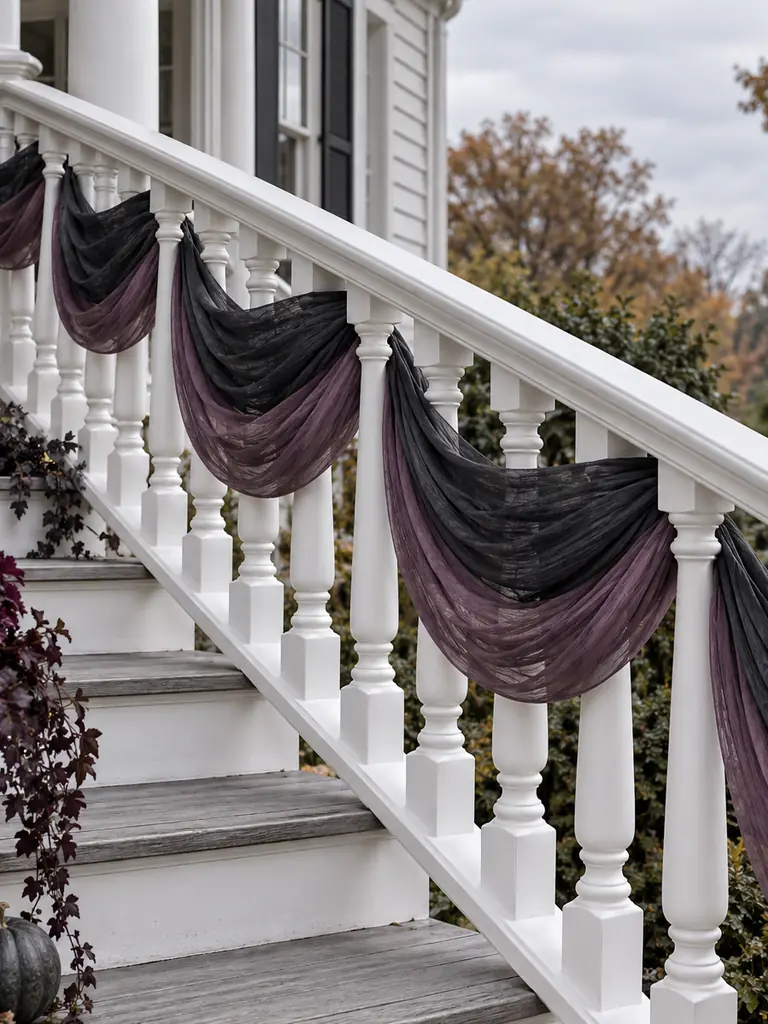
Long strips are wrapped tightly around the entire railing, covering the handhold and producing loose tails near the steps. Wind twists the fabric, exposes knots, and pulls sections into the walking route.
After:
Wide ribbon follows a measured wave through the lower balusters while the rail remains usable. Concealed outdoor clips control each curve, and short finished ends prevent fraying material from reaching the stairs.
Measure the railing length and test one full wave before cutting every section. Select water-resistant ribbon that will not bleed dye onto painted surfaces. Keep all handrails uncovered, secure each interval independently, and inspect the installation after rain or wind. Remove the fabric immediately if it loosens or affects safe stair use.
Step Edge Markers
- Count every level change. Include the porch landing, short risers, and any uneven transition from the pathway.
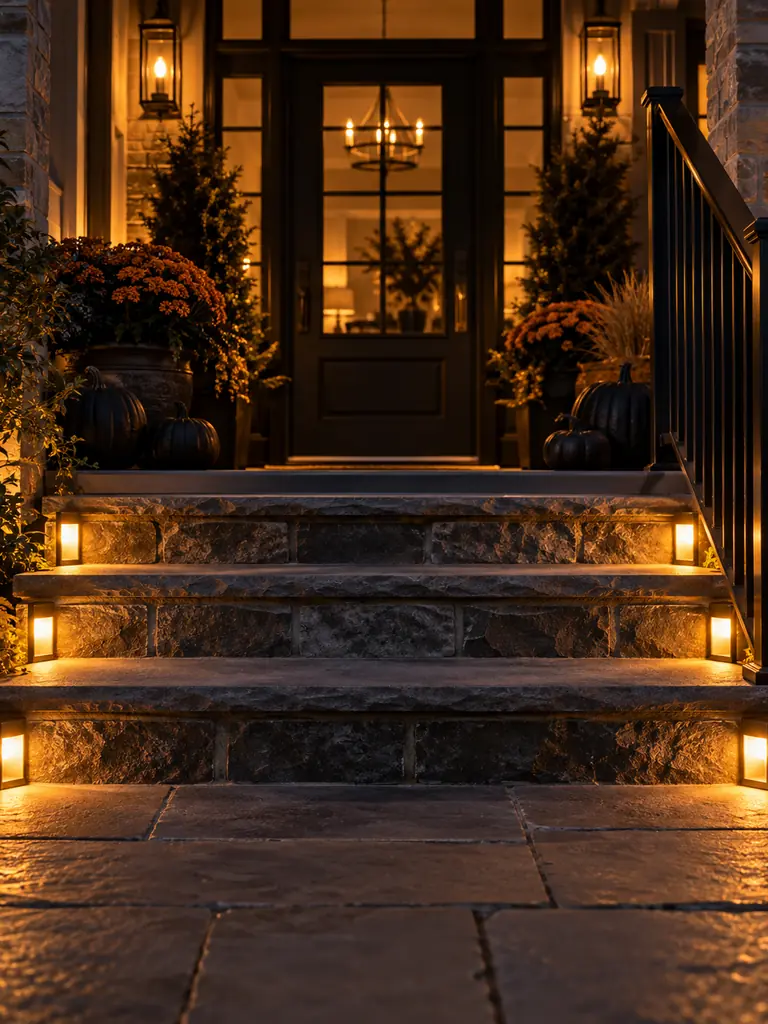
- Choose outdoor-rated markers. Select low-profile lights or reflective strips designed for the surface and weather exposure.
- Keep placement consistent. Position each marker at the same side and distance from the step edge.
- Test from both directions. Walk up and down after dark to check glare, shadows, and visibility.
- Inspect the attachment. Confirm that no wire, clip, or raised corner reaches the usable tread.
Consistent markers help guests read the staircase while contributing a soft seasonal glow. They should support existing porch lighting, not replace it. Choose warm amber rather than intense flashing effects, which can hide depth changes. Check batteries, alignment, and surface grip before visitors arrive and after wet or windy weather.
Staggered Pathway Stakes
| Crowded Stake Layout | Staggered Pathway Layout |
|---|---|
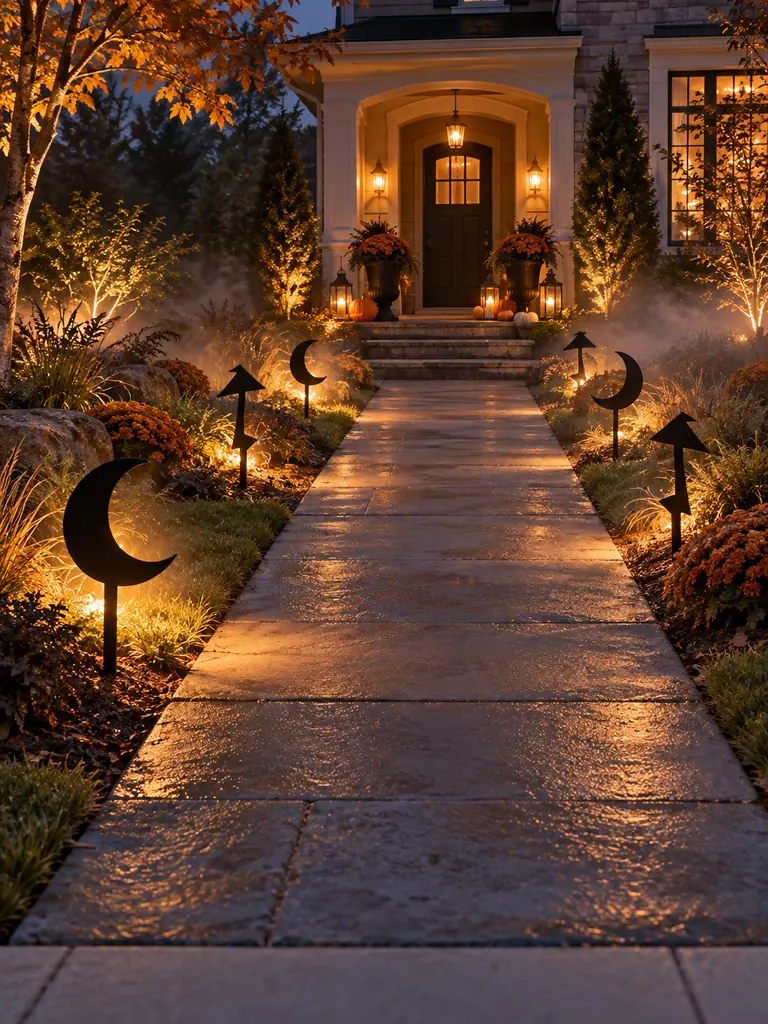
| Stakes stand close to pavement | Each piece remains beyond the walkway edge |
| Identical spacing feels rigid | Alternating distances create visual movement |
| Numerous shapes compete | One coordinated motif guides the eye |
| Loose bases lean toward guests | Proper anchors keep silhouettes upright |
Staggering the markers creates depth and points attention toward the porch without forming a narrow corridor. Check underground utility guidance before inserting any stake, and never place pieces where roots, irrigation, cables, or public access may be affected. Reflective or softly lit details should remain visible without producing glare for pedestrians or drivers.
Backlit Window Eyes
Do This:
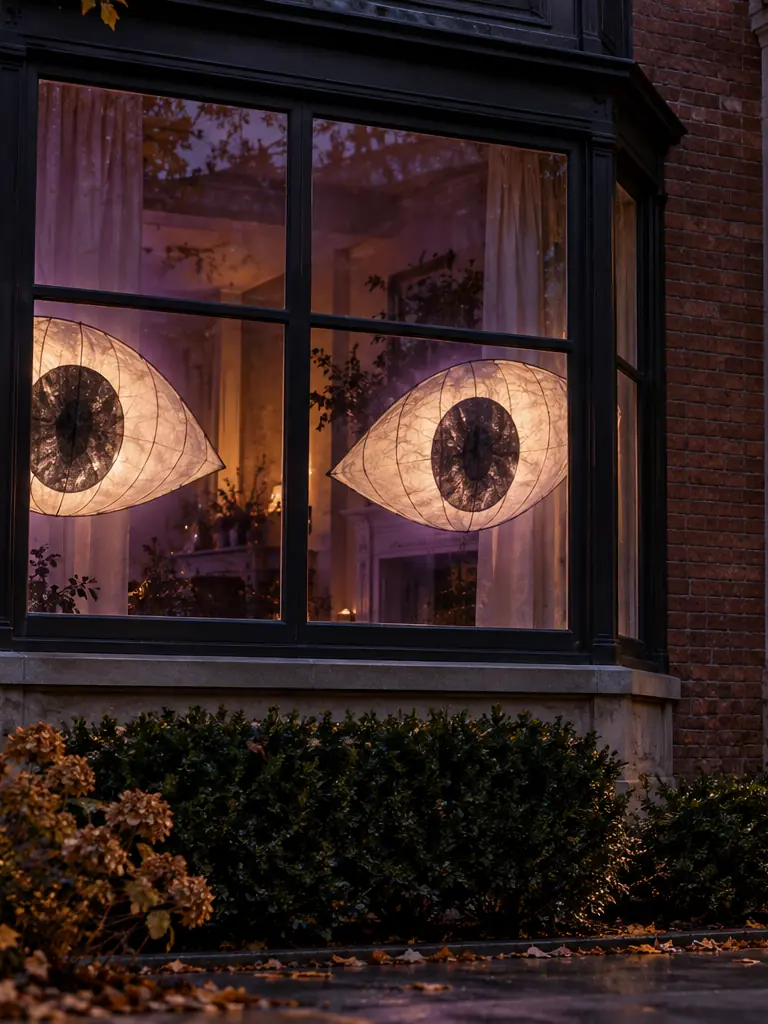
- Build the eyes from lightweight translucent material sized to the visible glass area.
- Diffuse the light source so both shapes glow evenly without showing a bare bulb.
- Keep window locks, handles, blinds, and emergency access fully operational.
- Use indoor-rated equipment only inside and follow all manufacturer instructions.
Avoid This:
- Do not tape material across vents, damaged glass, or opening mechanisms.
- Avoid intense flashing lights that can distract drivers or disturb neighbors.
- Never press hot fixtures against paper, film, curtains, or window trim.
- Do not leave powered equipment operating beyond its intended use.
Backlit eyes deliver strong street impact because the design remains readable from a distance. Test the effect outside before finalizing the height and spacing. Keep the surrounding window otherwise plain, secure every lightweight piece, and switch off the lighting when unattended unless the products and setup are specifically rated for that use.
Continue the atmosphere beyond the porch with these Spooky Indoor Halloween Decor Ideas for windows, shelves, entryways, and shared living spaces.
Mailbox Mini Display
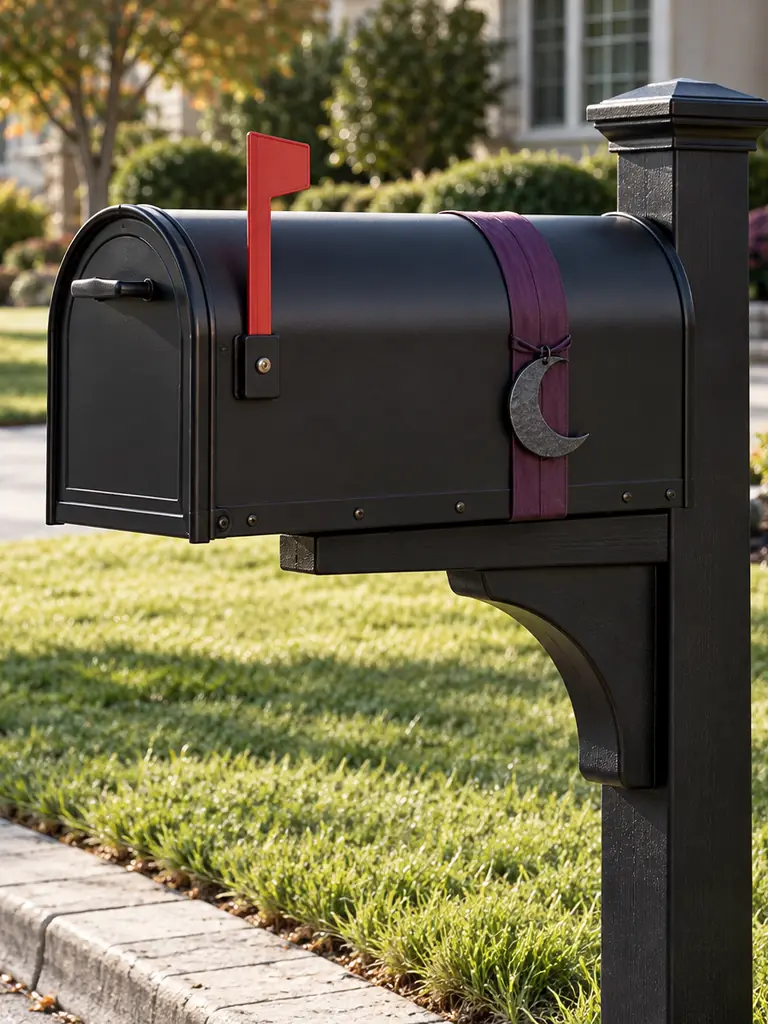
Cost: Low when one reusable accent is selected
Time: About 15 minutes after measuring
Best For: Mailboxes visible from the sidewalk or driveway
Result: A small seasonal detail that supports the porch theme
A mailbox accent should decorate the structure without interfering with deliveries or address visibility. Use lightweight weather-safe materials, secure them without damaging the finish, and keep the flag, door, hinges, lock, and numbers clear. Follow postal or property rules, and remove anything that shifts, traps water, or attracts pests.
Rocking Chair Cloak
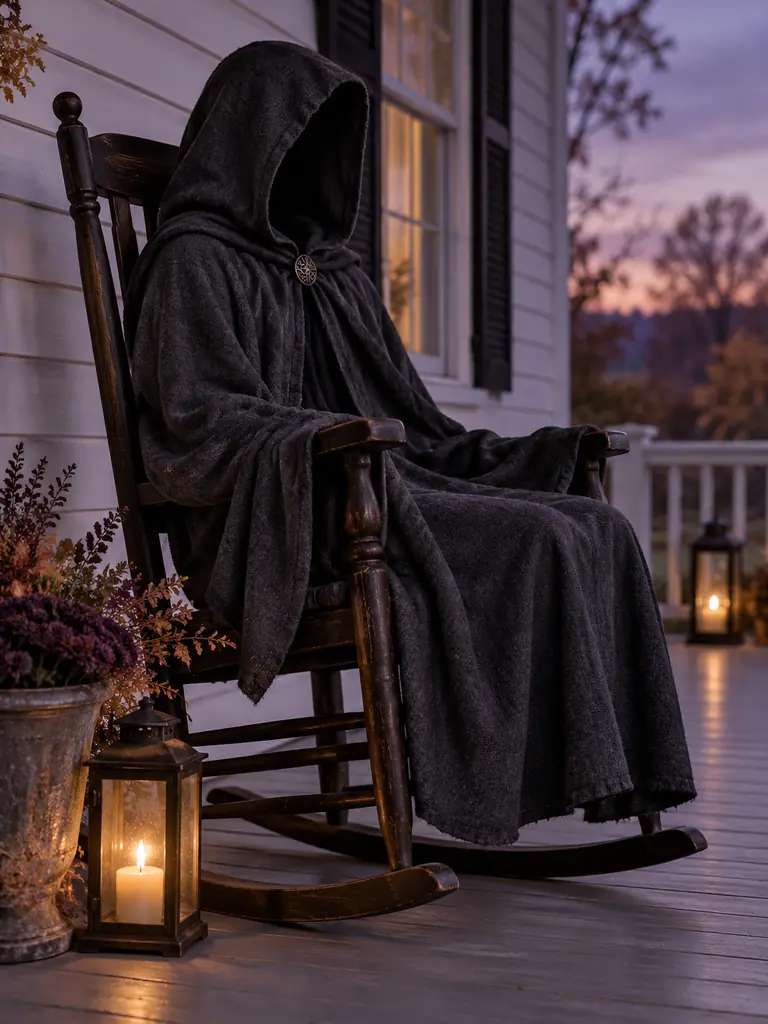
An empty chair can create suspense without relying on a familiar skeleton prop. Choose a cloak made from durable fabric, position the hood over the chair back, and shape the shoulders with soft removable padding. Keep the seat itself stable and place the chair outside the primary guest route.
Fasten the fabric behind the frame at several points so wind cannot lift it toward steps, lights, or passersby. The hem should remain above the porch floor, and rocking motion should be restricted if the display is decorative only. Bring the cloak indoors during severe weather or when unattended conditions make movement likely.
Black Fern Planters
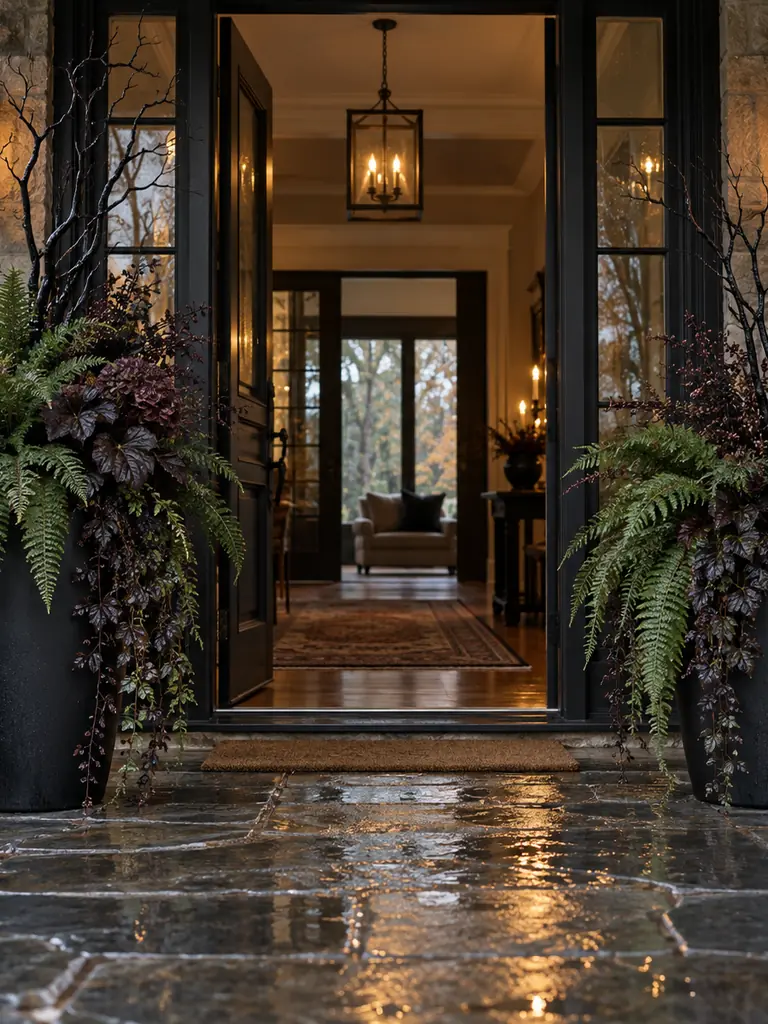
- Select planters with drainage holes and enough weight for the porch exposure.
- Use living plants suited to the local temperature, light, and moisture conditions.
- Choose outdoor-safe artificial foliage when ongoing plant care is impractical.
- Insert painted branches deeply and secure them so they cannot rotate in wind.
- Place saucers or protective feet where moisture could stain the porch surface.
Dark planters frame the entrance while greenery prevents the Halloween palette from feeling flat. Match the plant choice to real conditions rather than appearance alone. Monitor water, drainage, pests, and weather damage, and keep branches below eye level near walking areas. Remove artificial pieces that fade, crack, or begin shedding.
Candy Pickup Station
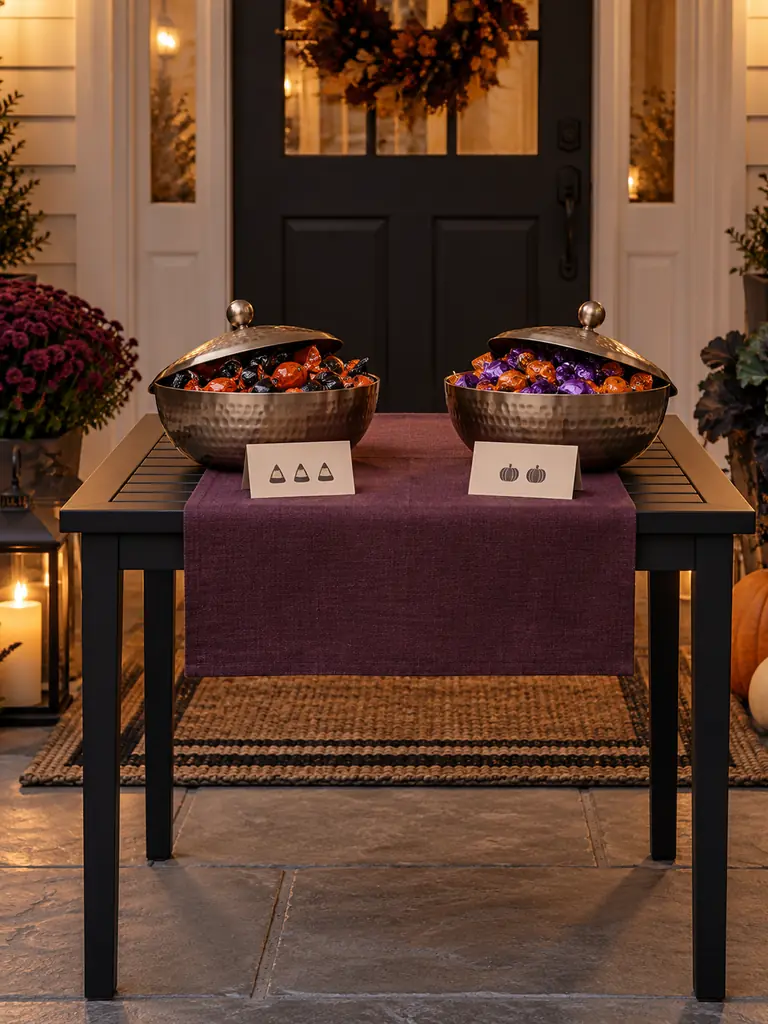
Quick Tip:
Place the station beside the guest route rather than directly in front of the door. Use sealed or covered containers for individually wrapped treats, and follow local food safety guidance, allergen considerations, and household hygiene practices when preparing the display.
Choose a table that will not wobble when children reach for treats, then protect it from rain and wind. Keep electrical decor, breakable objects, and open flames away from food. Provide clear portion guidance, refill with clean hands, and remove unattended candy if weather, animals, tampering, or contamination becomes a concern.
Porch Photo Corner
Before:
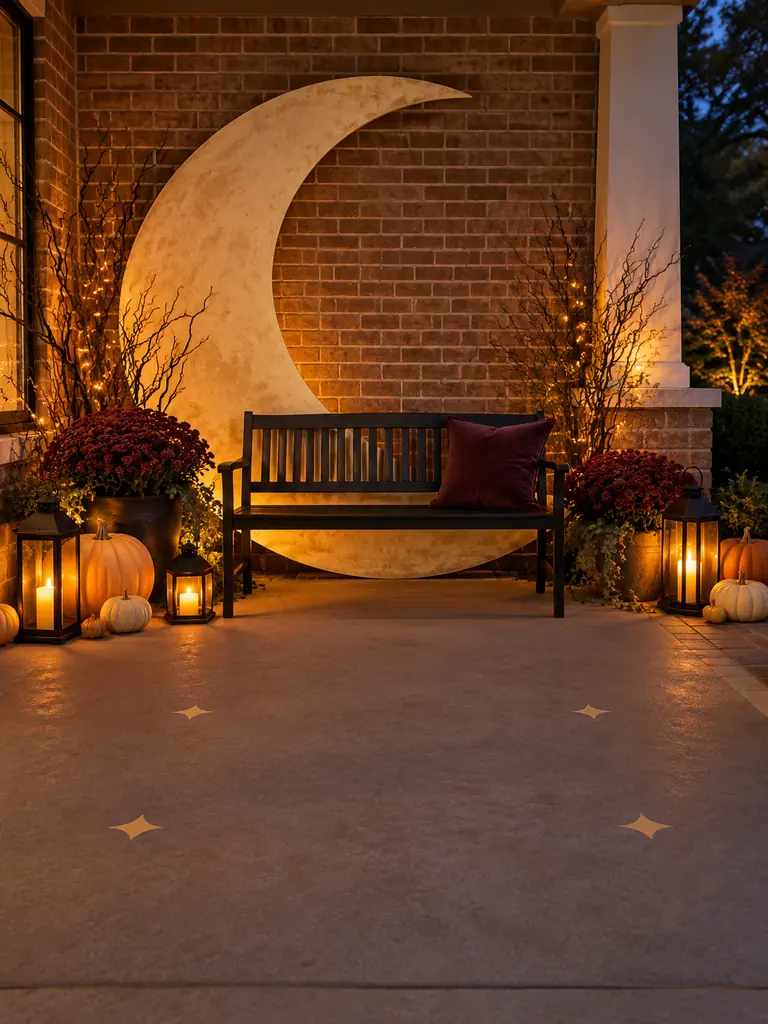
Guests stop in the main entrance to take photos, blocking the door and forcing others toward the steps. Small decorations disappear in pictures, while poor lighting creates deep shadows across faces and the porch floor.
After:
A defined side corner provides one readable backdrop, a clear standing position, and soft front-facing illumination. Entry traffic continues moving, and the scene photographs well without requiring guests to handle decorations.
Test the setup with a phone camera before visitors arrive, checking both portrait and group framing. Keep the backdrop secure, the floor level, and seating stable. Avoid flashing lights, trailing fabric, sharp props, and tripods inside the walkway. A small floor marker helps guests stand where the lighting works best.
Windproof Decor Anchors
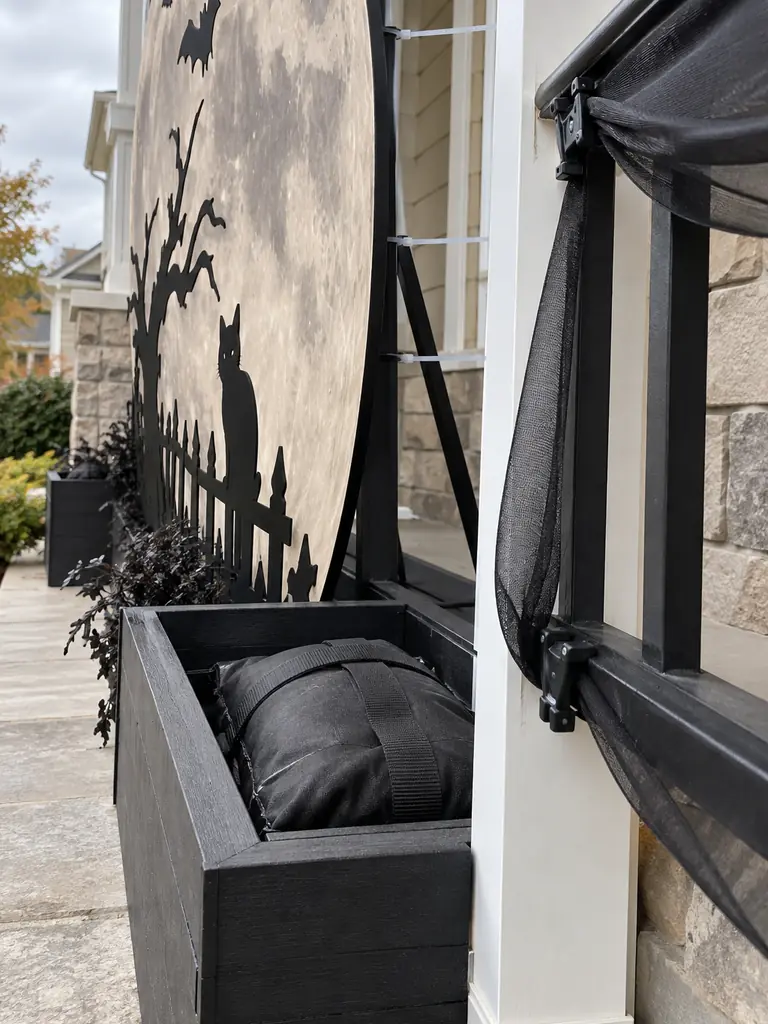
- Identify wind-catching shapes. Large panels, fabric, signs, branches, and lightweight containers require separate support plans.
- Select suitable anchors. Use outdoor-rated ties, approved weights, stakes, or mounting hardware matched to the object and surface.
- Conceal without restricting access. Hide supports behind planters, panels, or furniture while keeping them available for inspection.
- Test gentle movement. Apply light pressure from several directions and watch for lifting, twisting, or sliding.
- Respond to forecasts. Bring vulnerable decorations indoors before severe wind, storms, or conditions beyond their rating.
Hidden anchors preserve the styling while reducing the chance of decor entering walkways or neighboring property. Never rely on one weak attachment for a large object. Inspect knots, clips, weights, and surfaces regularly, especially after weather changes. If safe restraint is uncertain, remove the item rather than adding improvised hardware.
Put those anchoring methods into practice with these DIY Outdoor Halloween Decorations featuring handmade porch projects, weather-aware materials, and practical construction guidance.
Rainproof Lighting Check
| Unsafe Lighting Setup | Weather-Ready Setup |
|---|---|
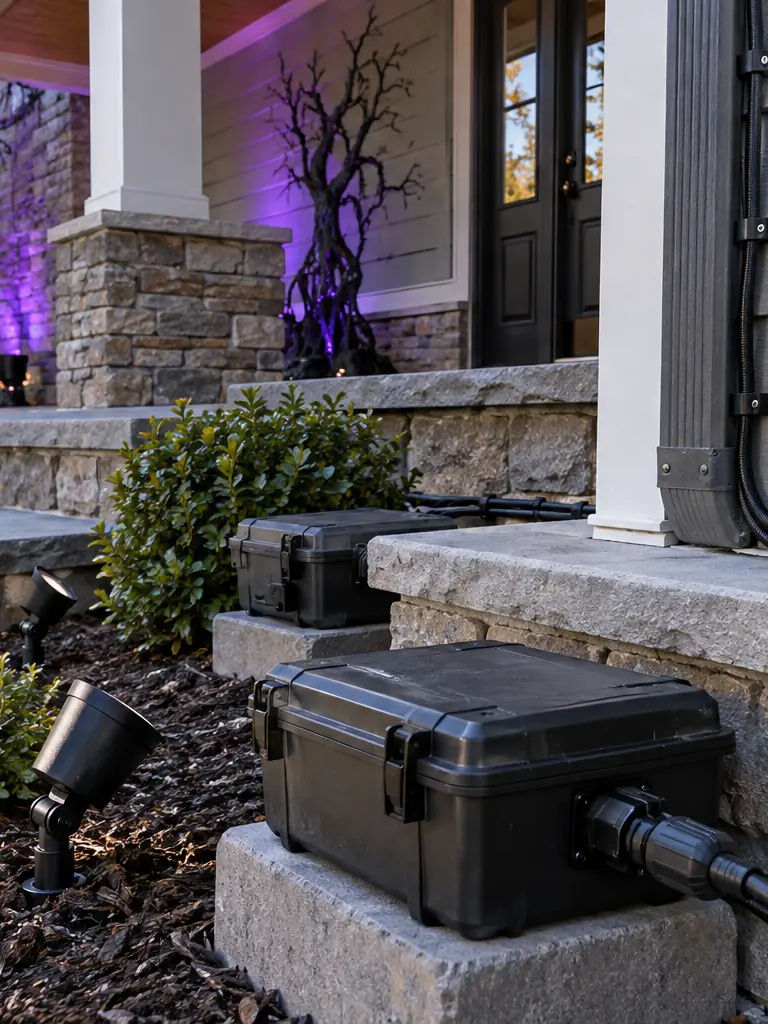
| Indoor lights are used outside | Every product carries the required outdoor rating |
| Connections rest on damp flooring | Plugs and connectors remain protected and elevated |
| Cables cross walking routes | Wiring follows secured perimeter paths |
| Battery boxes face upward | Compartments are positioned according to instructions |
Outdoor lighting should be inspected before installation and again after rain, temperature changes, or strong wind. Follow product instructions, local electrical requirements, and outlet protection guidance. Never handle powered connections with wet hands. Replace damaged cables immediately, and disconnect the entire display if water enters a component or its safety becomes uncertain.
Guest Route Review
Do This:
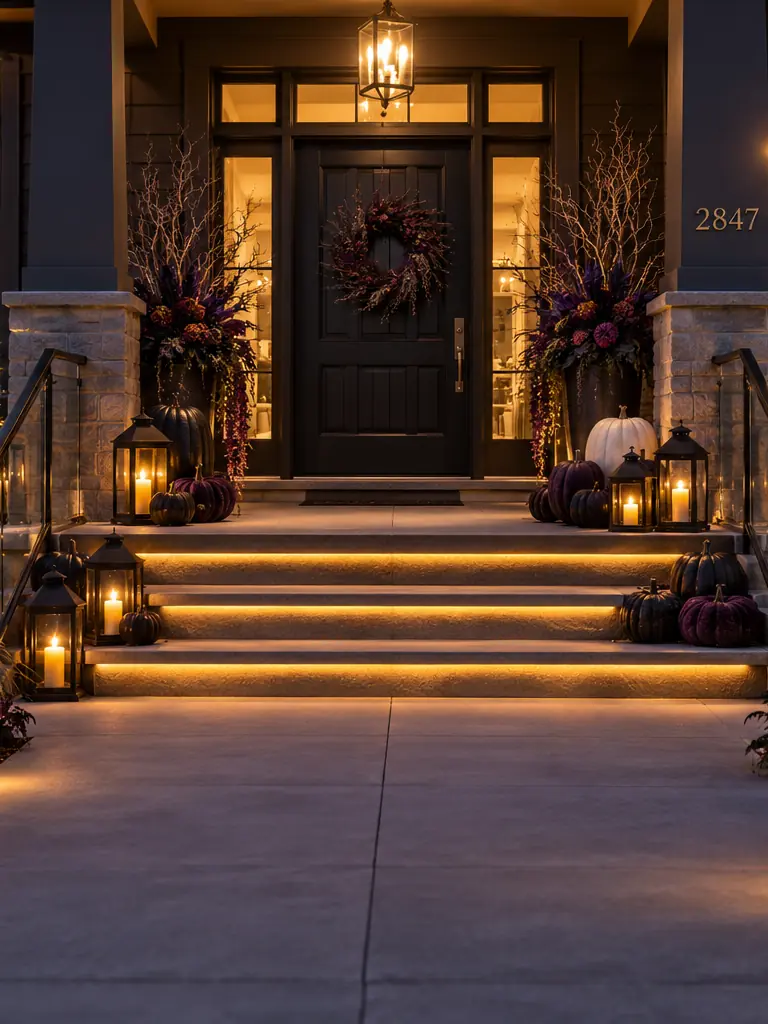
- Walk the complete route from the sidewalk to the door after every light is switched on.
- Confirm that step edges, handrails, locks, cameras, and house numbers remain visible.
- Open the front door fully and test access while carrying a package or treat bowl.
- View decorations from a child’s height to identify low branches or sharp projections.
Avoid This:
- Do not rely on decorative lighting as the only source of visibility.
- Avoid moving props, sudden sounds, or intense flashes near steps.
- Never narrow the route with chairs, planters, cords, or unstable pumpkins.
- Do not leave damaged or weather-shifted decor in place.
A final walkthrough reveals problems that are easy to miss while decorating during daylight. Invite another household member to test the entrance because a fresh viewpoint may catch hidden obstacles. The strongest front porch Halloween decorating ideas impress guests while preserving confident movement, clear identification, and dependable access from street to door.
Conclusion
A memorable Halloween porch balances visual drama with safe, practical access. Large focal points, coordinated colors, weather-ready materials, and thoughtful lighting can create a welcoming display without crowding the entrance.
These Front Porch Halloween Decorating Ideas help you plan for guests, changing weather, nighttime visibility, and everyday use. I have seen how one careful adjustment, such as clearing a handrail or securing a lightweight sign, can improve the entire setup. Save this post on Pinterest, try one or more ideas at home, and share it with someone planning their own display. Start at the sidewalk, check every detail, and welcome guests with confidence.