
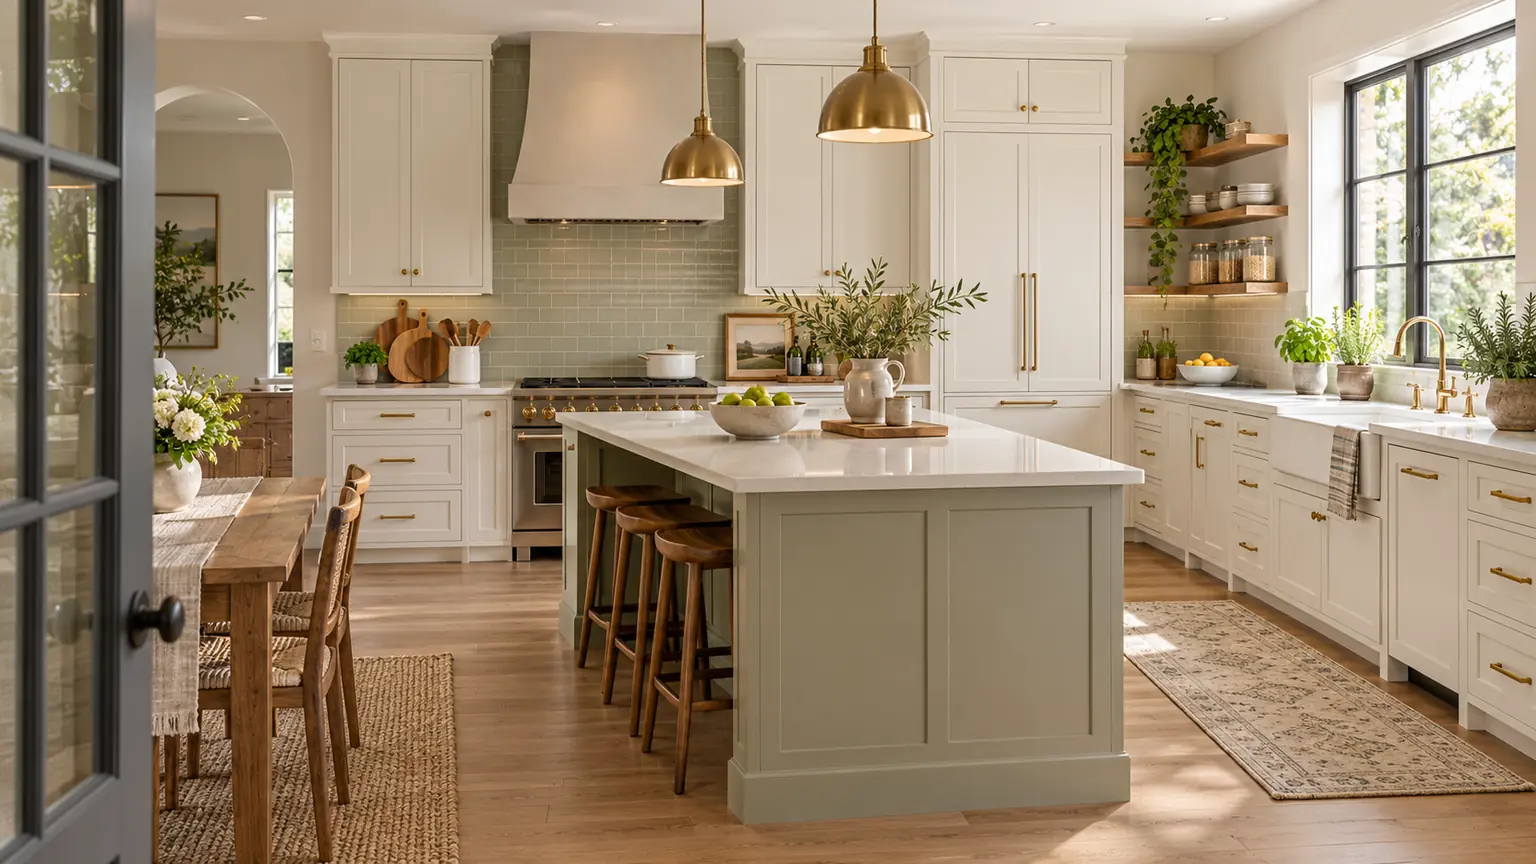
A kitchen can feel tired even when its cabinets, counters, and appliances still work perfectly. These kitchen decor ideas will help you refresh the room through thoughtful color, lighting, textiles, storage, and practical decorative details.
You do not need a complete renovation or a large budget. Small updates, such as changing hardware, organizing open shelves, introducing warmer lighting, or restyling the sink area, can make the entire kitchen feel more connected. In my experience, the most successful updates improve daily routines while making the room more inviting.
This guide will show you how to add personality, reduce visual clutter, and create a kitchen that feels polished, functional, and comfortable for everyday cooking and gathering.
Table of Contents
Kitchen Color Story
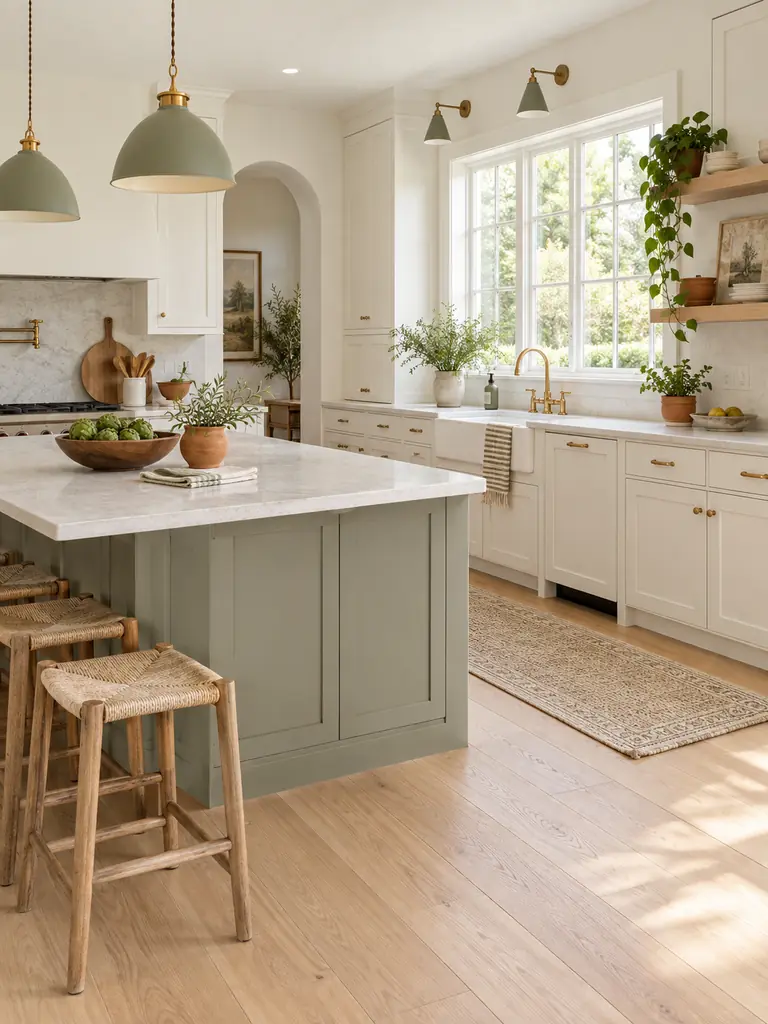
A clear color story makes separate surfaces and accessories feel connected rather than randomly collected. Begin with the fixed elements you cannot easily change, such as counters, flooring, and cabinet finishes. Choose one neutral that complements them, then introduce a second color through textiles or smaller furnishings.
Limit the accent shade to a few repeated details, such as pottery, artwork, or a runner. In my experience, repeating each color at least twice helps the room feel balanced. Photograph the kitchen in daylight before buying anything, since the image makes mismatched tones easier to notice.
Statement Backsplash Zone
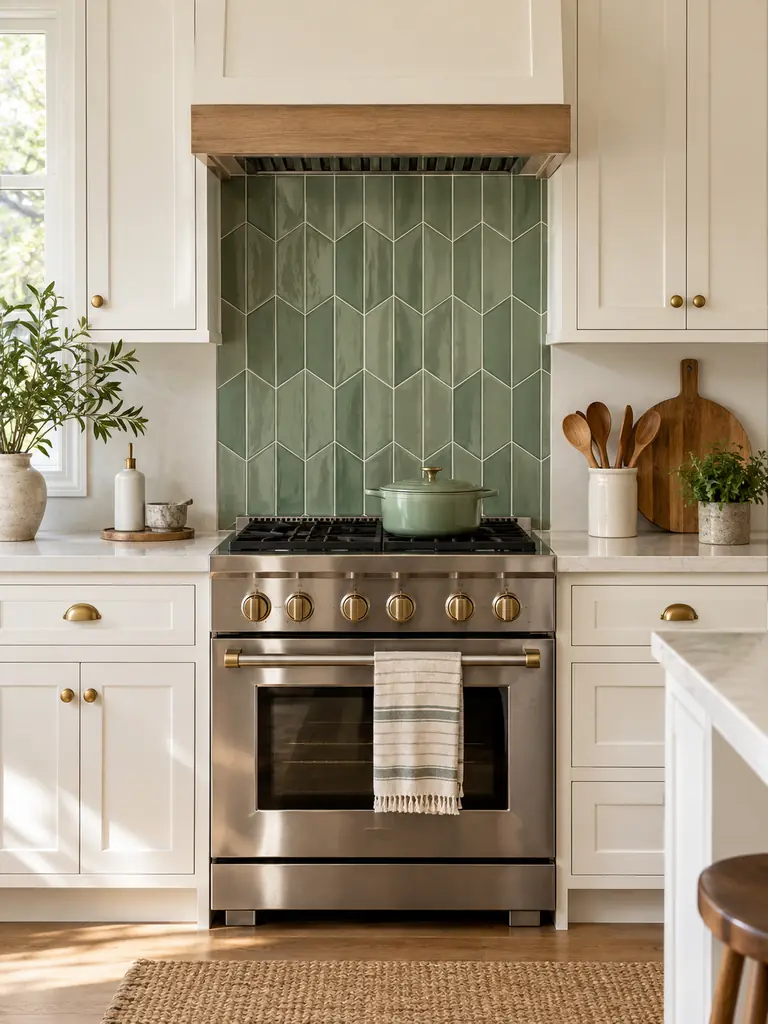
- Select one visible area, such as the range wall or coffee station, instead of covering every backsplash.
- Measure the width and height twice, then purchase a small amount of extra material for cuts and mistakes.
- Compare tile, removable panels, and peel-and-stick samples under daytime and evening light.
- Clean and dry the wall fully before installing any adhesive-backed product.
- Keep grout lines or printed patterns level with a ruler and spirit level.
A focused backsplash zone introduces pattern without competing with cabinets, counters, and appliances. Renters should confirm removal instructions and test one piece in a hidden area first. Choose heat-rated material near a cooktop, follow the manufacturer’s clearance guidance, and avoid placing ordinary adhesive film directly behind strong heat or open flames.
Painted Cabinet Contrast
Quick Tip:
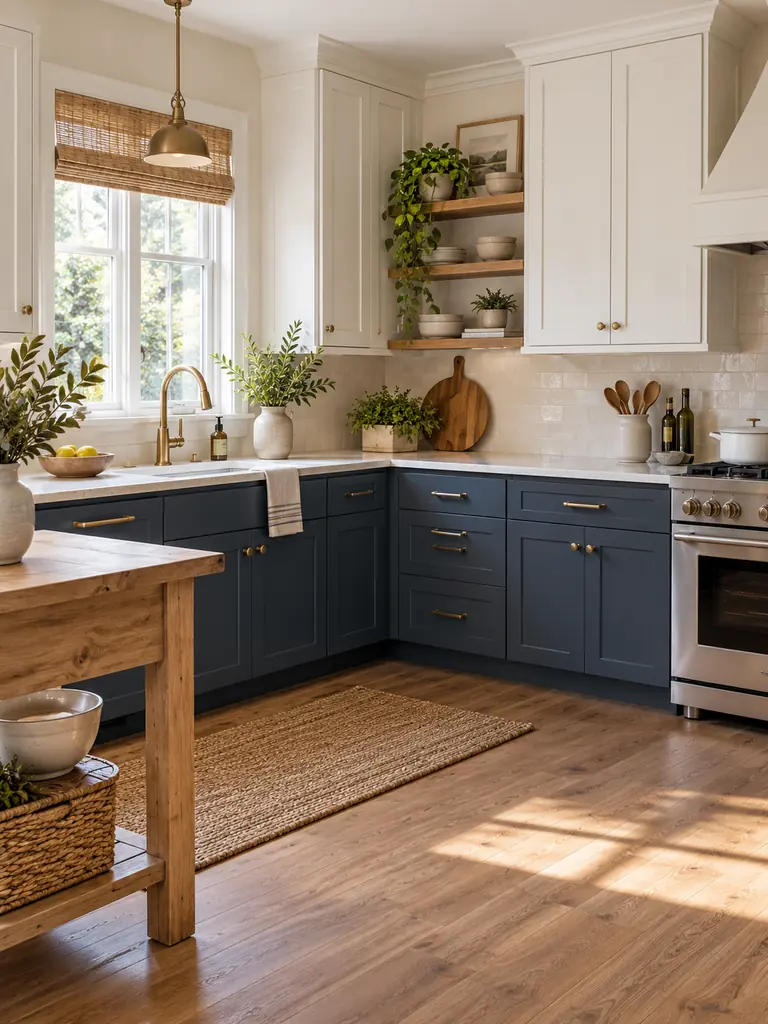
Paint only the island or lower cabinets if a complete cabinet makeover feels overwhelming. Keeping upper cabinets lighter preserves brightness, while the darker lower section adds depth and hides everyday marks more effectively.
Remove doors and hardware, label every piece, then clean away grease before sanding and priming. Use cabinet-rated paint and allow the recommended curing time before reassembly. Test the chosen color beside the countertop and backsplash first, because undertones that look attractive on a sample may clash across a larger surface.
Refreshed Cabinet Hardware

Before:
Mismatched knobs and worn pulls make otherwise sound cabinets appear dated. Inconsistent placement also interrupts the clean lines of doors and drawers.
After:
Coordinated hardware gives the cabinetry a more intentional finish without changing its structure. Matching proportions and accurate installation create an update that feels polished from across the room.
Measure the existing hole spacing before shopping so replacement pulls fit without drilling unnecessary openings. Make a simple cardboard template to position every new piece consistently, and avoid overtightening screws against wood. Choose a finish already present in the lighting or faucet for connection, but exact metal matching is not always required.
Open Shelf Balance

- Remove everything from the shelves and clean each surface thoroughly.
- Return frequently used plates, bowls, and glasses first, placing heavier items on the lower shelf.
- Group matching pieces in short stacks rather than spreading individual items across the entire length.
- Add only one or two decorative accents, such as a small plant or framed print.
- Leave visible space between groups so every object remains easy to reach.
Open shelving works best when it supports daily routines instead of becoming a display-only feature. Keep items used most often within comfortable reach and avoid placing absorbent materials beside the stove. Rotate or wash exposed pieces regularly, since cooking residue and dust collect faster on objects that remain outside closed cabinets.
Glass Cabinet Styling
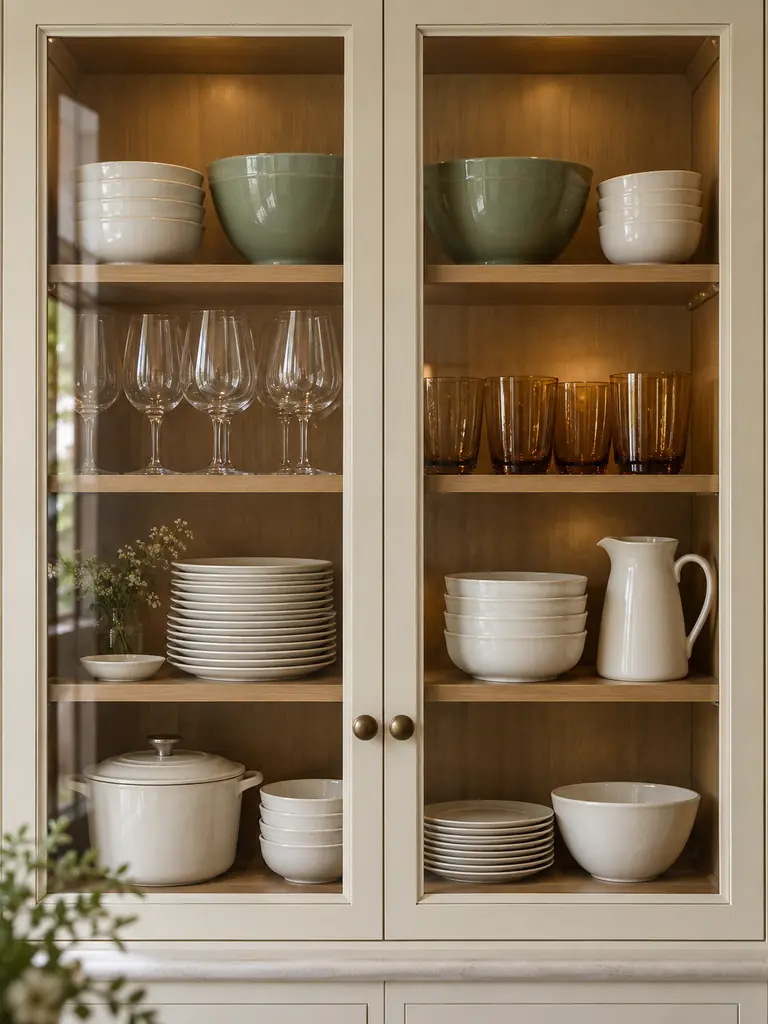
| Crowded Cabinet | Balanced Cabinet |
|---|---|
| Every shelf is completely filled | Open gaps separate useful groups |
| Many unrelated colors compete | Two or three colors create continuity |
| Tall pieces hide smaller items | Heights step down from back to front |
| Rarely used items block essentials | Everyday pieces stay within easy reach |
Begin with the largest plates and serving pieces, then arrange glasses and bowls around them. Repeat one accent color on separate shelves to connect the display vertically. Keep heavy objects low, place delicate glassware securely, and avoid stacking more pieces than you can remove safely during an ordinary meal or gathering.
Countertop Decor Zones

Do:
- Assign separate countertop zones for coffee, cooking, washing, and serving.
- Group related objects on washable trays to create clear visual boundaries.
- Keep the largest uninterrupted surface available for food preparation.
- Store rarely used appliances inside cabinets or pantry shelving.
Don’t:
- Decorate every corner simply because space is available.
- Place absorbent baskets beside the sink or cooking splatter.
- Allow trays to become collection points for mail, receipts, and loose items.
- Block outlets, appliance vents, cabinet doors, or frequently used drawers.
Countertops feel calmer when every visible item supports a regular task or a deliberate display. Review each zone weekly and return misplaced objects to storage. I’ve noticed that removing one item from every crowded grouping often improves the arrangement immediately, while also making wiping, cooking, and putting groceries away noticeably easier.
Styled Cooking Station

Cost: Low when existing cooking tools are reorganized
Time: About 20 minutes for sorting and styling
Best For: Frequently used oils, seasonings, and utensils
Result: Faster meal preparation with a cleaner visual arrangement
Keep only daily cooking essentials beside the range, choosing stable containers that can be wiped easily. Place oils and utensils beyond the manufacturer’s recommended heat-clearance area, and never store paper, fabric, or wooden tools near an open flame. Label refillable containers accurately and clean the tray often to prevent grease buildup.
Sink Area Refresh
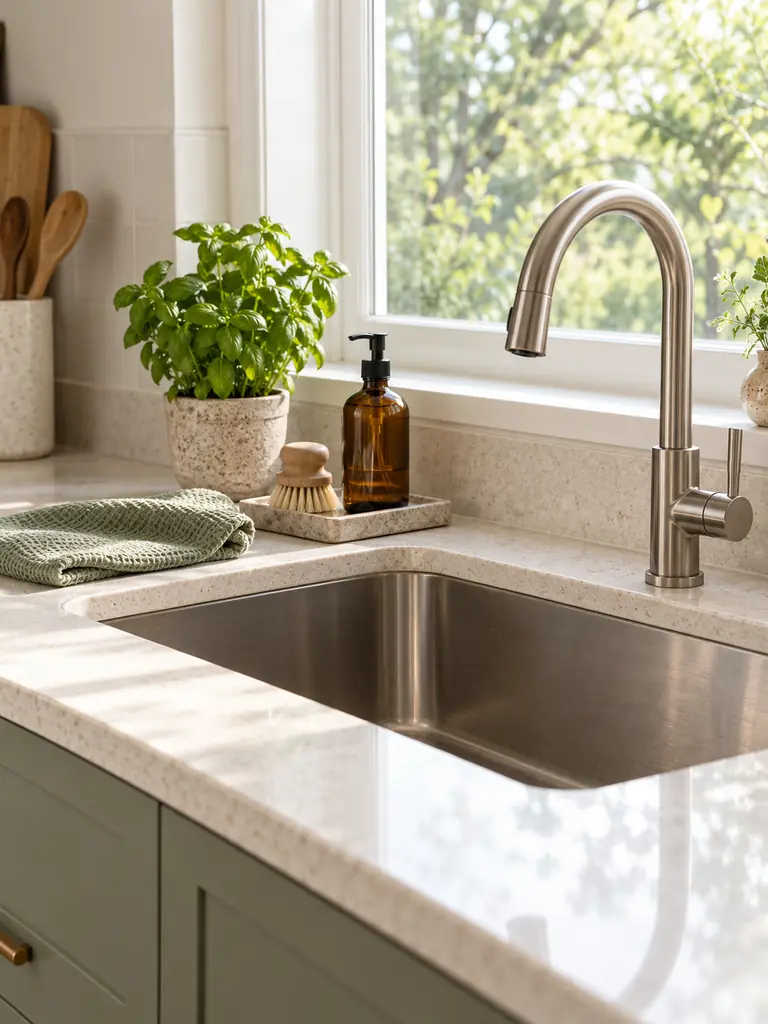
The sink area looks more considered when useful objects share one compact footprint. Choose a washable tray for soap, lotion, and a dish brush, then remove duplicate bottles from the counter. Match the dispenser or towel to an existing room color instead of introducing another unrelated shade.
Select materials that tolerate frequent splashes, such as stone, glazed ceramic, stainless steel, or sealed wood. Leave space around the faucet for comfortable cleaning and dry the tray regularly to prevent residue. A small herb can add life, but move it if low light or constant moisture causes decline.
Decorative Cutting Boards

- Select three boards in different heights, shapes, or complementary materials.
- Place the tallest board at the back and overlap smaller pieces slightly in front.
- Keep regularly used boards accessible instead of trapping them behind decorative objects.
- Choose sealed wood and food-safe finishes that tolerate normal kitchen use.
- Move the arrangement away from burners, standing water, and heavy cooking splatter.
Cutting boards introduce warmth and natural texture while remaining useful. Clean every board according to its material and let it dry completely before returning it to the counter. Avoid displaying deeply cracked wood, since damaged surfaces can hold moisture and residue. Three carefully chosen pieces usually create enough visual depth.
Pantry Jar Display

Quick Tip:
Transfer only dry ingredients that you can identify and rotate confidently. Add the product name, allergen information, and expiration date to every container before discarding the original packaging.
Choose airtight food-safe jars that fit the shelf depth and can be lifted comfortably when full. Arrange heavier staples on lower shelves and group baking, breakfast, and cooking ingredients separately. Leave space between rows for easy removal, and wash containers thoroughly before refilling rather than repeatedly topping up old contents.
Fruit Bowl Centerpiece

Before:
Loose fruit spreads across the counter or disappears inside an oversized container. Mixed produce may ripen unevenly, while a crowded island leaves little space for meal preparation.
After:
One proportionate bowl contains seasonal color and keeps commonly eaten fruit visible. The island gains a natural focal point while most of the surface remains open and functional.
Select a ventilated bowl that holds the amount your household can eat before spoilage. Separate fruits that release high levels of ethylene from produce that deteriorates quickly, and check the bowl daily for bruising. Wash the container regularly, but rinse fruit according to food-safety guidance rather than purely for display.
Kitchen Textile Update
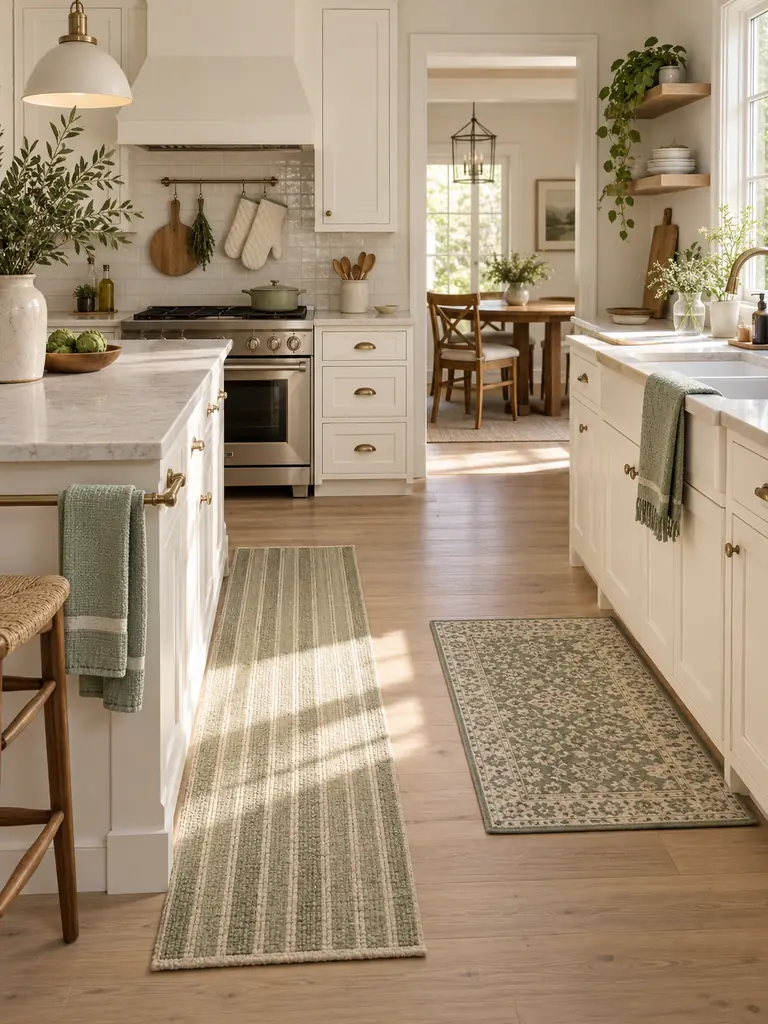
- Choose one main color already visible in the cabinetry, backsplash, or artwork.
- Add a simple pattern through either the rug or towels, rather than using several competing prints.
- Select machine-washable fabrics suitable for frequent spills, grease, and everyday use.
- Keep oven mitts and towels within reach but away from burners and hot cookware.
- Replace stained or worn textiles instead of layering new pieces over them.
Textiles offer an easy way to test color before committing to paint or tile. Repeat one shade across two or three items, then vary the texture to avoid a flat appearance. Wash new fabrics before use, follow care labels, and choose nonslip backing or a suitable rug pad for kitchen floors.
For seasonal color and texture that works in compact rooms, explore these Fall Decor Ideas For Small Spaces.
Window Herb Display

| Crowded Window | Balanced Herb Display |
|---|---|
| Large pots block daylight | Compact pots preserve the view |
| Mixed containers create visual noise | Matching pots provide continuity |
| Water drains directly onto the sill | A waterproof tray protects the surface |
| Herbs are chosen only for appearance | Suitable plants match the available light |
Check how many hours of direct light the window receives before choosing herbs, since requirements vary by plant. Use pots with drainage holes and empty excess water from the tray promptly. Space leaves away from cold glass, strong heat, and cooking grease, then trim herbs regularly to support healthy, compact growth.
Pendant Light Focus

Do:
- Measure the island or table before choosing fixture width and quantity.
- Position pendants evenly so light reaches the full working surface.
- Select bulbs with warm, accurate color rendering for food and finishes.
- Hire a qualified electrician for hardwired installation or relocation.
Don’t:
- Hang fixtures where they block views across the room.
- Choose oversized shades that overwhelm a narrow island.
- Mix unrelated metal finishes without repeating them elsewhere.
- Install decorative lighting that leaves essential tasks poorly illuminated.
Pendant lights should define the island without interfering with conversation, movement, or cabinet access. Test the proposed height with a temporary paper template before purchasing. Combine decorative pendants with general ceiling and task lighting, because one attractive fixture rarely provides enough illumination for chopping, cooking, cleaning, and reading labels safely.
Under-Cabinet Glow
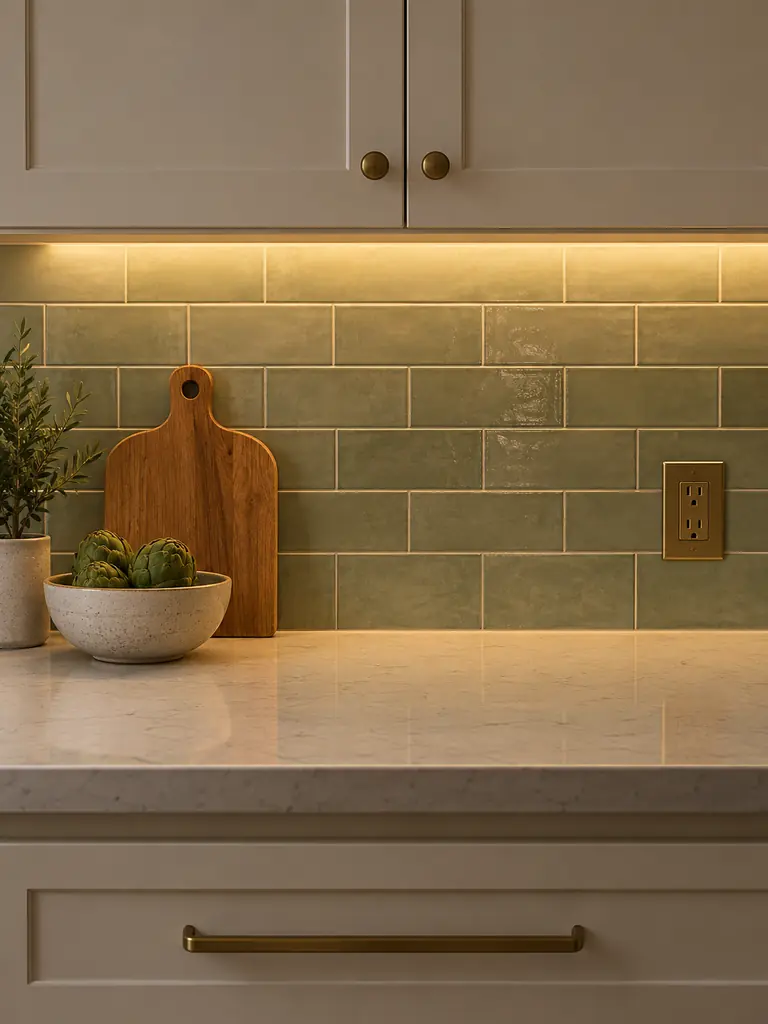
Cost: Low to moderate depending on wiring and controls
Time: One hour for a simple plug-in lighting kit
Difficulty: Beginner for adhesive strips, professional for hardwiring
Result: Brighter counters and a softer evening atmosphere
Select lighting with consistent color temperature and enough brightness for food preparation. Mount strips near the front underside of cabinets to reduce dark bands on the counter, then conceal visible wires along cabinet edges. Follow the product’s heat and moisture guidance, and hire a qualified electrician for any permanent electrical work.
Framed Kitchen Artwork
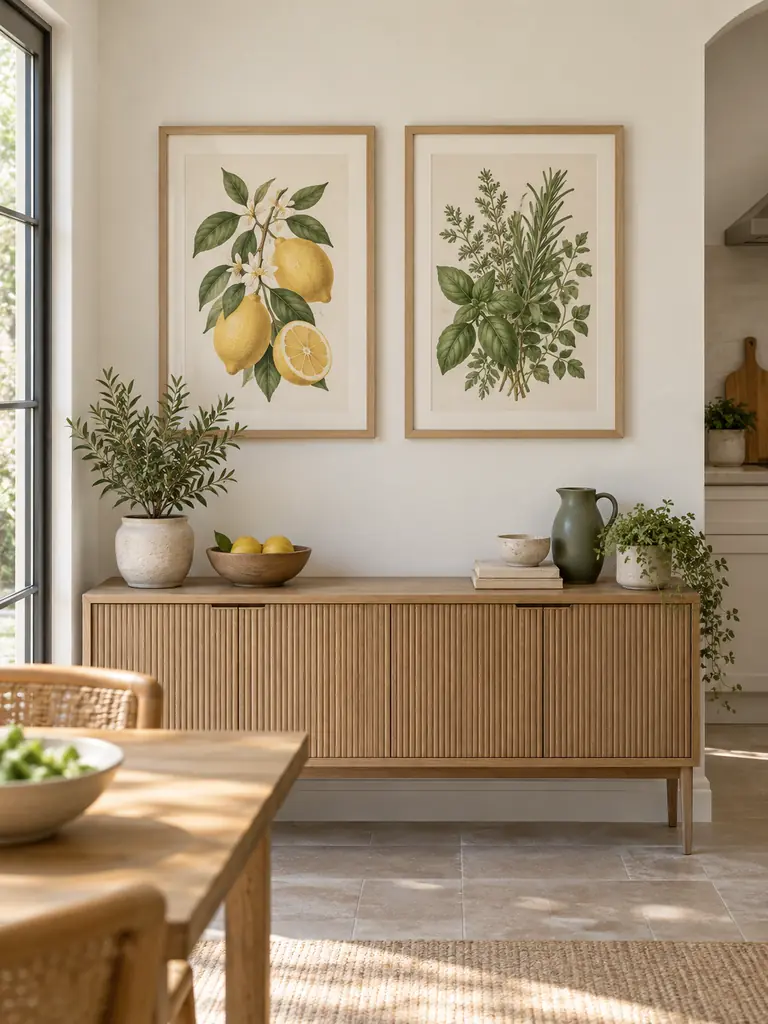
Artwork brings personality to a kitchen without occupying counters or shelves needed for daily tasks. Choose prints that connect with the room’s colors, then use frames with wipeable fronts. Hang one larger piece or a coordinated pair instead of filling every open wall with unrelated subjects.
Keep paper and frames away from steam, cooking grease, sinks, and direct heat. Use secure hardware rated for the frame weight, especially near doors or busy walkways. In my experience, personal photographs, handwritten family recipes, or local food illustrations create more lasting interest than generic kitchen slogans.
Breakfast Nook Layers

- Begin with firm seat cushions sized accurately for the bench or chairs.
- Add one or two washable pillows for back support without reducing seating space.
- Center a compact pendant or wall light above the table for focused illumination.
- Keep the centerpiece low enough for comfortable conversation across the table.
- Store placemats or napkins nearby so the nook remains practical for daily meals.
A breakfast nook feels comfortable when softness supports the seating rather than overwhelming it. Choose removable covers that can handle food spills, and leave enough clearance for people to enter and exit easily. Limit the table display to one low object, then let cushions, lighting, and the surrounding view carry most of the visual interest.
Island Centerpiece Edit
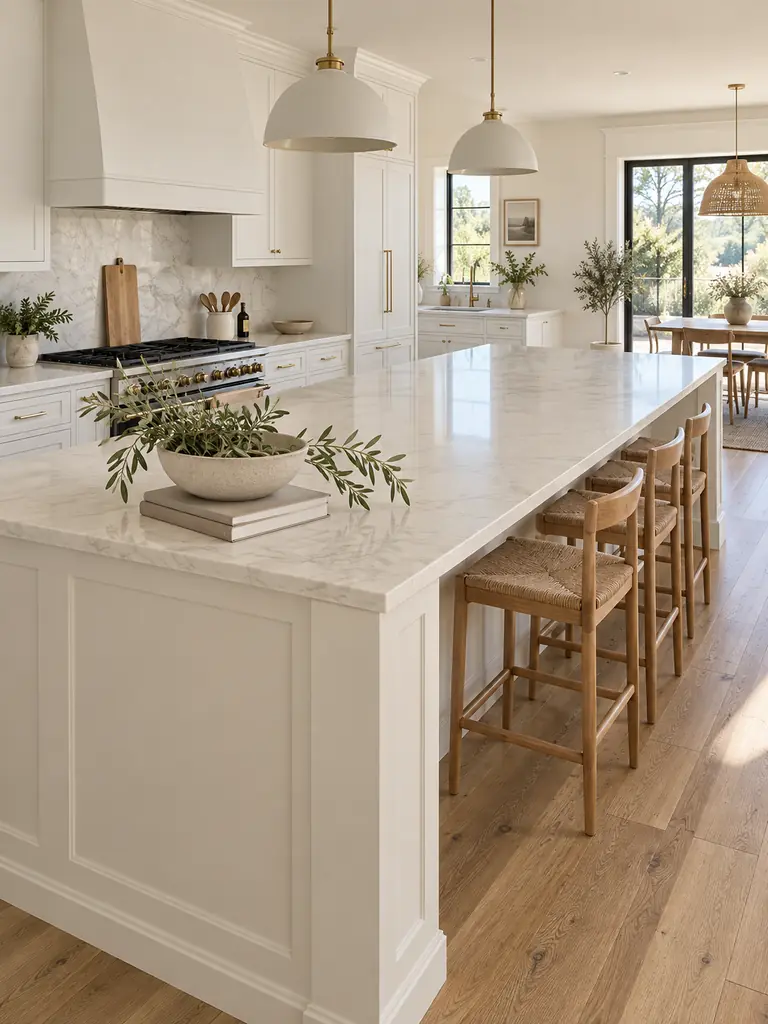
Quick Tip:
Keep the centerpiece below seated eye level and confined to one end of the island. This preserves conversation, serving space, and a clear work surface while still giving the island a finished appearance.
Choose one low vessel that suits the island’s scale, then fill it with fruit, clipped greenery, or another easy-to-maintain element. Avoid loose fabric, fragile objects, and tall branches in active cooking zones. Before finalizing the arrangement, place groceries or serving dishes on the island to confirm sufficient usable space remains.
Vintage Kitchen Character

Before:
Several unrelated vintage objects compete across countertops and shelves, making the kitchen feel more like a themed shop than a working home. Fragile pieces may also occupy valuable preparation areas.
After:
One or two authentic objects create warmth and history without dominating the room. Their aged finishes contrast gently with newer cabinets and appliances while preserving practical surfaces.
Choose vintage pieces that connect to cooking, family history, or the kitchen’s materials. Inspect old pottery and metalware before using them with food, since decorative items may contain unsafe finishes. Display uncertain pieces purely as decor, and avoid placing antique wood where frequent splashes, heat, or grease could cause damage.
Wall Rail Storage

- Identify a wall section that does not interfere with cabinets, appliances, doors, or seating.
- Measure the available width and mark the mounting points with a level.
- Confirm the wall type, then use appropriate anchors and screws for the expected weight.
- Hang only frequently used, lightweight items with enough space between them.
- Review the rail monthly and remove anything that is rarely used or difficult to clean.
A rail frees counter and drawer space while keeping essential tools visible. Position utensils away from burners, sinks, and food splatter, and never exceed the manufacturer’s weight rating. Use matching hooks or a repeated material to make the arrangement feel deliberate, then leave several spaces open for comfortable removal and return.
For more ways to organize a compact home without adding bulky furniture, explore these Small Apartment Storage Ideas.
Above-Cabinet Styling
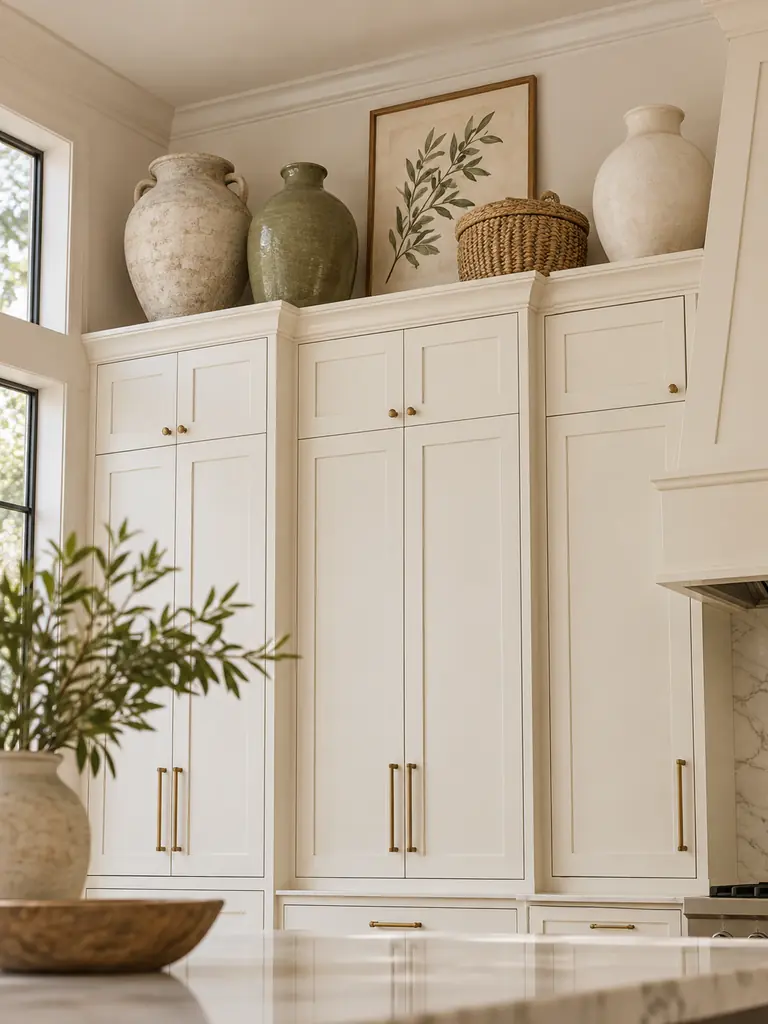
| Crowded Approach | Balanced Approach |
|---|---|
| Many small objects collect dust | A few larger pieces create clearer impact |
| Decor spans every cabinet | Selected groupings leave visible open space |
| Mixed colors compete below the ceiling | Repeated tones connect with the kitchen |
| Fragile objects sit near cabinet edges | Stable pieces remain safely positioned |
Measure the vertical clearance before choosing objects, and avoid covering vents, sprinklers, lighting, or access panels. Select lightweight pieces with stable bases, then secure them where appropriate. Since grease and dust collect above cabinets, choose washable materials and keep the arrangement simple enough to remove safely during regular cleaning.
During the holidays, you can carry the same vertical decorating approach throughout your home with these Christmas decor ideas for small spaces, including compact greenery, wall displays, and festive accents that preserve valuable surfaces.
Kitchen Decor Review
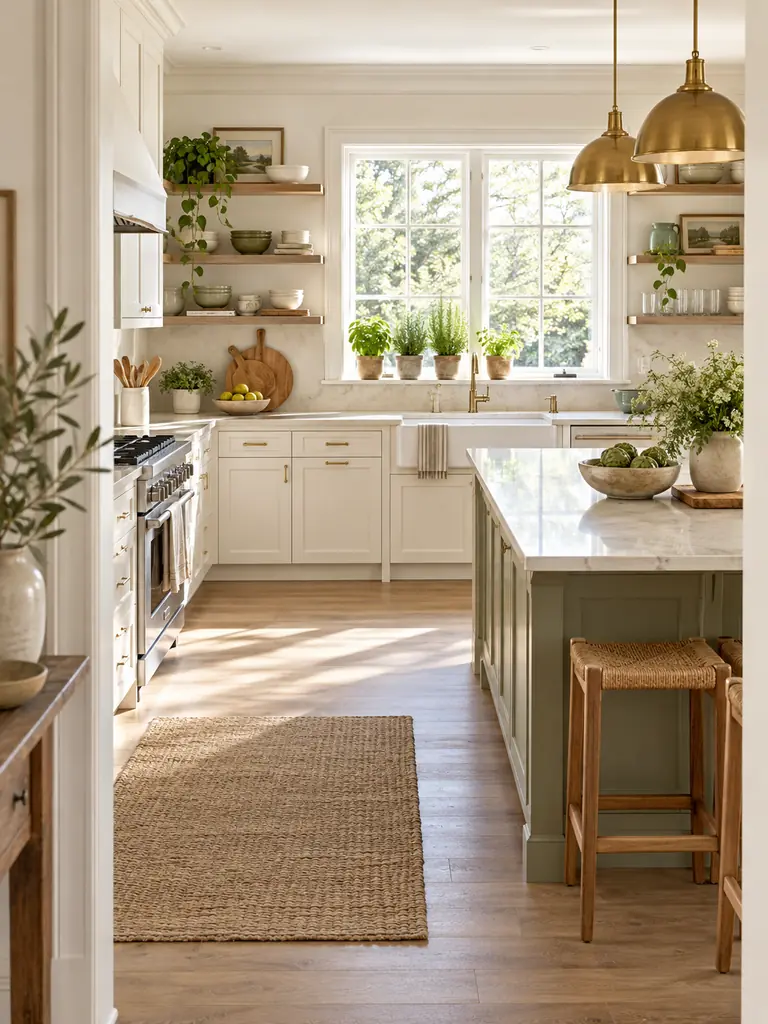
Do:
- View the kitchen from each doorway to identify competing focal points.
- Remove anything that blocks light, outlets, drawers, appliances, or work surfaces.
- Repeat key colors and materials across separate areas for visual continuity.
- Confirm that every decorative zone remains easy to clean and maintain.
Don’t:
- Keep accessories solely because they were recently purchased.
- Fill empty surfaces that already provide useful preparation space.
- Place fragile, absorbent, or flammable objects near heat and water.
- Prioritize appearance over food safety, ventilation, and comfortable movement.
The best kitchen decor ideas support cooking, cleaning, storage, and gathering instead of working against them. Photograph the finished room and remove anything that appears crowded or disconnected. Keep only accents that contribute useful function, meaningful character, color, or texture. A final edit helps every remaining feature feel clearer and more intentional.
Conclusion
Refreshing your kitchen becomes easier when every update supports both appearance and daily function. These kitchen decor ideas can help you create a warmer, more organized space through coordinated colors, practical storage, improved lighting, and carefully selected accents.
I’ve seen how one thoughtful change, such as updated hardware or clearer countertops, can shift the entire room. Start with the area that bothers you most, then build gradually using ideas that suit your budget and routine. Save this post on Pinterest for future reference, try your favorite update, and share it with someone planning a kitchen refresh. Choose one idea and begin today.